Highlights
- Survivors of the Void DLC for Risk of Rain 2 introduces new locations, items, and enemies to enhance gameplay.
- Tips for defeating Voidling boss include staying underneath it, choosing the right survivor, and being wary of the Nullifier Black Hole attack.
- Stack damaging items and collect at least one resurrection item to increase your chances of survival during the challenging boss battle.
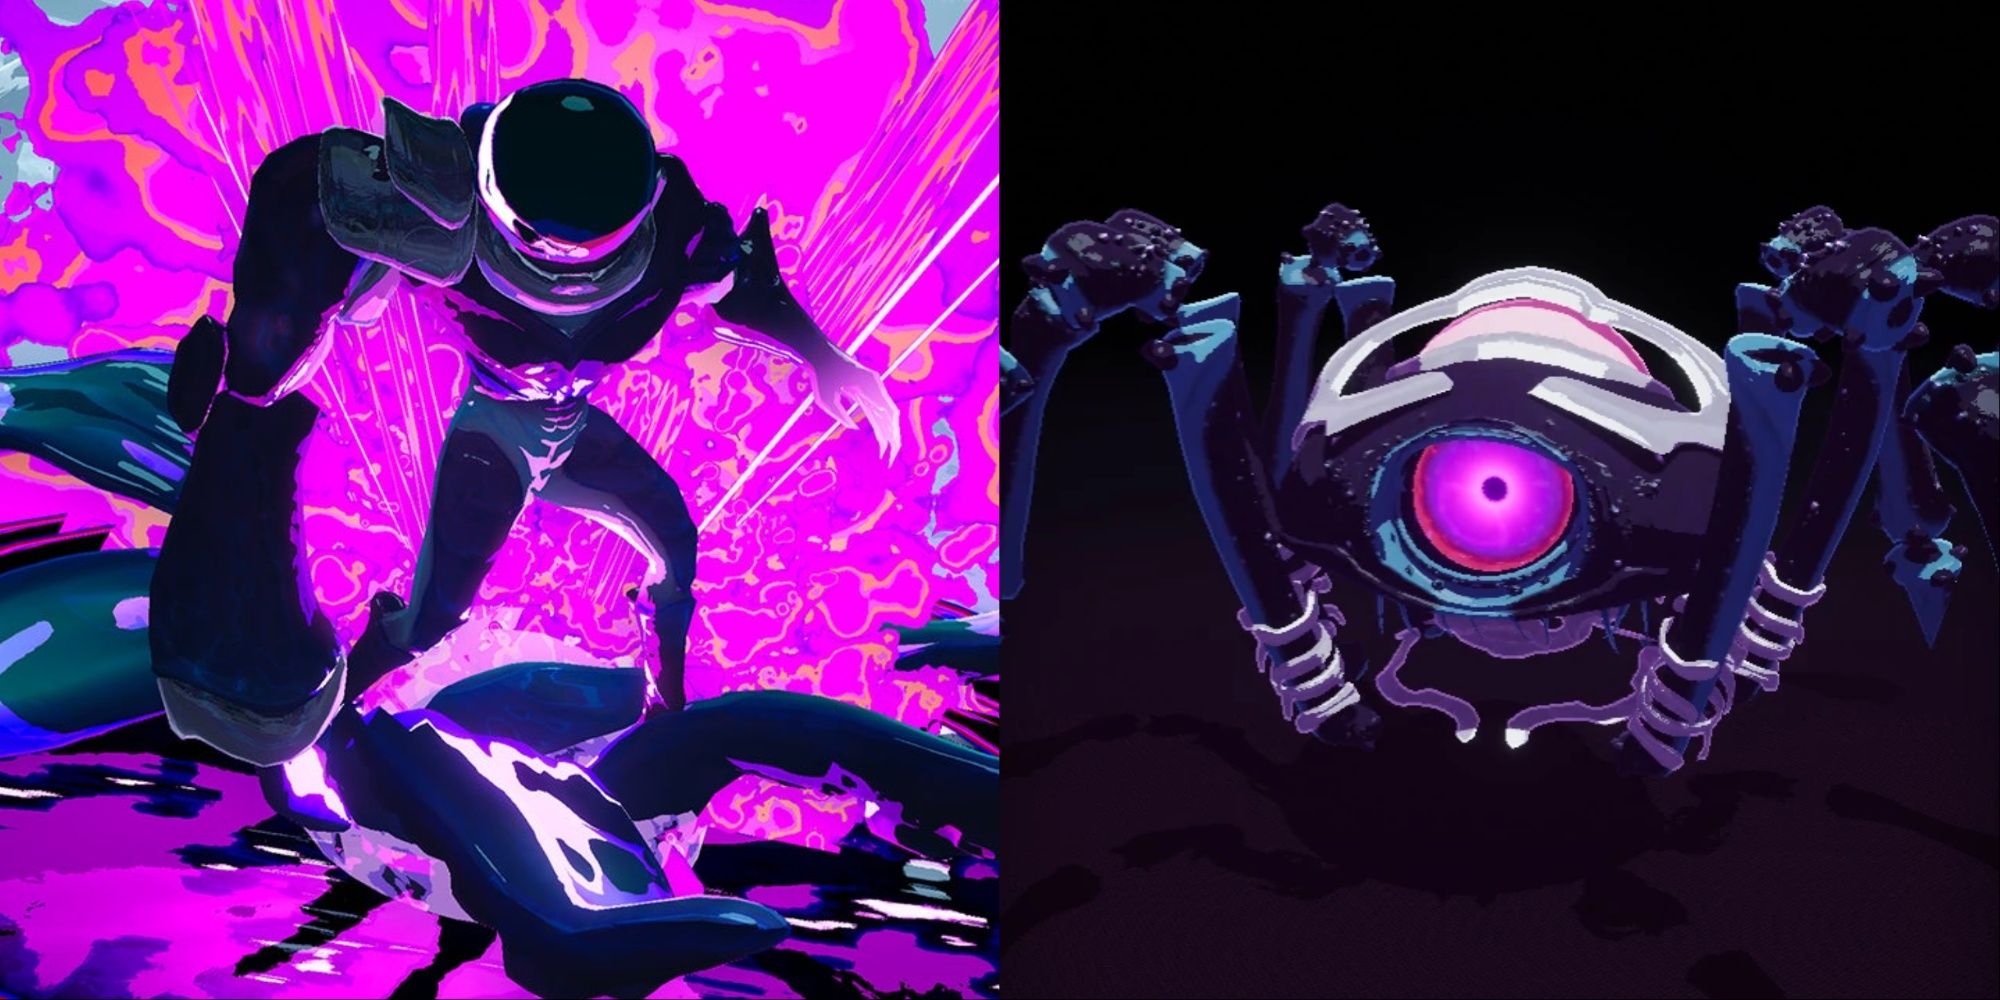
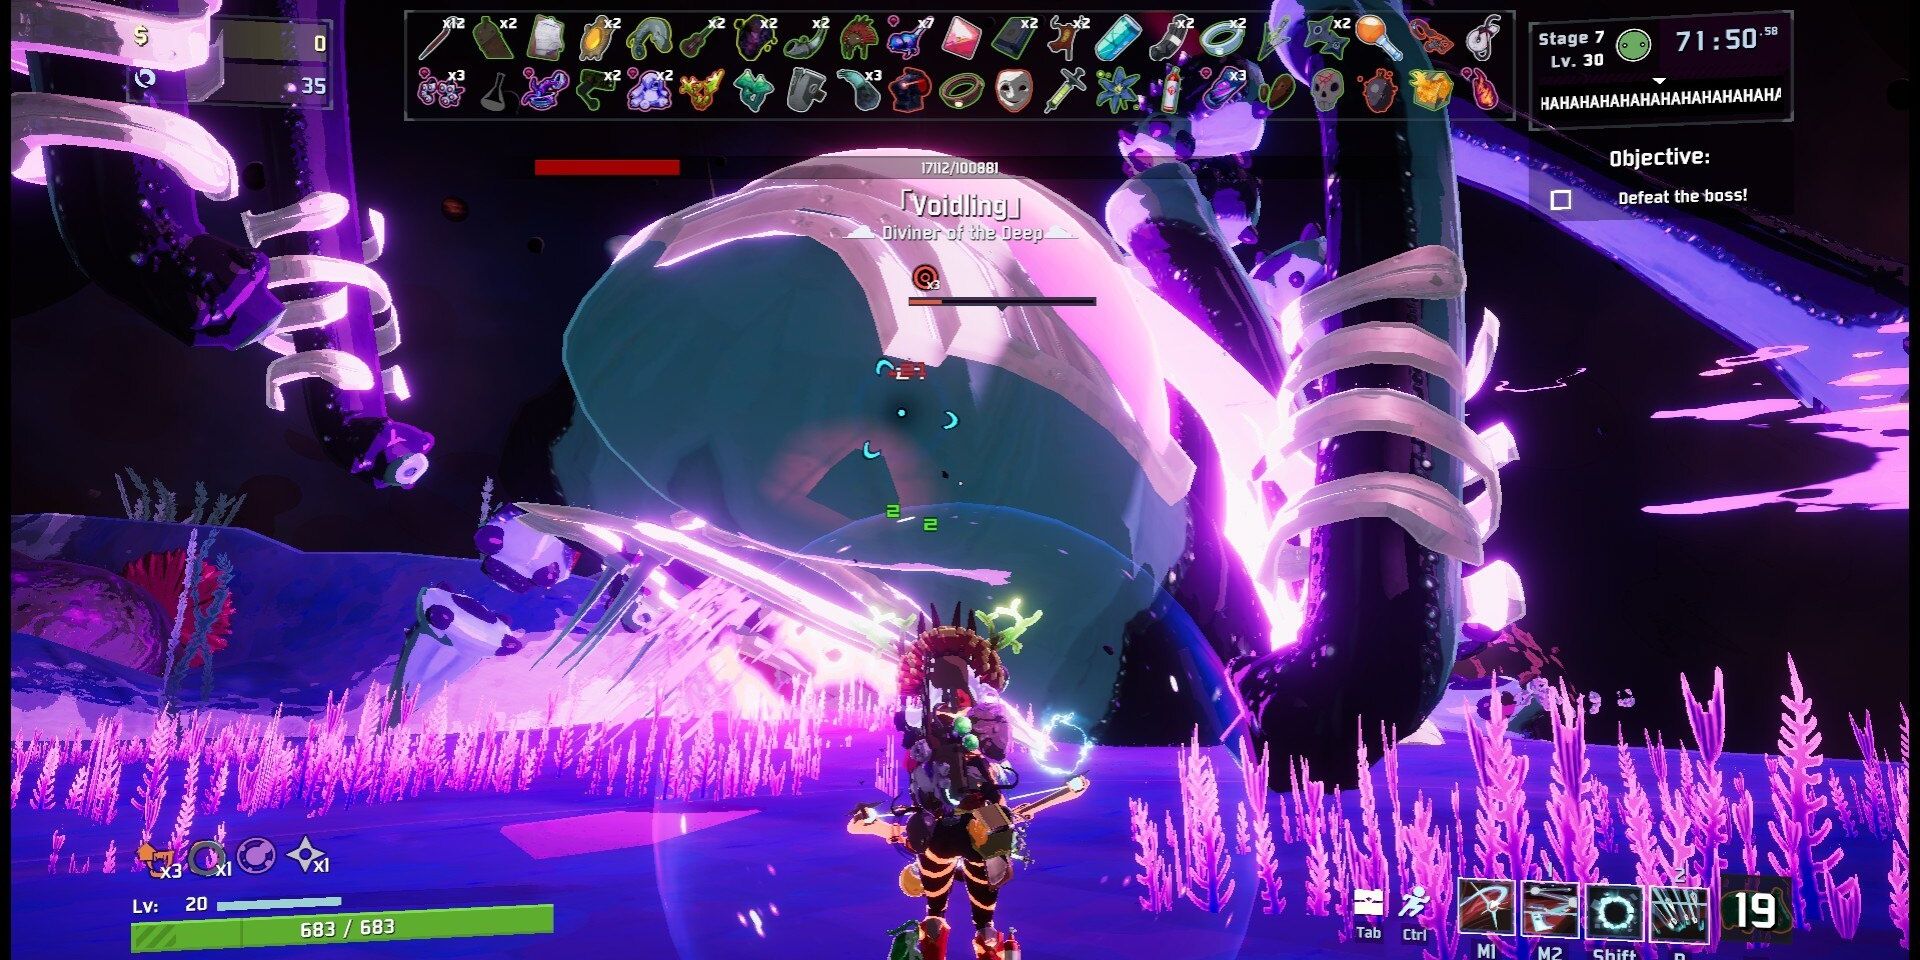
Risk of Rain 2’s Survivors of the Void DLC offers new locations, items, and enemies to increase your run potential as well as the challenge, with a special boss providing a secret ending and an even tougher battle than Mithrix with the Voidling.
Risk Of Rain 2: 8 Best Survivors For Playing Simulacrum
You have a lot of waves ahead of you.
The road to fighting Voidling is not easy. Even if you make it there alive, its powerful attacks and unique boss arena will have you coming back run after run, struggling to end that third phase. Although, there are a handful of tricks that will ensure you don’t get stuck in an endless loop.
8 Stay Underneath The Voidling
Because of the massive size of Voidling and the shape of its spider-like body, there is more often than not ample room beneath its main body to set up shop during each phase. You can place Warbanners, Captain’s special skill, or Engineer turrets here as they won’t walk away while you are there.
Underneath Voidling is also the easiest place to avoid its Laser Burst, Homing Swarm, and Sweeping Beam attacks. They are easier to dodge with the right utility skill, and Voidling will sometimes not squat all the way down during Sweeping Beam, leaving you plenty of room to hide.
7 Choose The Right Survivor
Some survivors are better suited for long runs, collecting drones, or sweeping hordes of low-health enemies. But you will need to choose a survivor with a high amount of single-target damage while having enough movement to avoid Voidling’s more dangerous attacks.
The best survivors for this boss are Huntress, MUL-T, Void Fiend, and Bandit, as they have the kit for taking down boss enemies quickly while not stuck to a base walking speed. You’ll want to avoid melee survivors like Acrid, Loader, and Mercenary, as they will be easily picked off by Sweeping Beam and Black Hole.
6 Beware Of Nullifier Black Hole
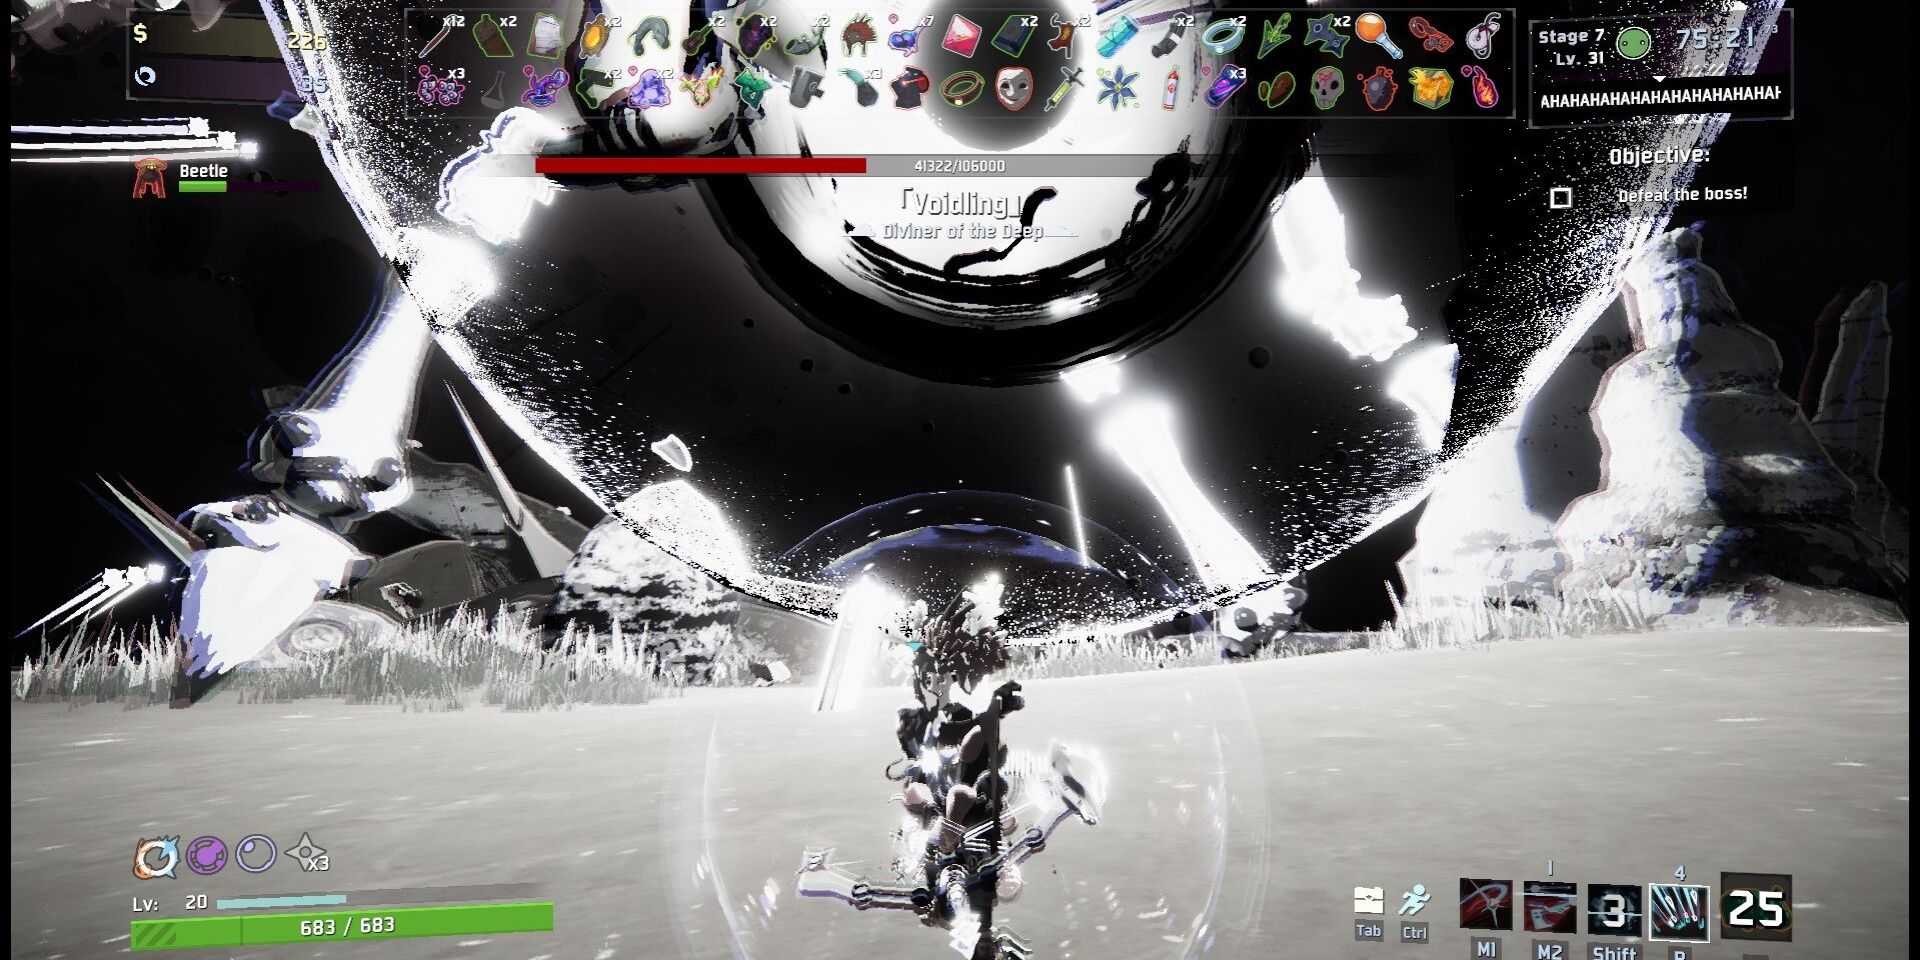
While Sweeping Beam has a tendency to quickly drain your survivor’s health if you’re not careful, the Nullifier Black Hole will automatically end your run if you do not immediately turn and run as soon as you see the negative energy building within Voidling.

Risk Of Rain 2: 10 Tips To Survive Simulacrum
These tips will help you survive Simulacrum in Risk of Rain 2.
The challenge with this attack is having the right utility skills or movement items that get you far enough away before the attack completely stops your movement and pulls you into its radius. This makes it especially dangerous while staying beneath Voidling, as you need to dash away almost as soon as it appears.
5 Stack Damaging Items
-
Item Suggestions:
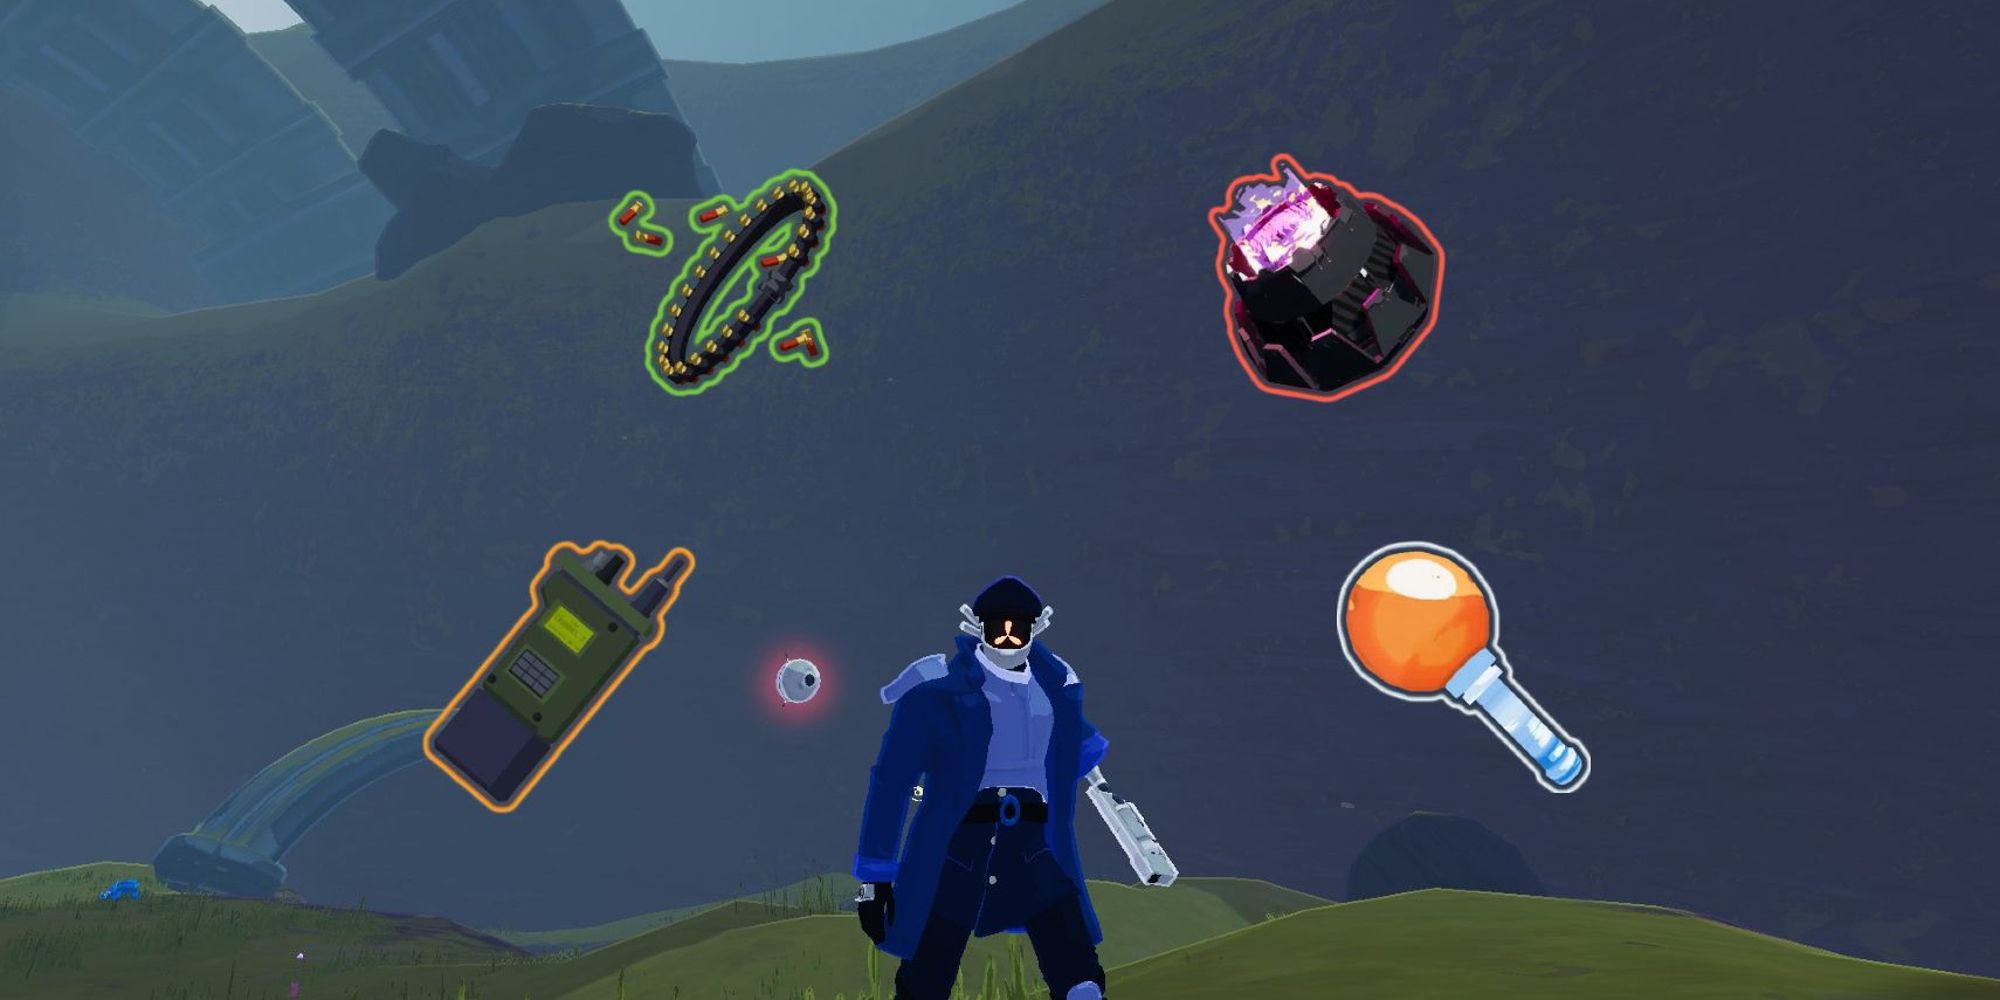
Sticky Bomb, Tri-Trip Dagger, Armor-Piercing Rounds, AtG Missile Mk. 1
One thing you will notice while plucking away at Voidling’s health is that it is very much a damage sponge. With just base primary, secondary, and special skills, you will not do enough damage before it slowly drains your health or all at once with a well-placed Laser Burst.
Void items can be especially useful if you stack enough of them, which will help to quickly drain Voidling’s health for each phase. You’ll also want to stack on-hit effect items to exponentially raise your DPS, as you will be able to stack them very easily.
4 Collect At Least One Resurrection Item
Sometimes you will be in a bad spot in the terrain, or you’ll notice the Black Hole starting too late, and be instantly wiped off the map. If you don’t want to rely on blind luck during a 40-minute run, try to collect at least one item that saves you from death.
This means having Dio’s Best Friend or Pluripotent Larva, and ironically, the upgraded Void item is easier to attain if you make sure to open every Void Cradle you see. While you shouldn’t abandon a run if you don’t find either of these, you shouldn’t consider yourself bulletproof without them.
3 Start With A Lower Difficulty
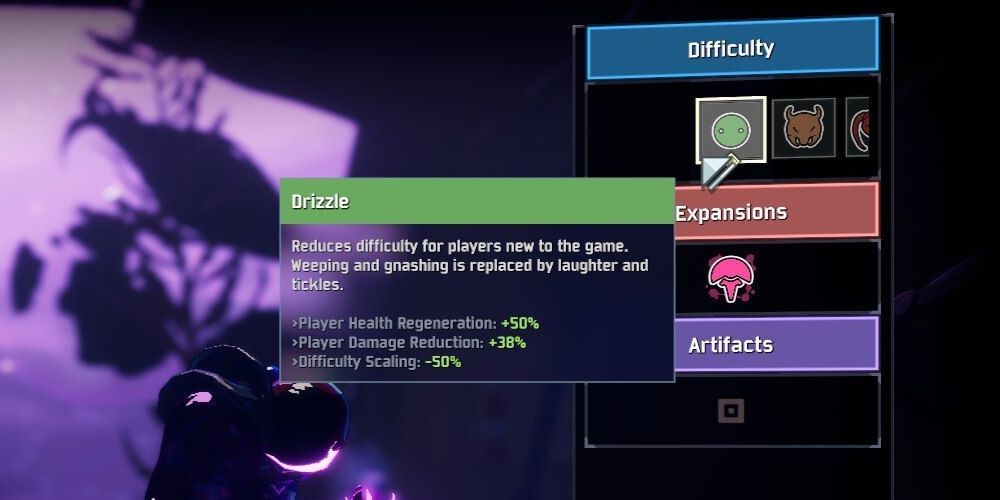
While each of Voidling’s three phases are minimally different from each other, there are nuances that will only help you after replaying them over and over. If you find it difficult to reach the third or even second phase, no matter what combination of items you find, consider practicing on lower difficulties.

Risk Of Rain 2: What Every Lunar Item Does
Lunar Items can greatly impact every run in Risk of Rain 2, so it pays off to know what they do and how best to use them.
After two or even three times of beating Voidling, you will likely unlock new survivor abilities and randomly occurring items necessary to create builds using survivors you are comfortable with. Although Monsoon might require a great deal of luck if you don’t have an amazing first stage.
2 Use The Terrain In Each Phase
The first phase uses the void terrain from the previous stage, with low ridges and scattered boulders, which Voidling will not have difficulty navigating. Try to draw it to an awkward angle where the Sweeping Beam will have a space that allows you to easily avoid it.
The other two phases will randomly choose between a handful of rings based on the other areas of the game, although each one will have significantly more cover than the first phase. This means more roadblocks when avoiding the Black Hole, so don’t trap yourself for the sake of cover.
1 Practice Your Parkour Skills
-
Item Suggestions:
Hopoo Feather, Paul’s Goat Hoof, Wax Quail, Strides of Heresy
One of the more annoying sections of the Voidling boss fight are the parkour rooms between each phase that requires you to navigate complex obstacles. Additionally, this area will constantly damage you as if you are in the Void Fields.
In addition to picking up movement items that can help you essentially bypass a majority of the obstacles, you’ll need to make sure you can navigate them quickly so that you will still have enough health to stay alive during the next two phases.
Every Risk Of Rain 2 Character, Ranked
Risk of Rain 2 offers a diverse set of playable characters. Here, we’ll be ranking every single one from worst to best.

