Lords Of The Fallen is a game filled with secrets, from uncovering hidden NPCs to locating items and even exploring various endings. Each ending necessitates following a precise sequence of steps, and the most demanding of them all is the secret Umbral ending.
In the true soulslike fashion, the game offers no explicit guidance on how to unlock it, and there may not even be a hint of its existence. This ending stands out as the most challenging, as it requires a multitude of intricate steps and adhering to a strict pattern, making it arguably the most rewarding achievement in the game.
Before we dive into the steps for this ending, there are two crucial points to be aware of:
First, do not cleanse any of the beacons you encounter in the game.
Second, do not enter Bramis Castle until you reach the point in this guide where it’s allowed.
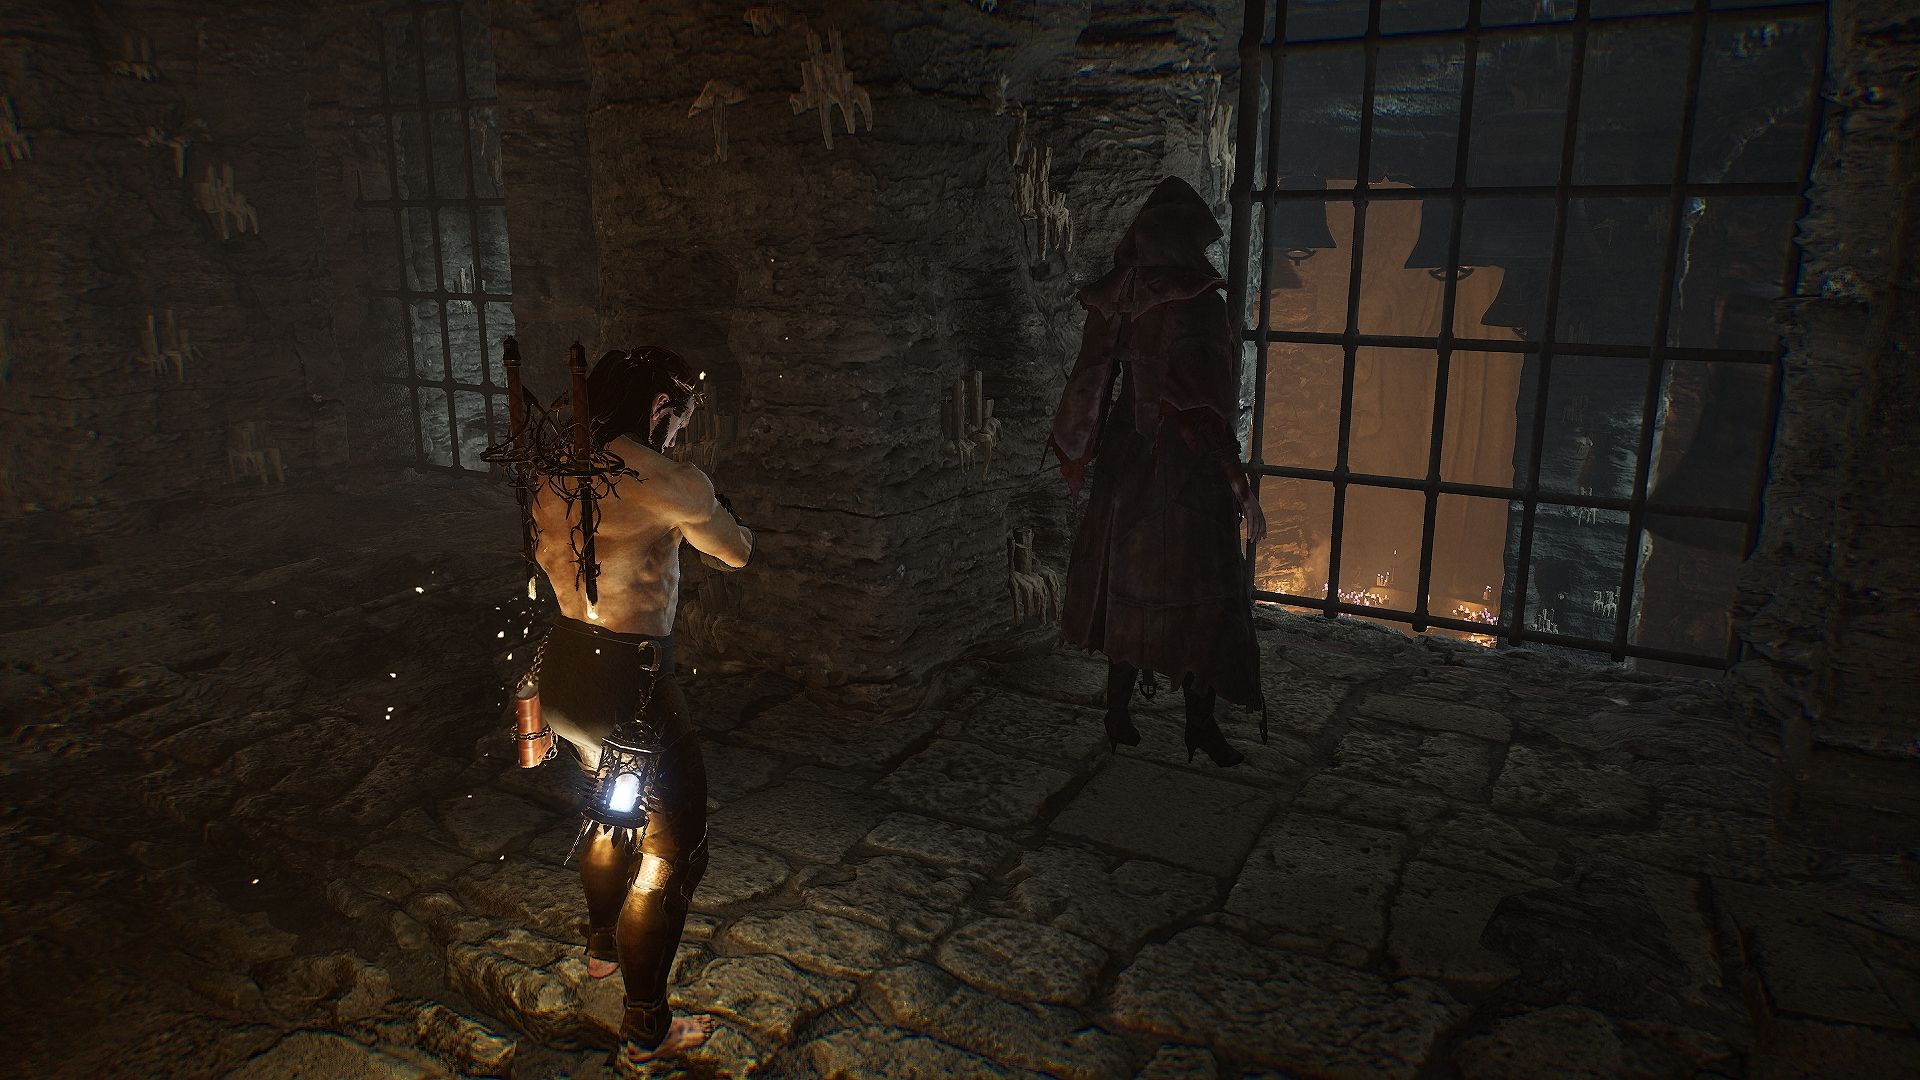
Where To Find Damarose The Marked
To start, you’ll need to locate Damarose The Marked in multiple spots to guide her to her final destination. Damarose can be encountered in three different locations before she reaches her final one.
Pilgrim’s Perch Location #1
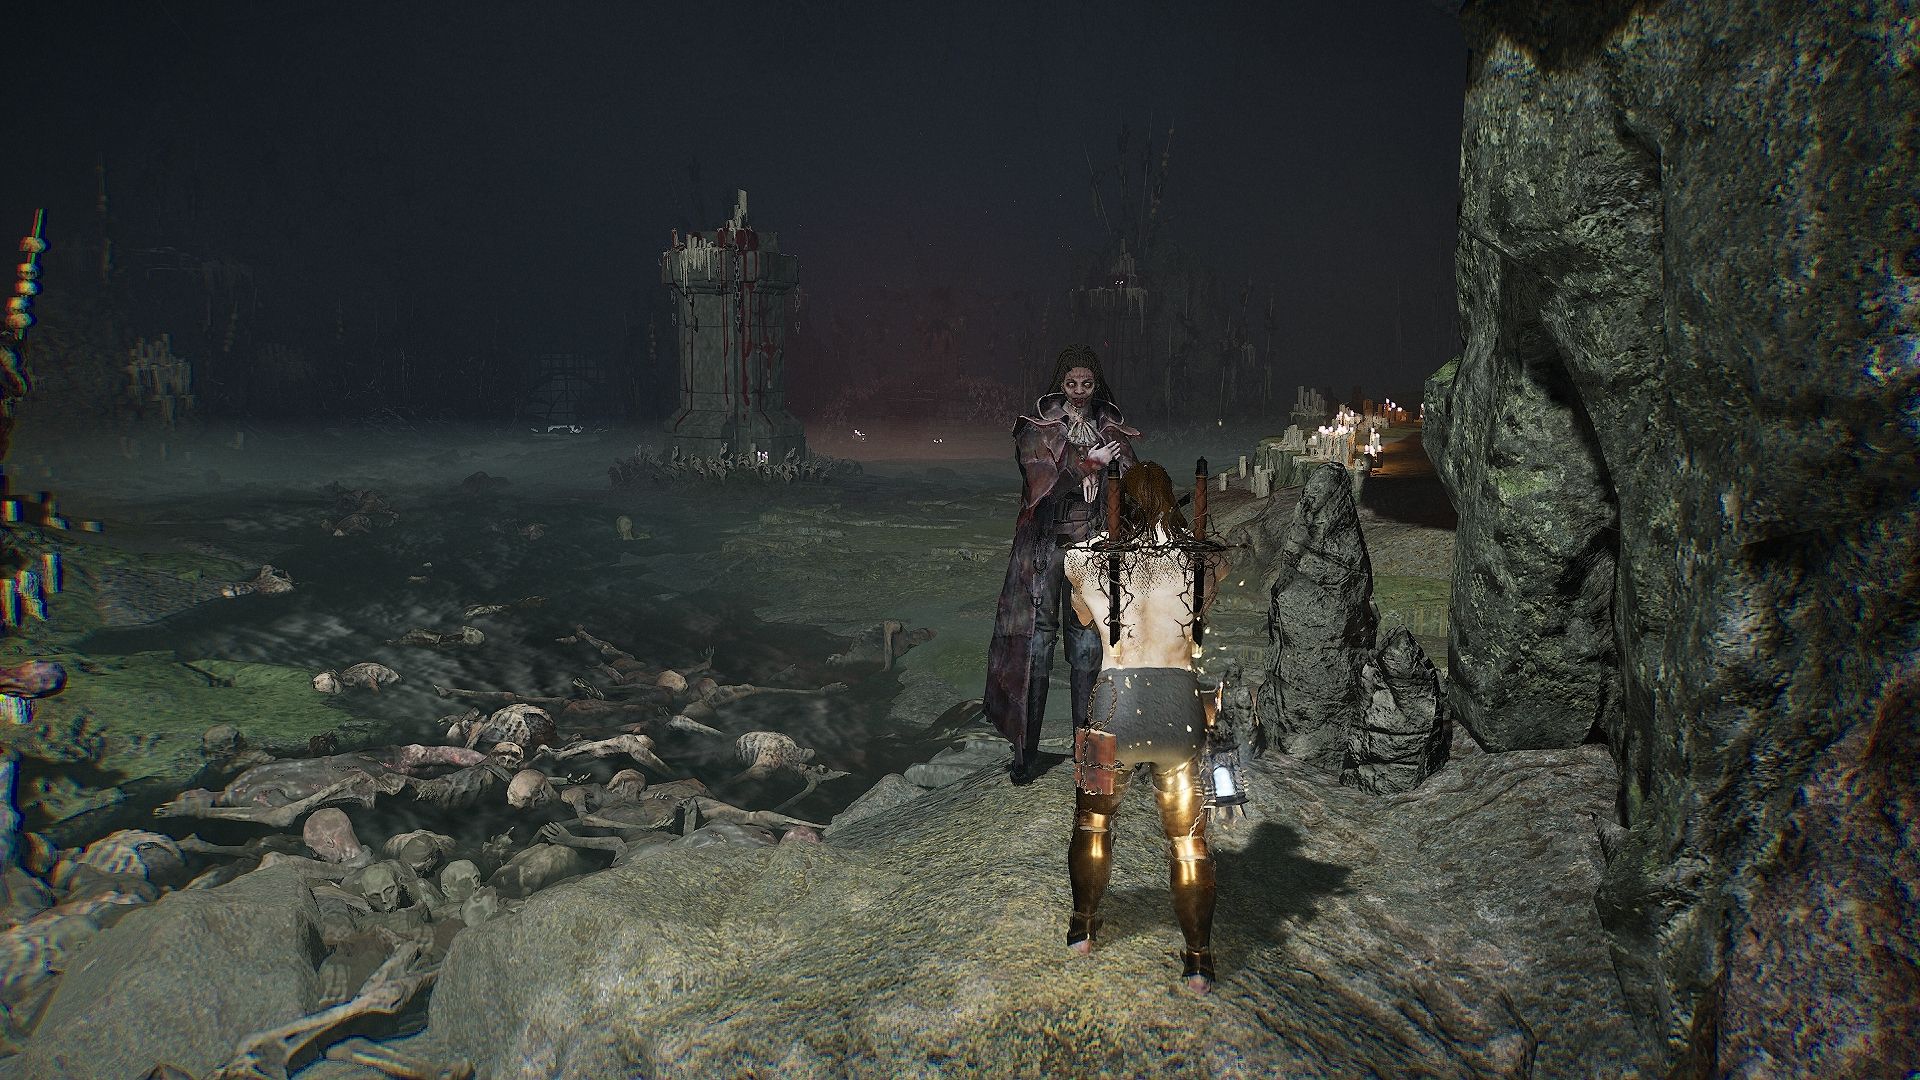
Damarose first location can be found right at the beginning of the game in Pilgrim’s Perch.
From the Sanctuary of Baptism/Vestige of Chabui, climb up the two ladders near the Vestige. Once you reach the top, cross the bridge on the right to the other side. At the end of the hallway, drop down through the hole in the ground, turn around and you’ll find Damarose standing there.
Engage in conversation with her and go through all her dialogue to progress to her next location.
Pilgrim’s Perch Location #2
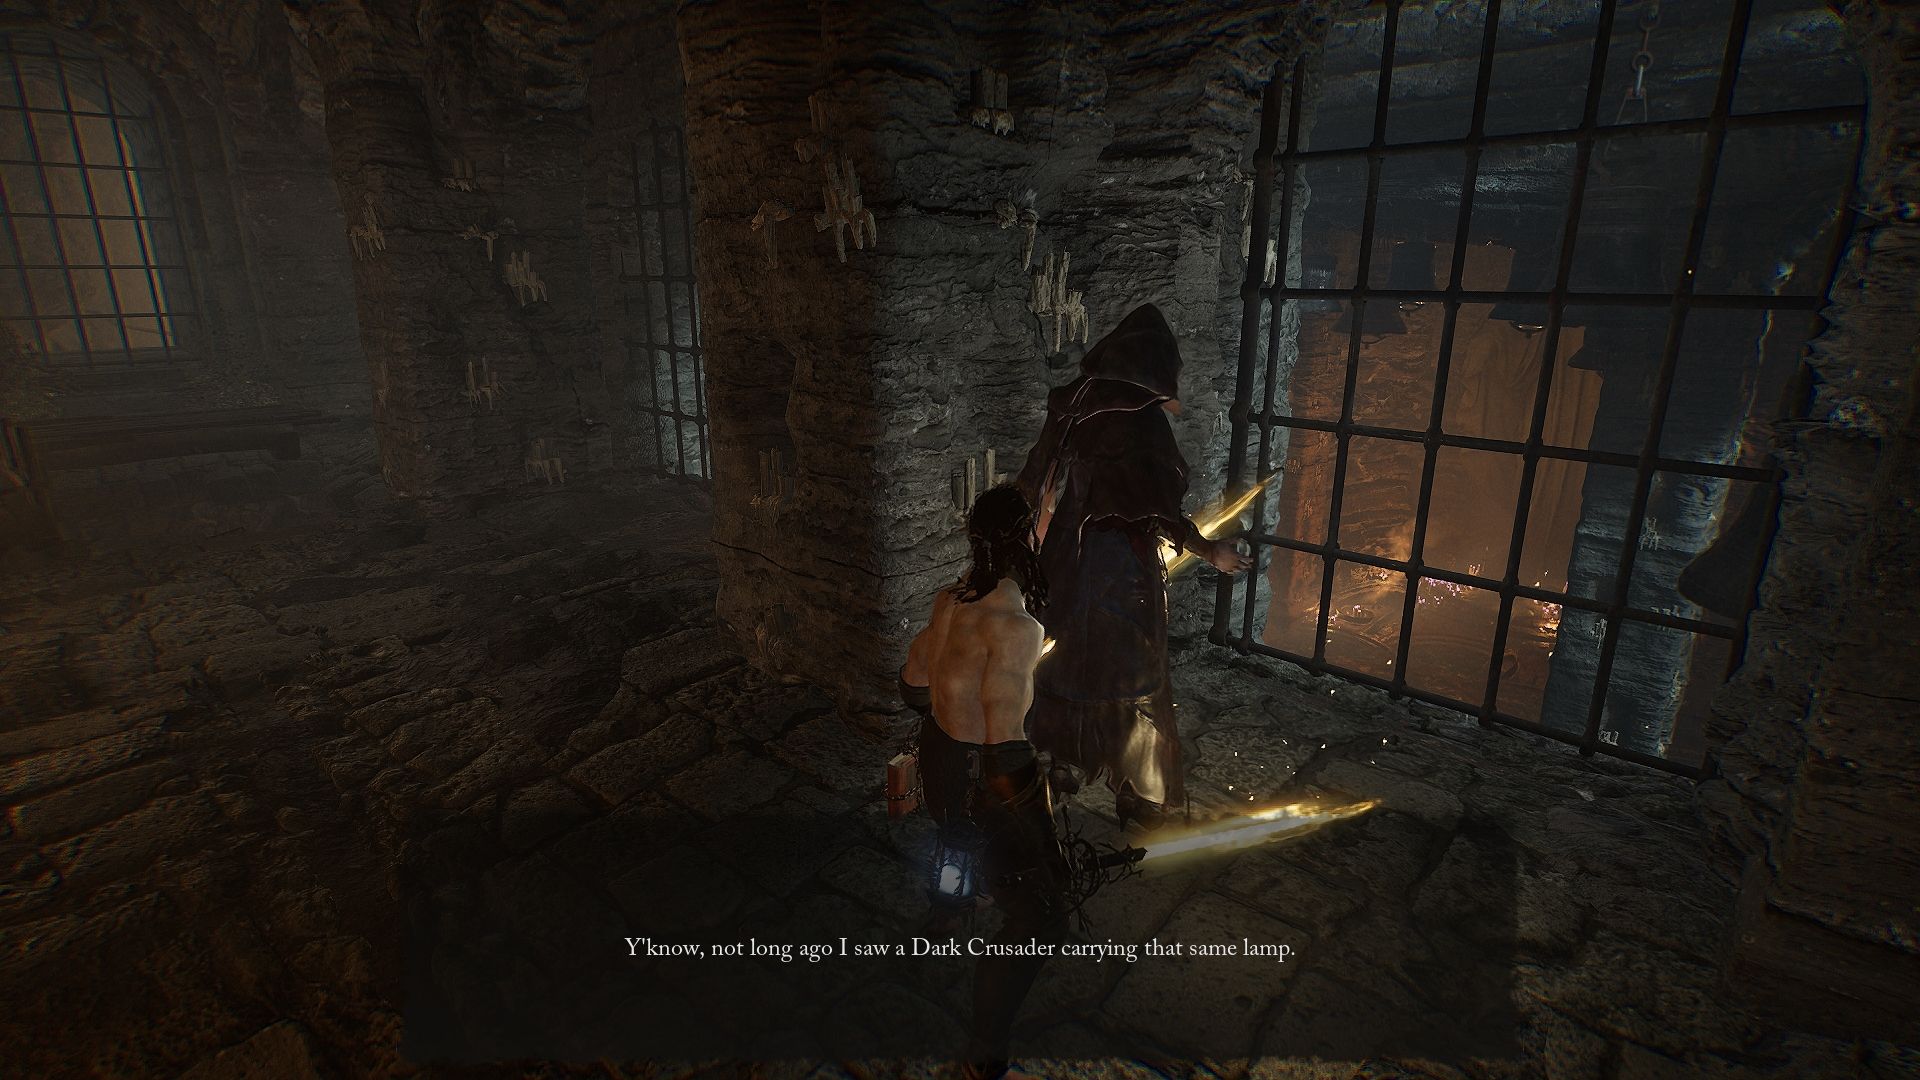
After your initial meeting with Damarose, continue through Pilgrim’s Perch until you reach the boss fight with Gentle Gaverus, Mistress of Hounds. Just before the arena, you’ll encounter Damarose once again.
Once you’ve finished conversing with her, Damarose will turn into a merchant at this location.
Fitzroy’s Gorge Location
After defeating Gentle Gaverus, Mistress of Hounds, continue with the game until you reach Forsaken Fen. From there, proceed to defeat the Hushed Saint and make your way to Shuja Hamlet/Vestige of Pale Butcher.
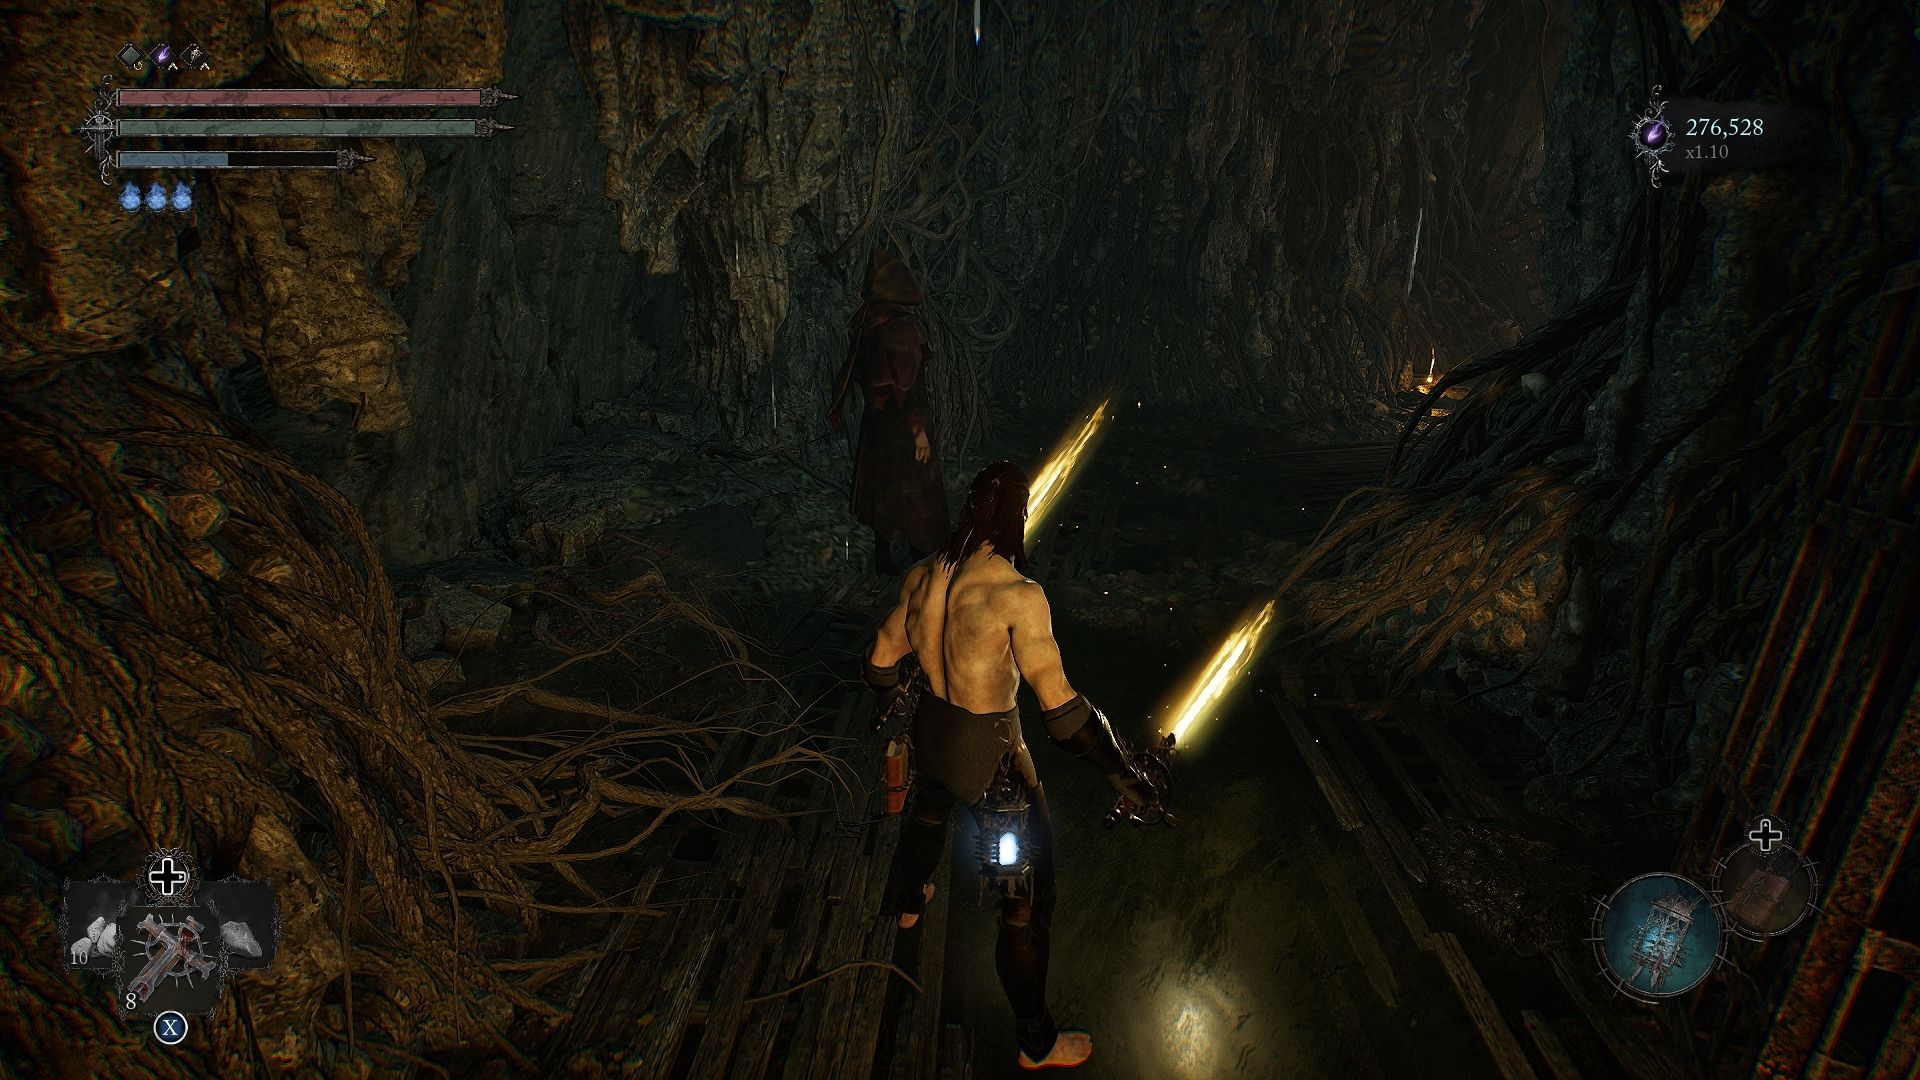
From this point, advance toward the entrance illuminated with torches and keep going until you come across a prompt that says Fitzroy’s Gorge. Shortly after that, you’ll encounter Damarose once more.
Be sure to talk with her so she can reach her final location.
Shrine Of Adyr Location
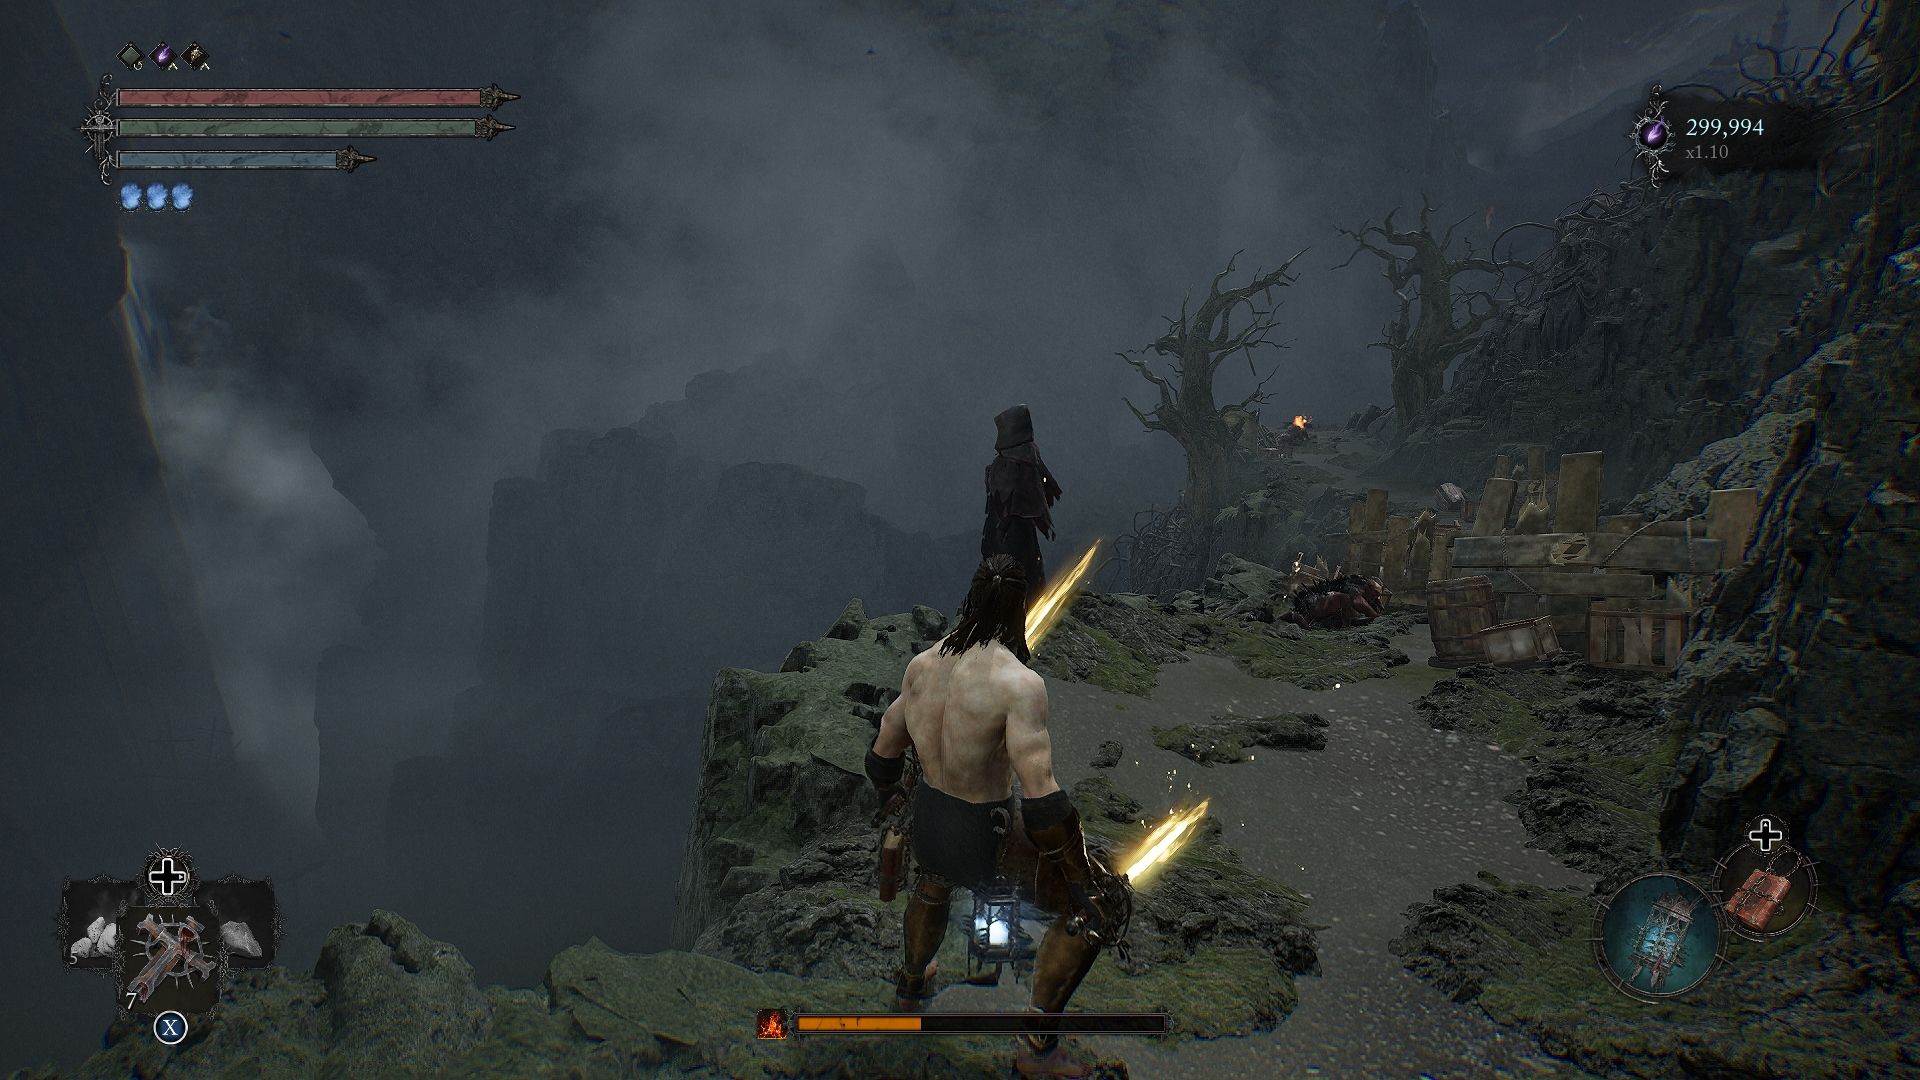
Damarose final location is at the Shrine of Adyr, accessible through Fitzroy’s Gorge.
After your recent encounter with her, proceed through this area as you normally would until you reach a boss fight with the Ruiner on a bridge. Once you defeat the Ruiner, enter Umbral realm, and you’ll come across a pathway obstructed by an Umbral entity.
The Soulflay item required to unlock this door can be found behind the large door at the end of the bridge. After unlocking it, follow the path ahead, and you’ll eventually arrive at the Shrine of Adyr.
Damarose can be found overlooking the cliff there. Make sure to talk to her to progress through the next step.
Obtain Damarose’s Seedpod
Your objective here is to reach Revelation Depths and defeat Harrower Dervla, the Pledged Knight. After defeating her, you’ll encounter a set of stairs in front of you. At the top of these stairs, you can interact with a well that says Seek scourings.
What you need to do at this point is return to Molhu and purchase the Umbral Scouring Clump for 50 Umbral Scourings. This item will enable you to interact with the well and access the location known as Mother’s Lull.
This location is essential for all the upcoming steps required to achieve the Umbral ending.
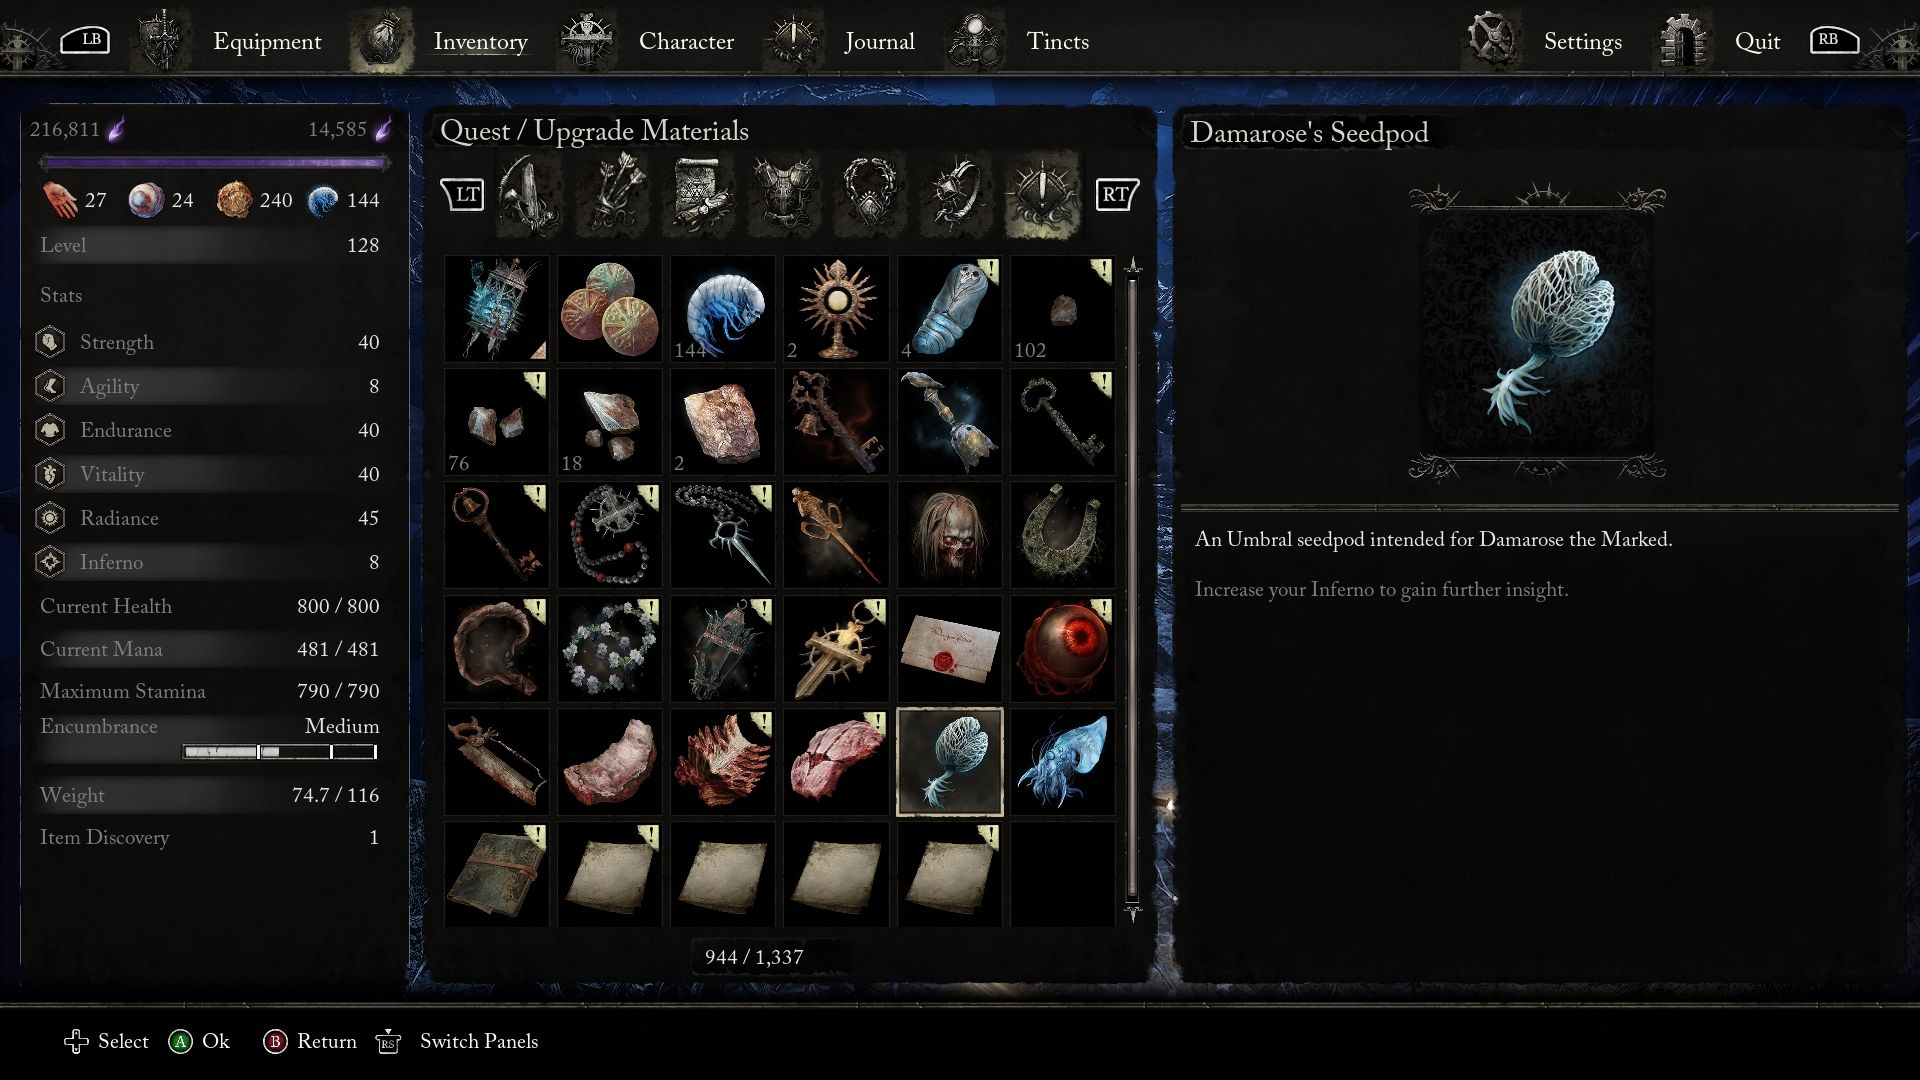
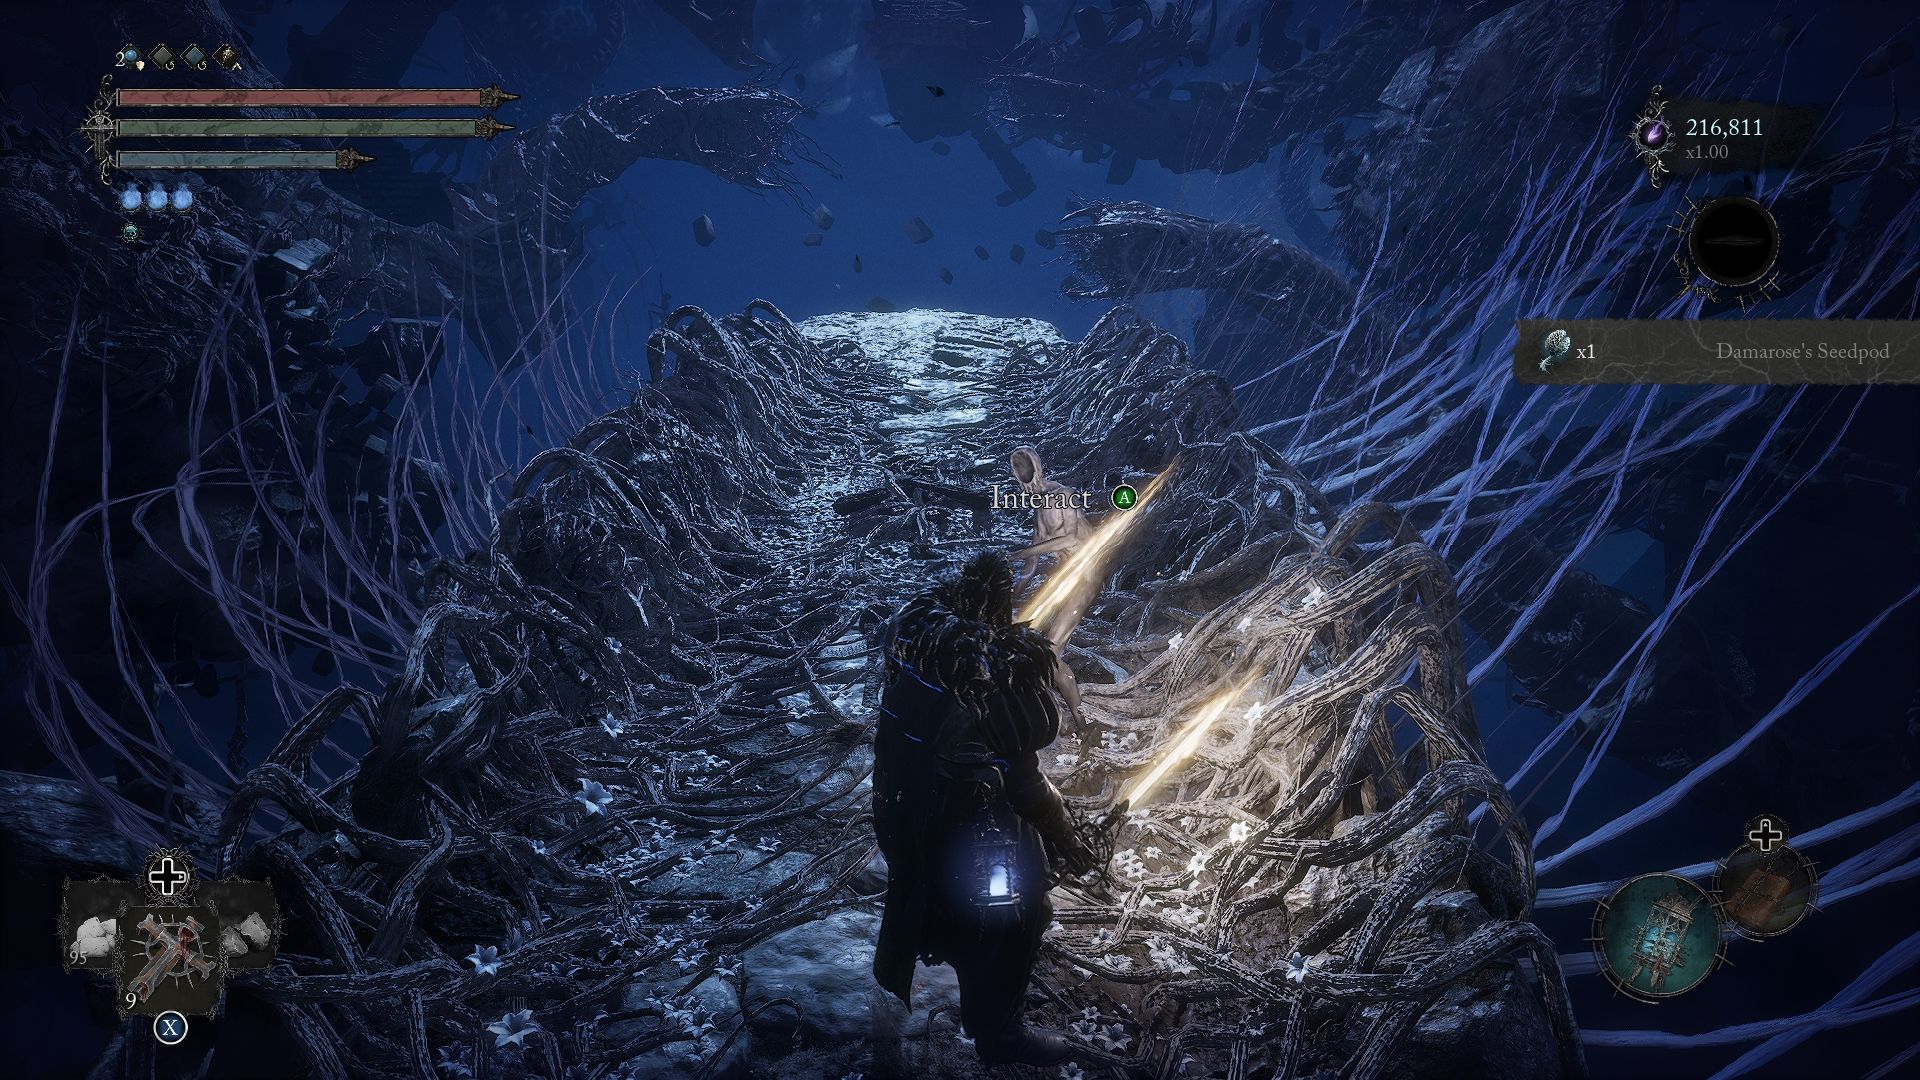
In Mother’s Lull, you’ll find a non-hostile Umbral enemy to interact with. Doing so will grant you Damarose’s Seedpod.
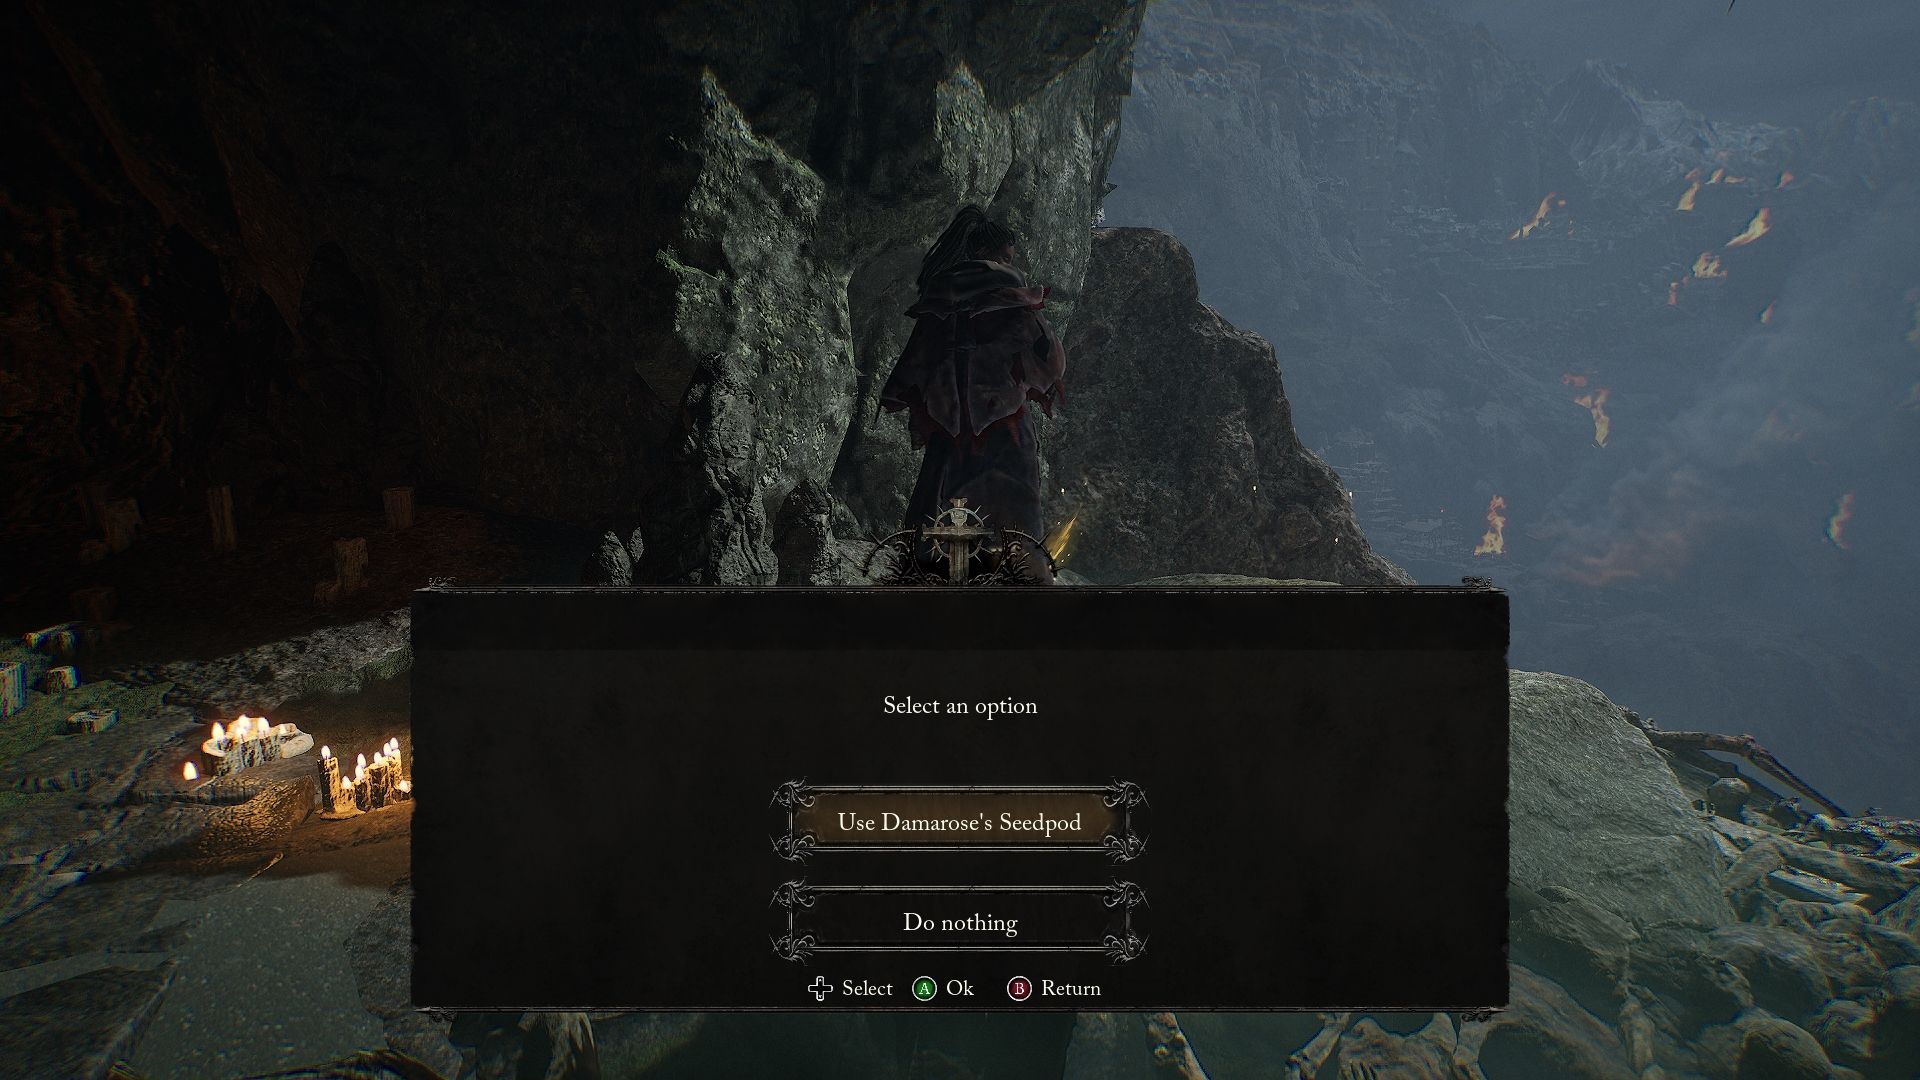
With this item in your possession, head back to the Shrine of Adyr and interact with Damarose. You’ll have the option to use Damarose’s Seedpod on her, but be aware that this action will result in her death.
Before taking this step, make sure to purchase any items from her, as using the Seedpod on Damarose will lock you out from her questline.
Obtain Gerlinde’s Seedpod
Your next target is Gerlinde, the blacksmith, but before you can deal with her, you must free her from her cell in Pilgrim’s Perch. Once you do this, she will return to Skyrest.
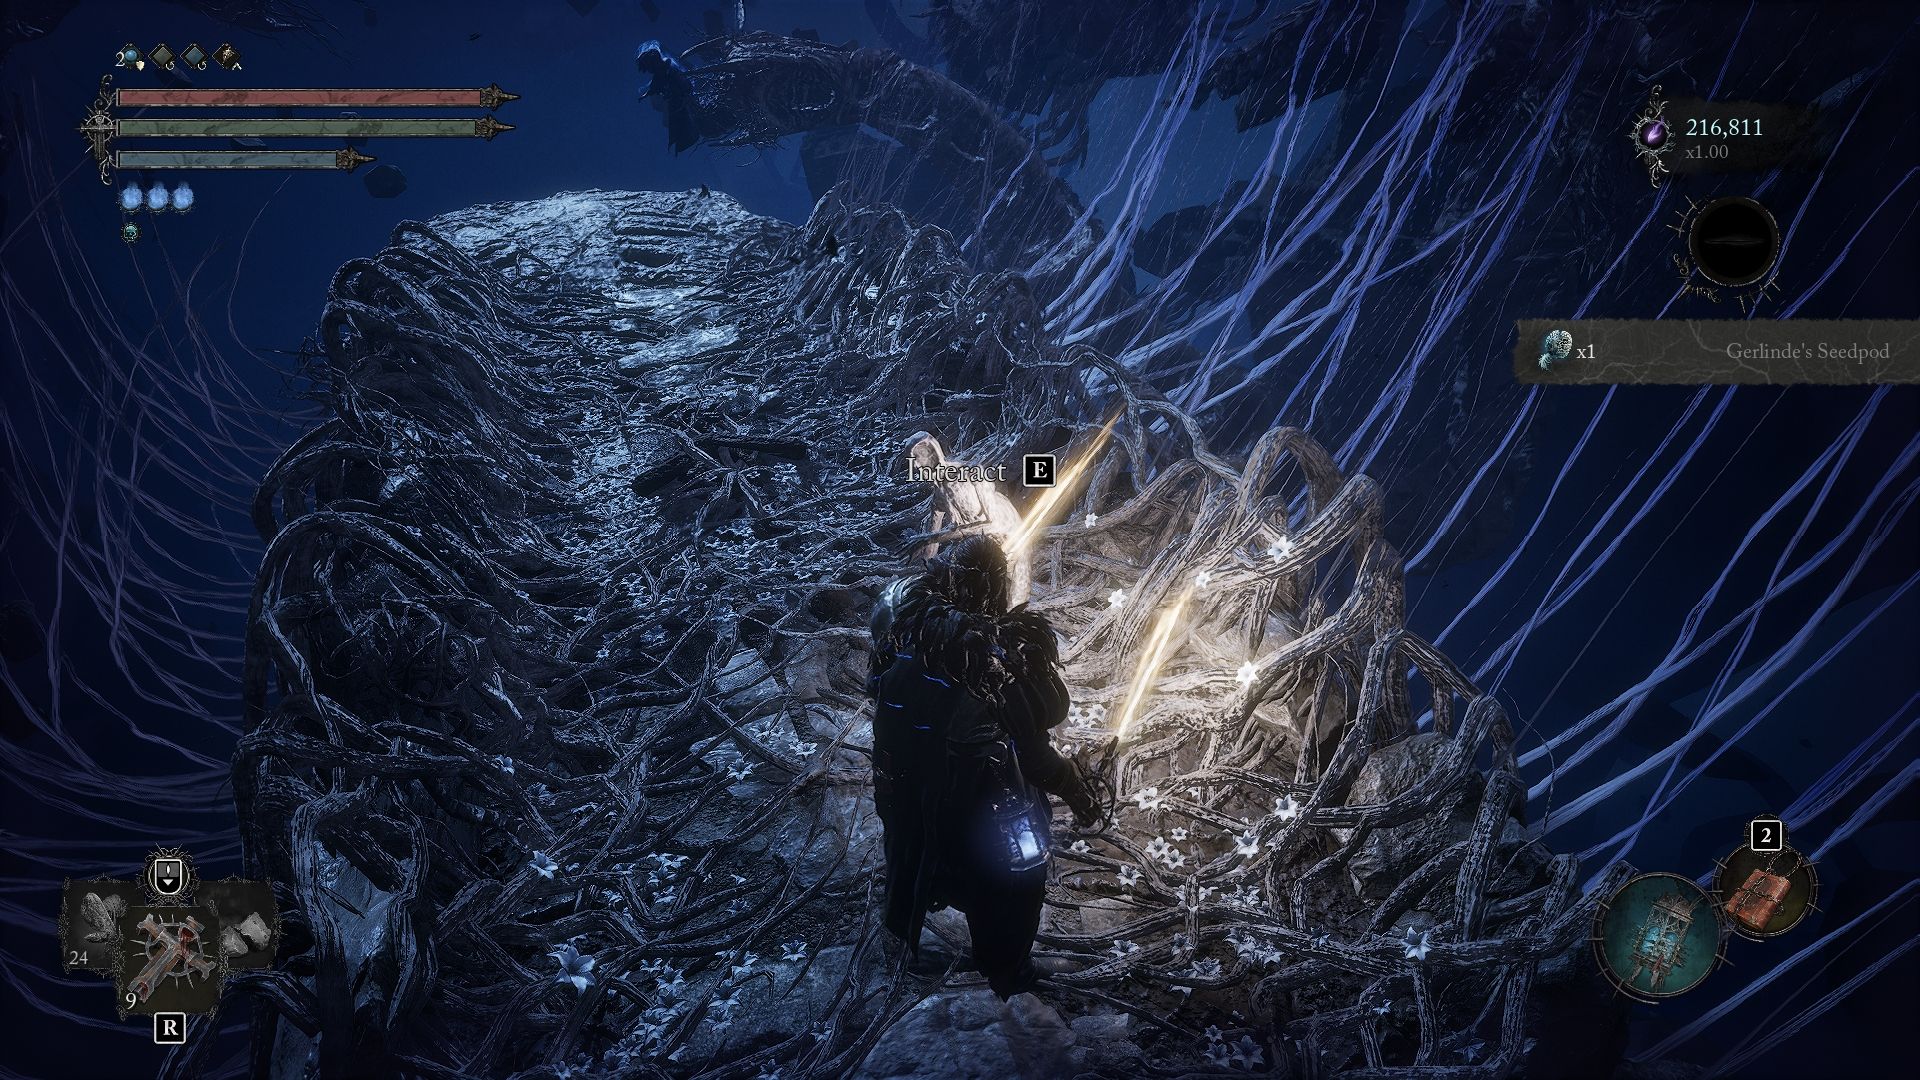
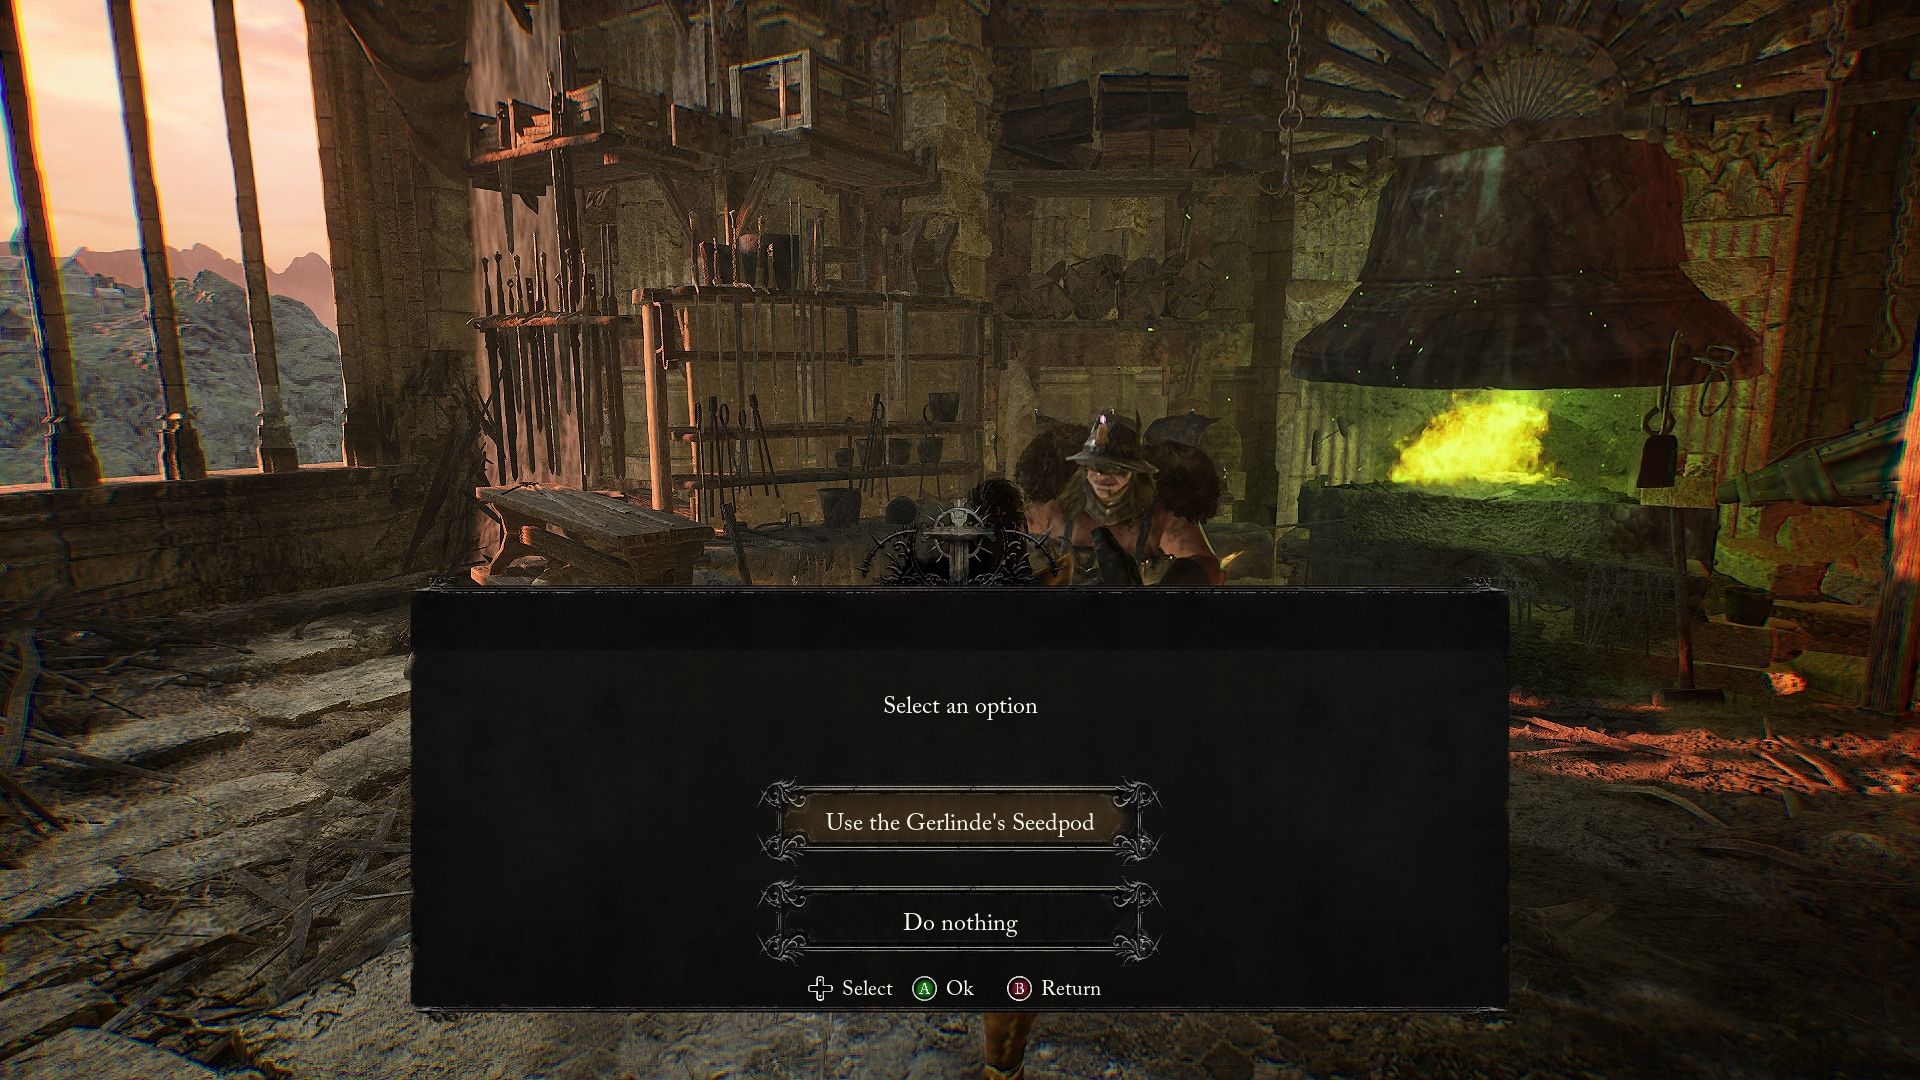
Return to Mother’s Lull and interact with the Umbral enemy to acquire Gerlinde’s Seedpod. Similar to your previous interaction with Damarose, you’ll need to use this seedpod on Gerlinde. Executing this action will unfortunately result in the blacksmith’s death.
Before using the seedpod on Gerlinde, it’s important to note that it will lock you out from accessing her shop and weapon upgrades. To mitigate this, it’s recommended to first locate the final Rune Tablet and give it to Sparky.
This action will unlock the ability to perform all upgrades and runesmithing at any Vestige.
Where To Find Rune Of Adyr
Your next task involves locating the Rune of Adyr, which can be found at the Abbey of the Hallowed Sisters.
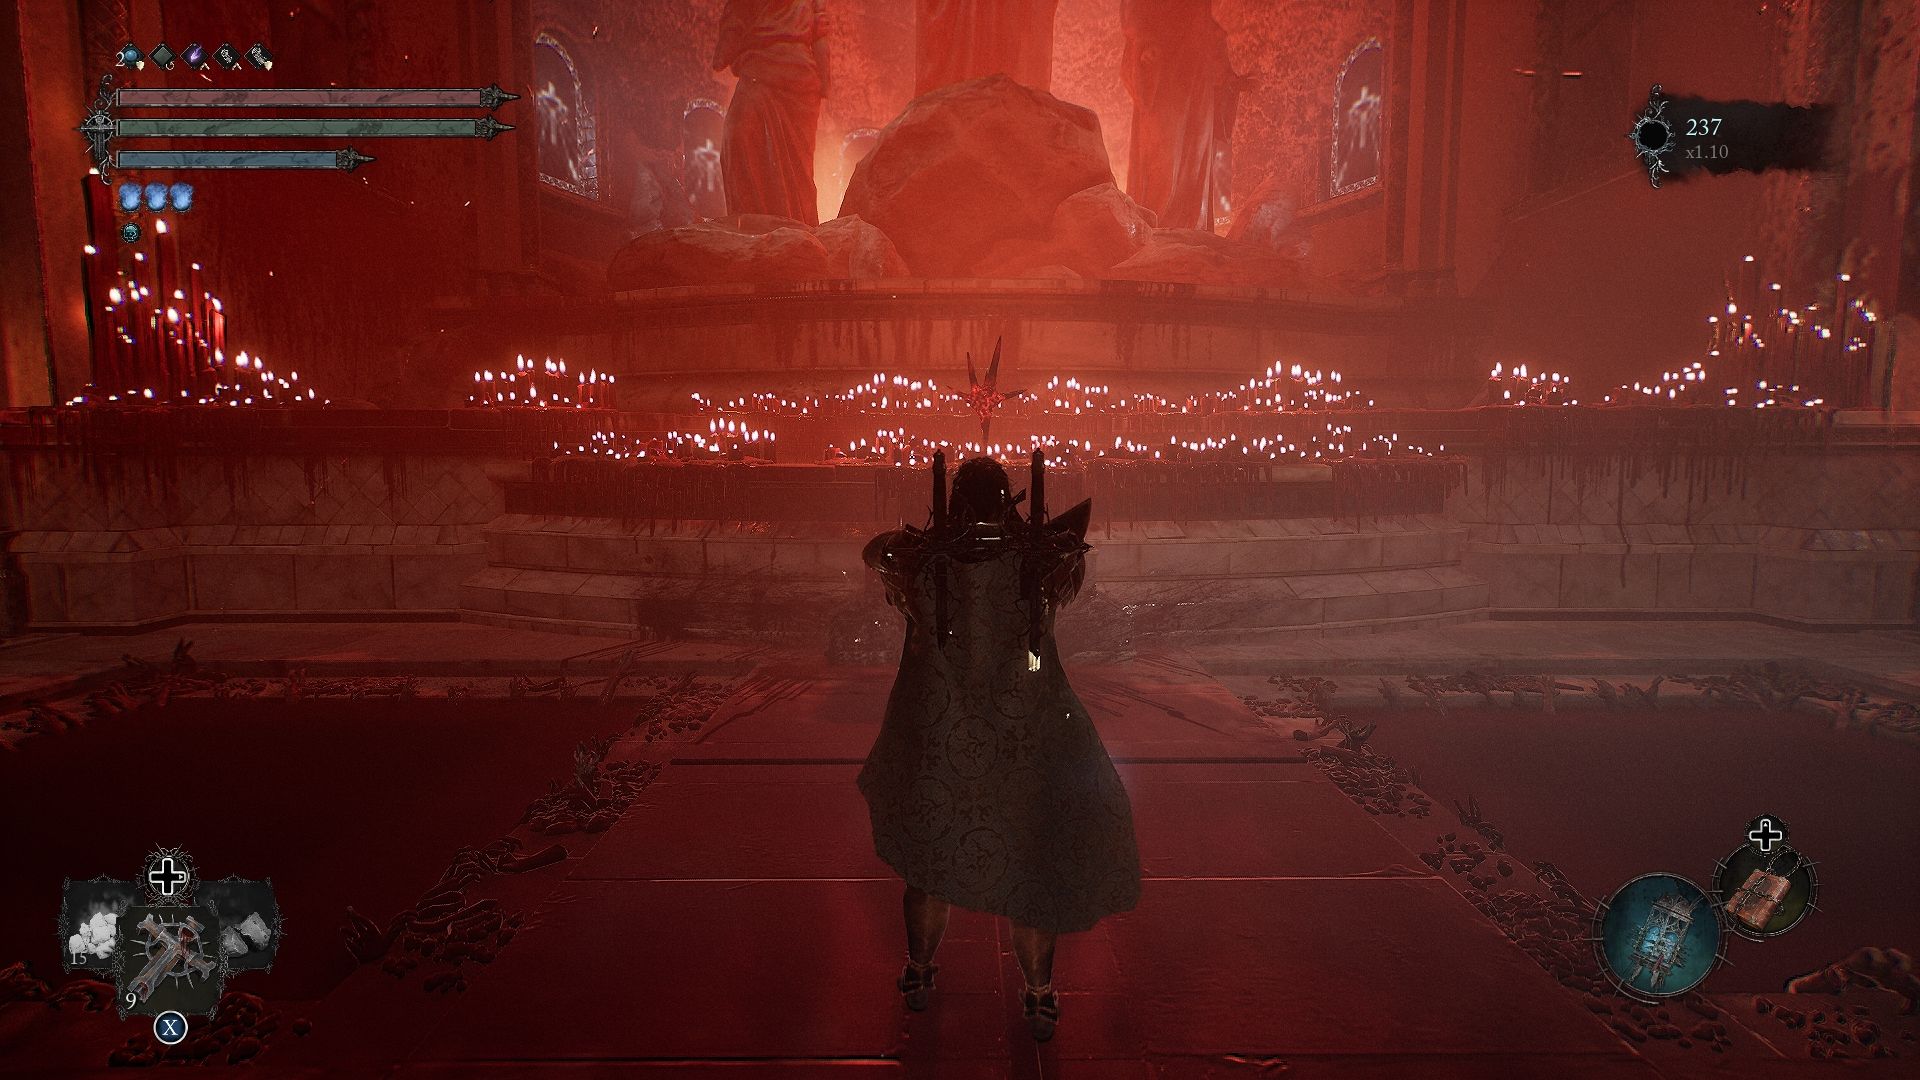
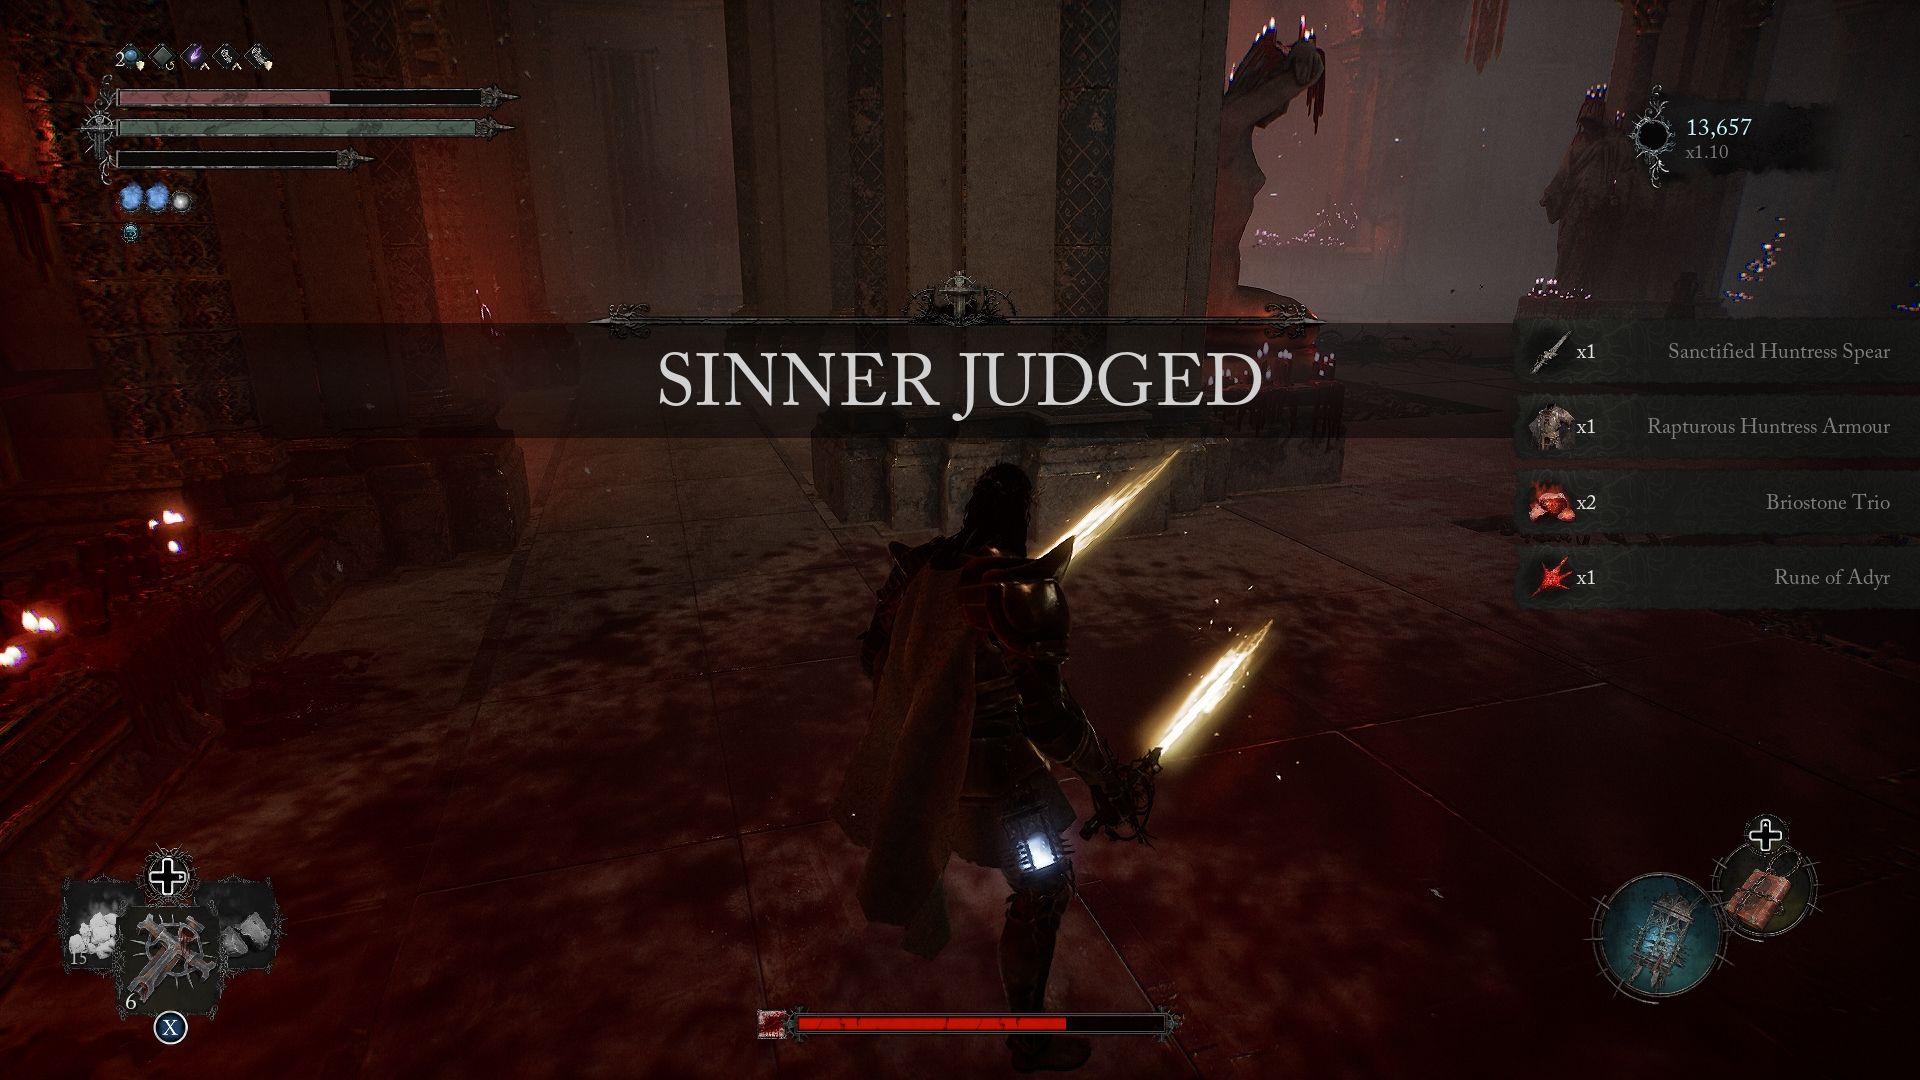
As you progress through the main path, you’ll come across what appears to be a bloody altar, where you’ll find a red item: that’s the Rune of Adyr. When you interact with the rune, it will trigger a boss fight against the Rapturous Huntress of the Dusk.
If you’ve been interacting with the Iron Wayfarer throughout the game, he will join the fight. However, at the end of the battle, he will claim the rune for himself.
To recover it, head to Upper Calrath and exit the Vestige toward the large door in front of you. Here, you’ll confront the Iron Wayfarer. Defeat him to reclaim the Rune of Adyr.
Above all, avoid interacting with the large door leading to Bramis Castle, as this will ruin the entire process.
Hold onto this rune, as you’ll need it in soon.
Obtain The Lightreaper’s Umbral Parasite
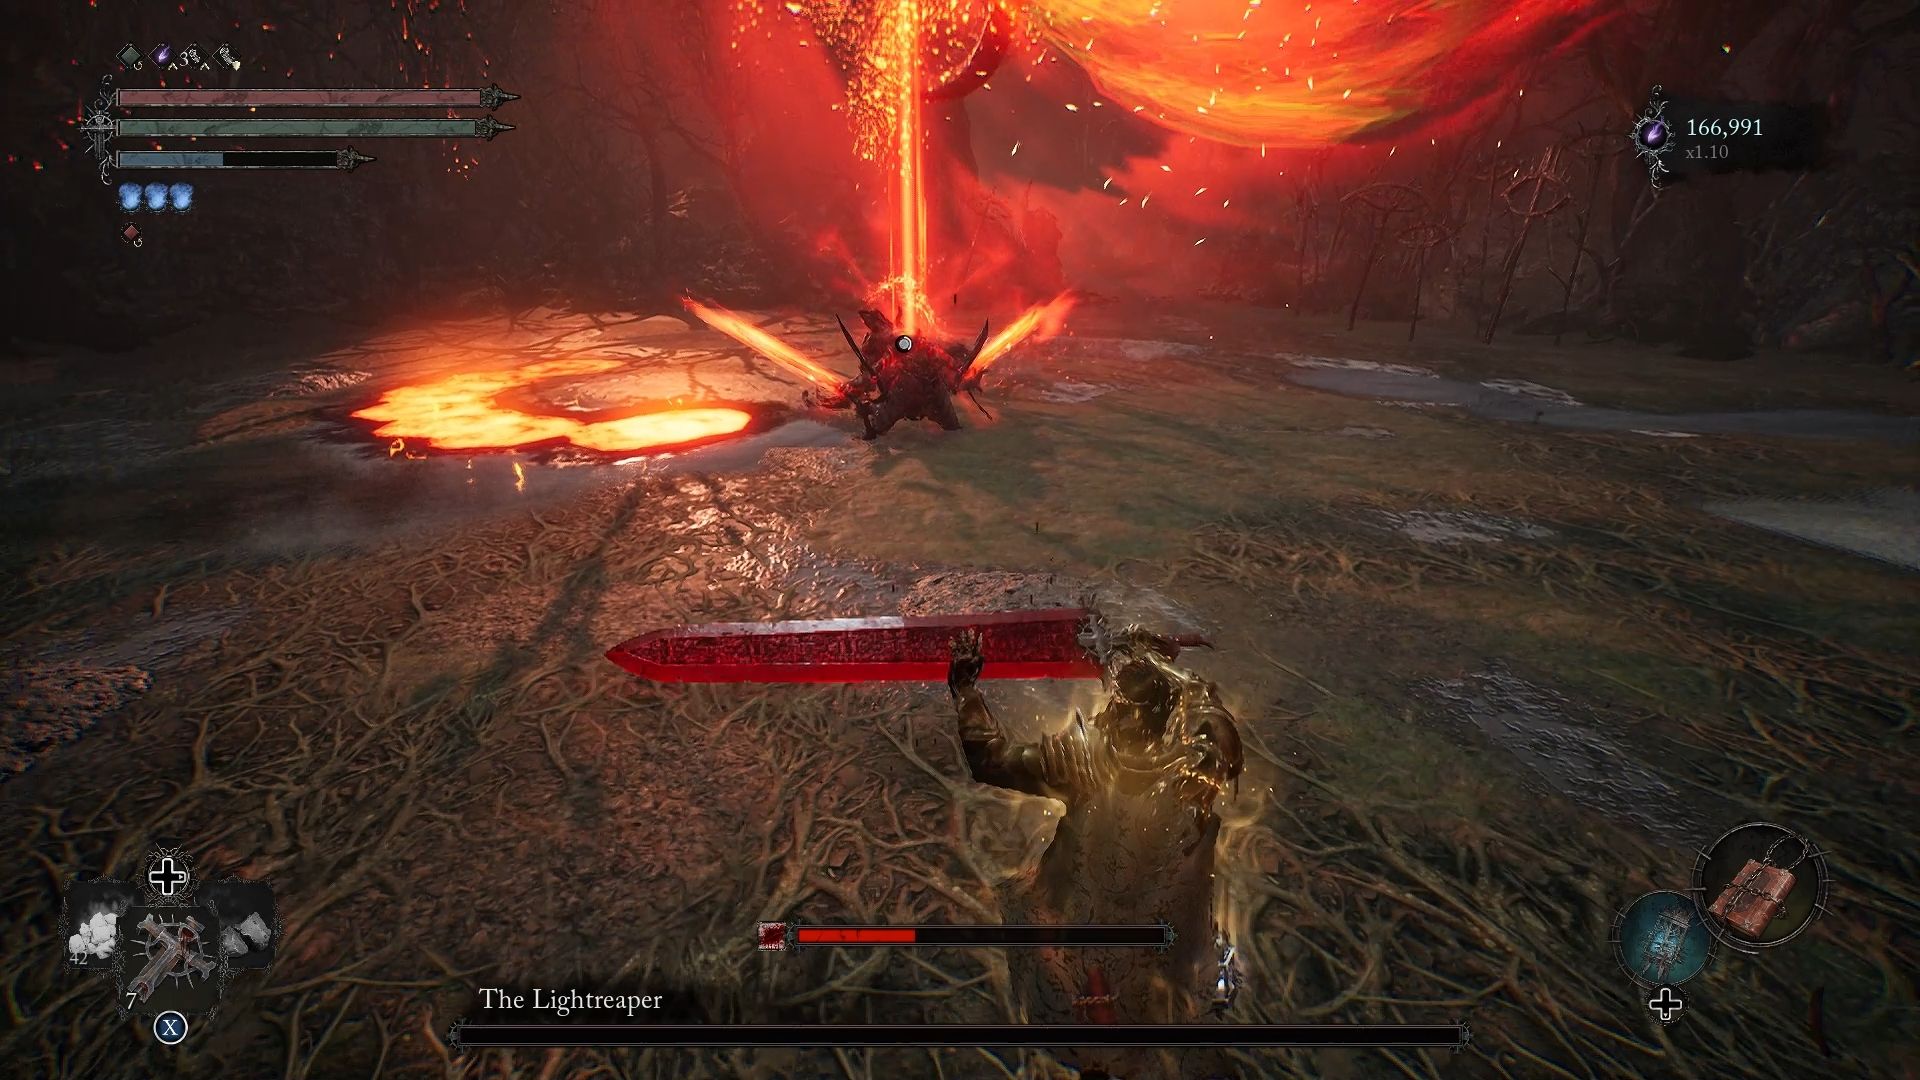
The Lightreaper is a boss fight that can be encountered in four different locations. Regardless of where you defeat him, you will receive The Lightreaper’s Umbral Parasite as one of your rewards.
However, note that in the first three locations, you only have one chance to defeat him. If you fail, he will move on to his next location until he reaches Upper Calrath.
Here are the locations where you can battle the Lightreaper:
- Defiled Sepulcher: Right after the tutorial boss fight.
- Fitzroy’s Gorge: In the open area after defeating the Ruiner boss.
- Fief of the Chill Curse: After defeating the Hollow Crow and locating the beacon there, you’ll find an open area to your right.
- Upper Calrath: In the open area just before the beacon location.
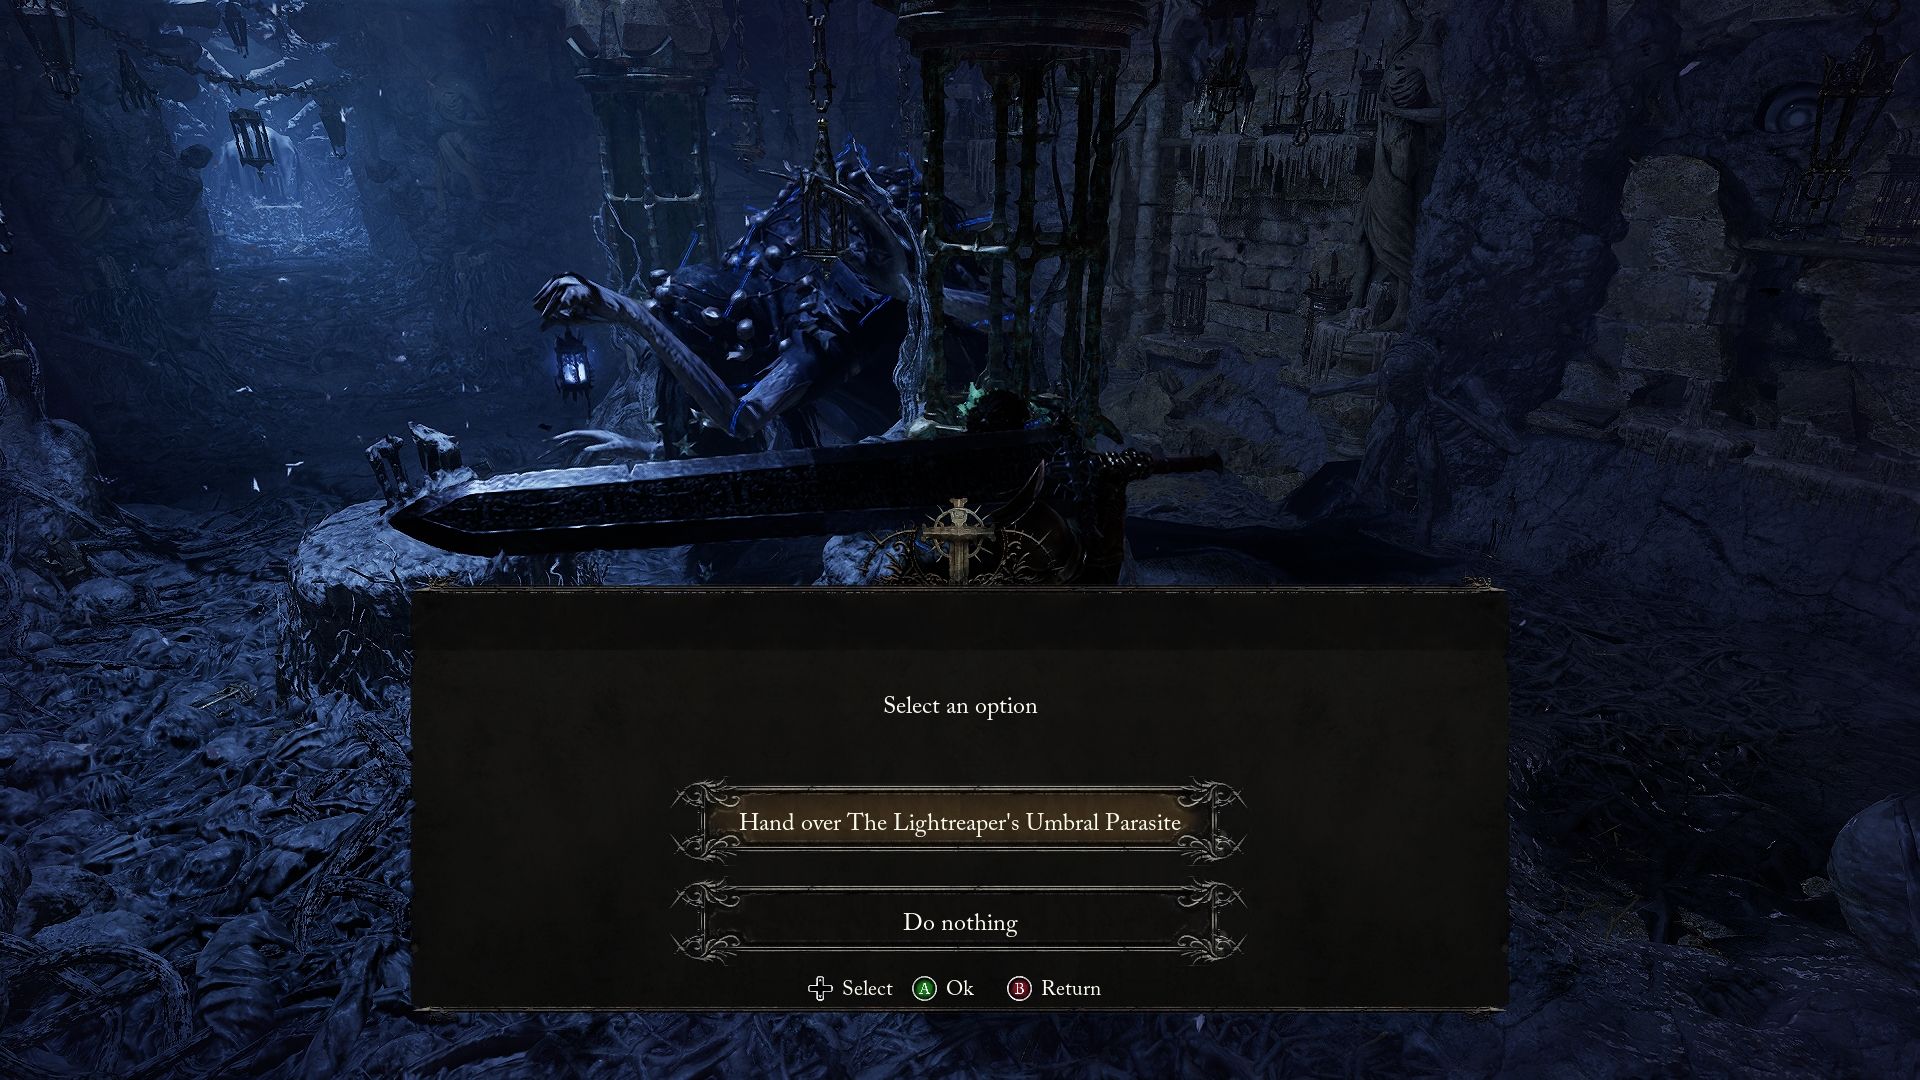
Once you obtain the Lightreaper’s Umbral Parasite, return to Molhu in Skyrest. Enter Umbral and next to him, there will be a pillar you can interact with. You’ll receive a prompt to “Hand over The Lightreaper’s Umbral Parasite.” Choose this option to proceed to the next step.
While some have reported they had issues interacting with the pillar, it’s suggested to close your game and then reopen it.
In the event that you are playing with another lampbearer, ask them to leave the session, and then attempt to interact with the pillar after resting at a Vestige.
Obtain Withered Rune Of Adyr And Melchior’s Seedpod
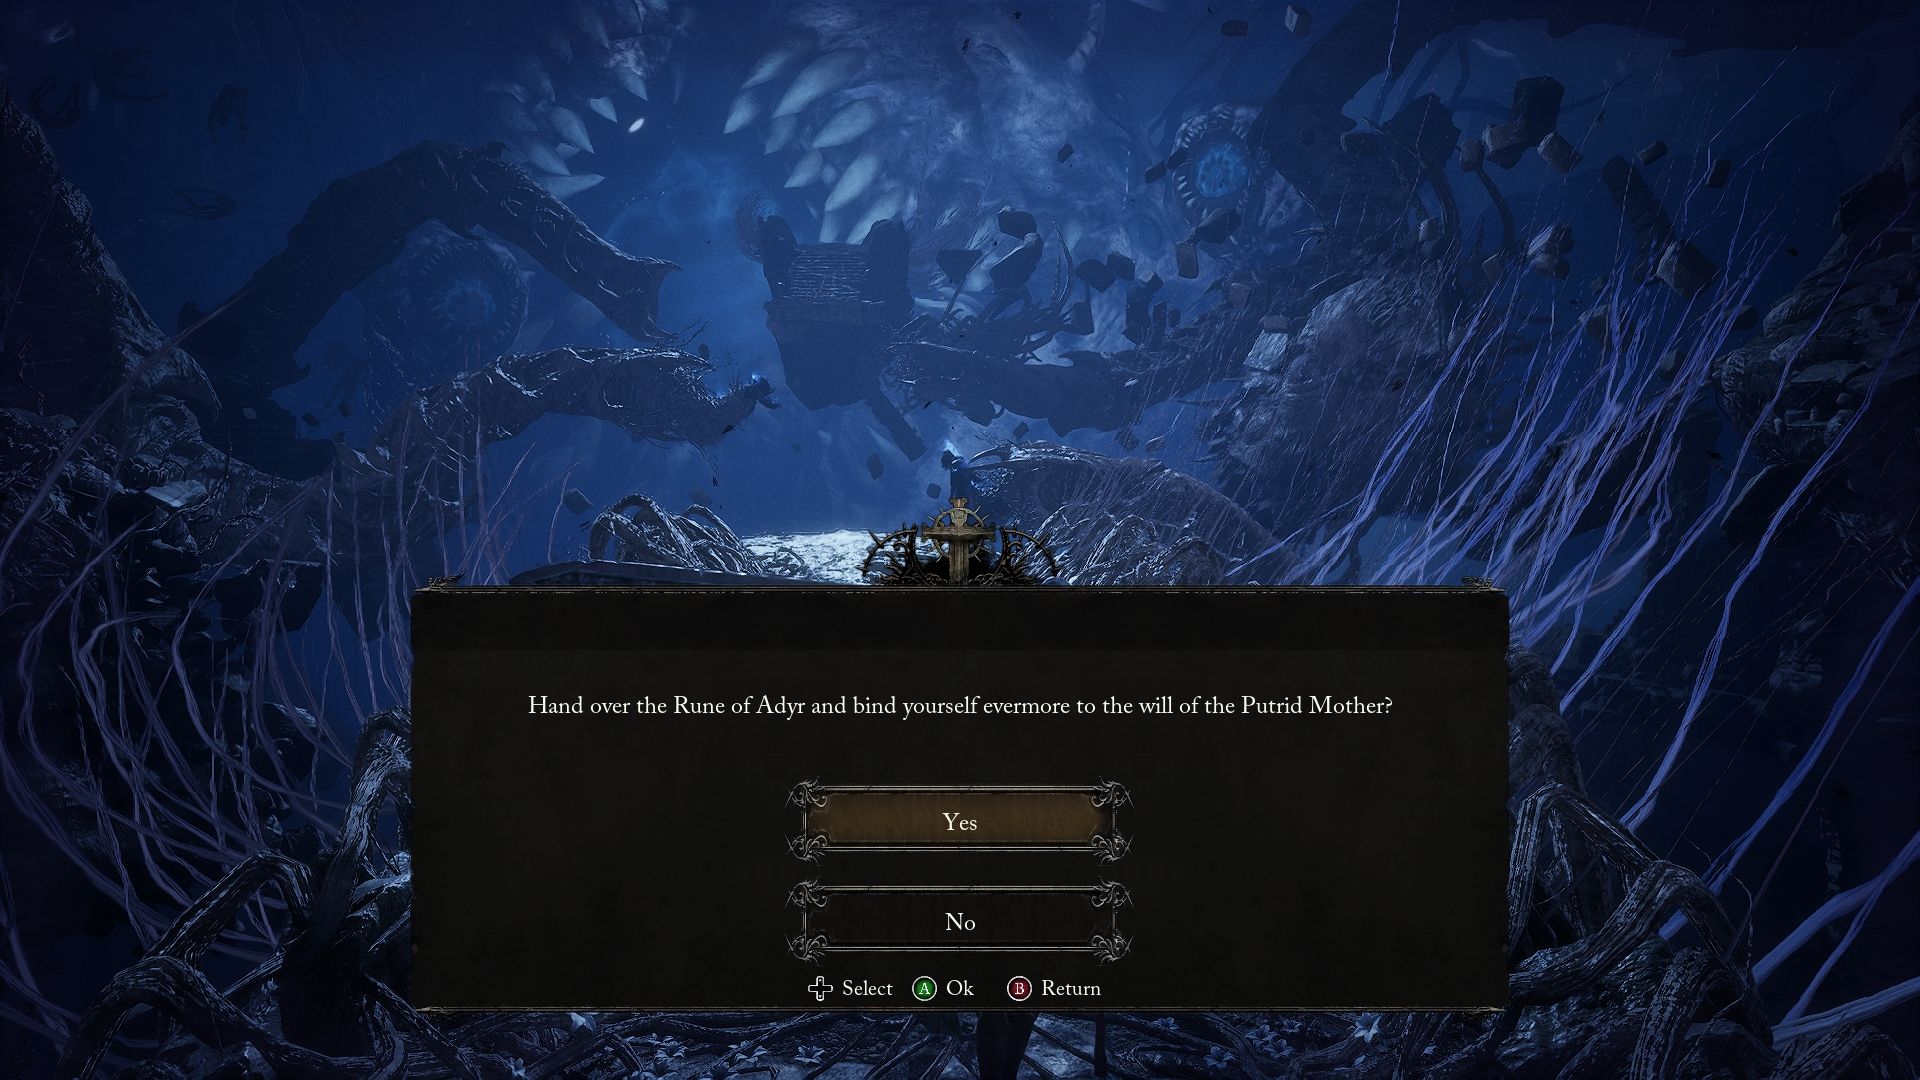
Returning to the Rune of Adyr, take it to Mother’s Lull and interact once again with the non-hostile Umbral enemy there. You’ll receive a prompt where you should choose “yes,” and you’ll obtain the Withered Rune of Adyr and Melchior’s Seedpod.
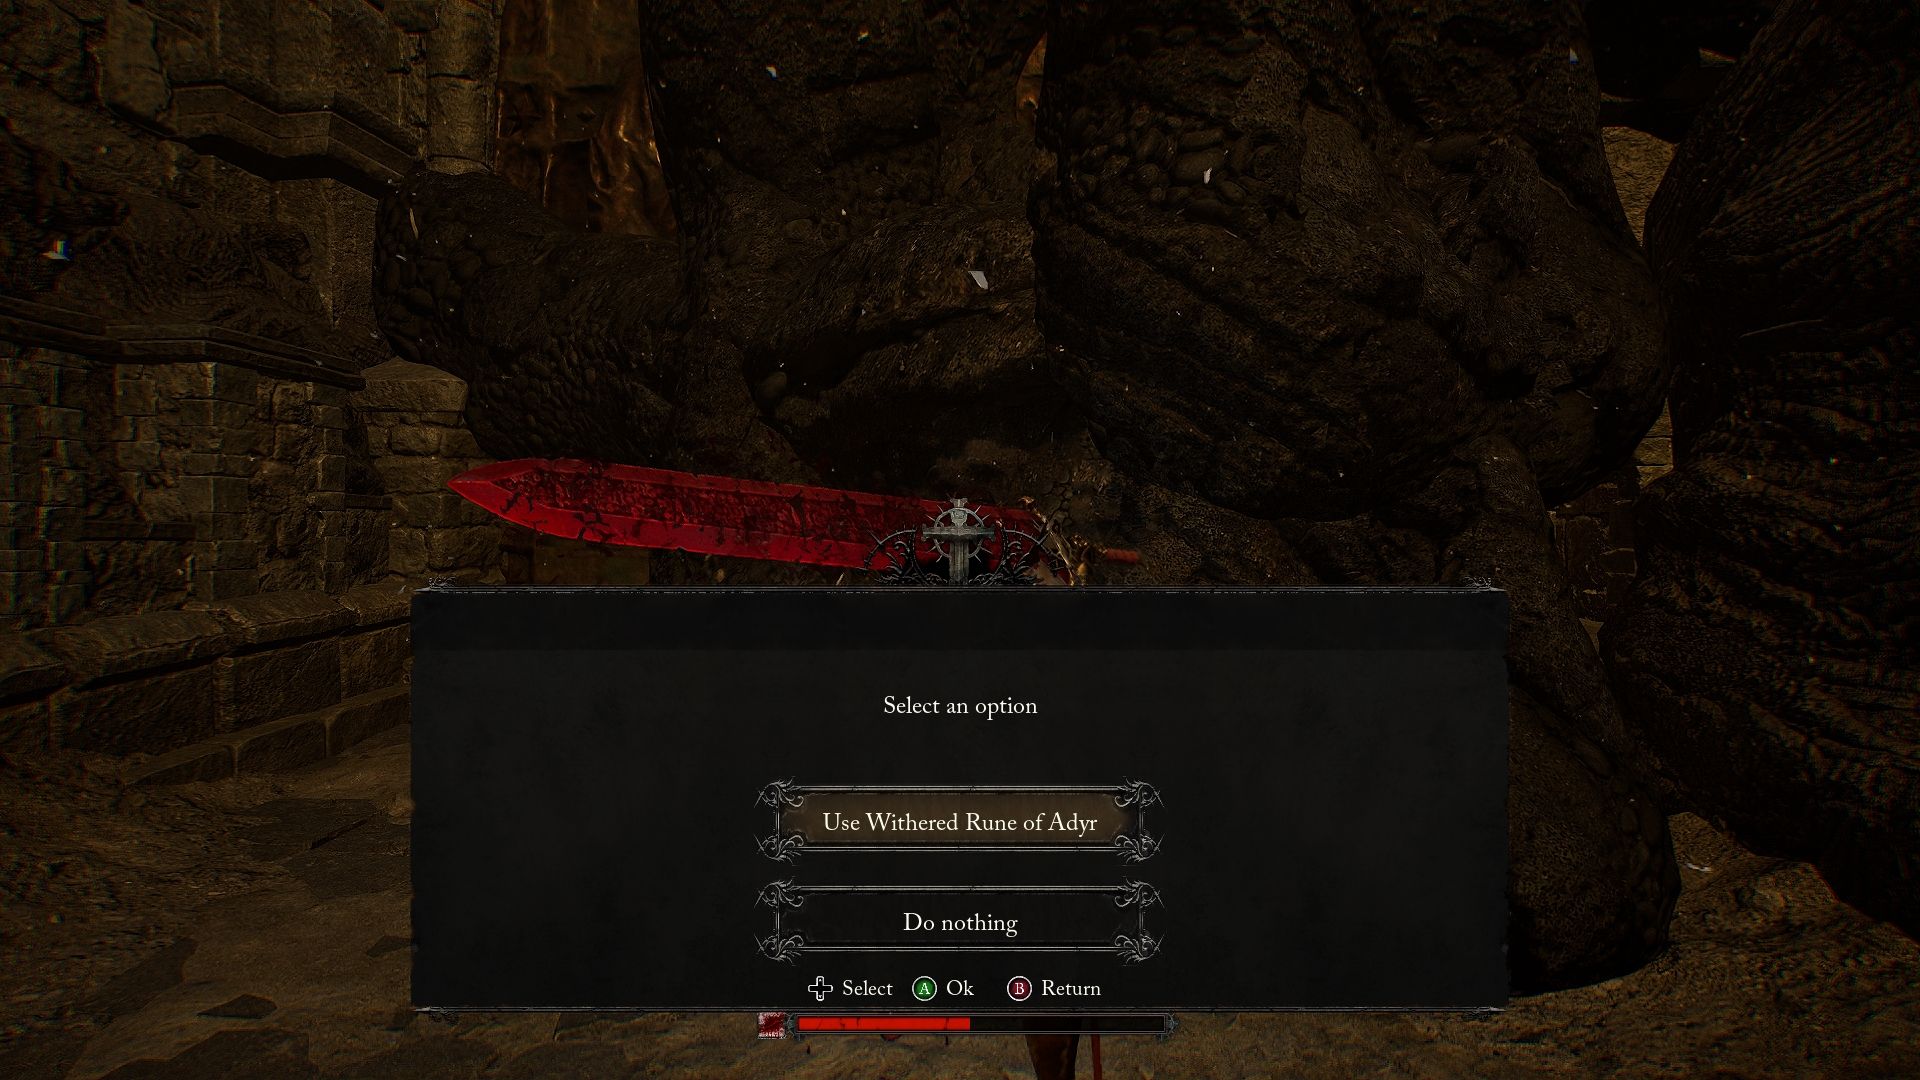
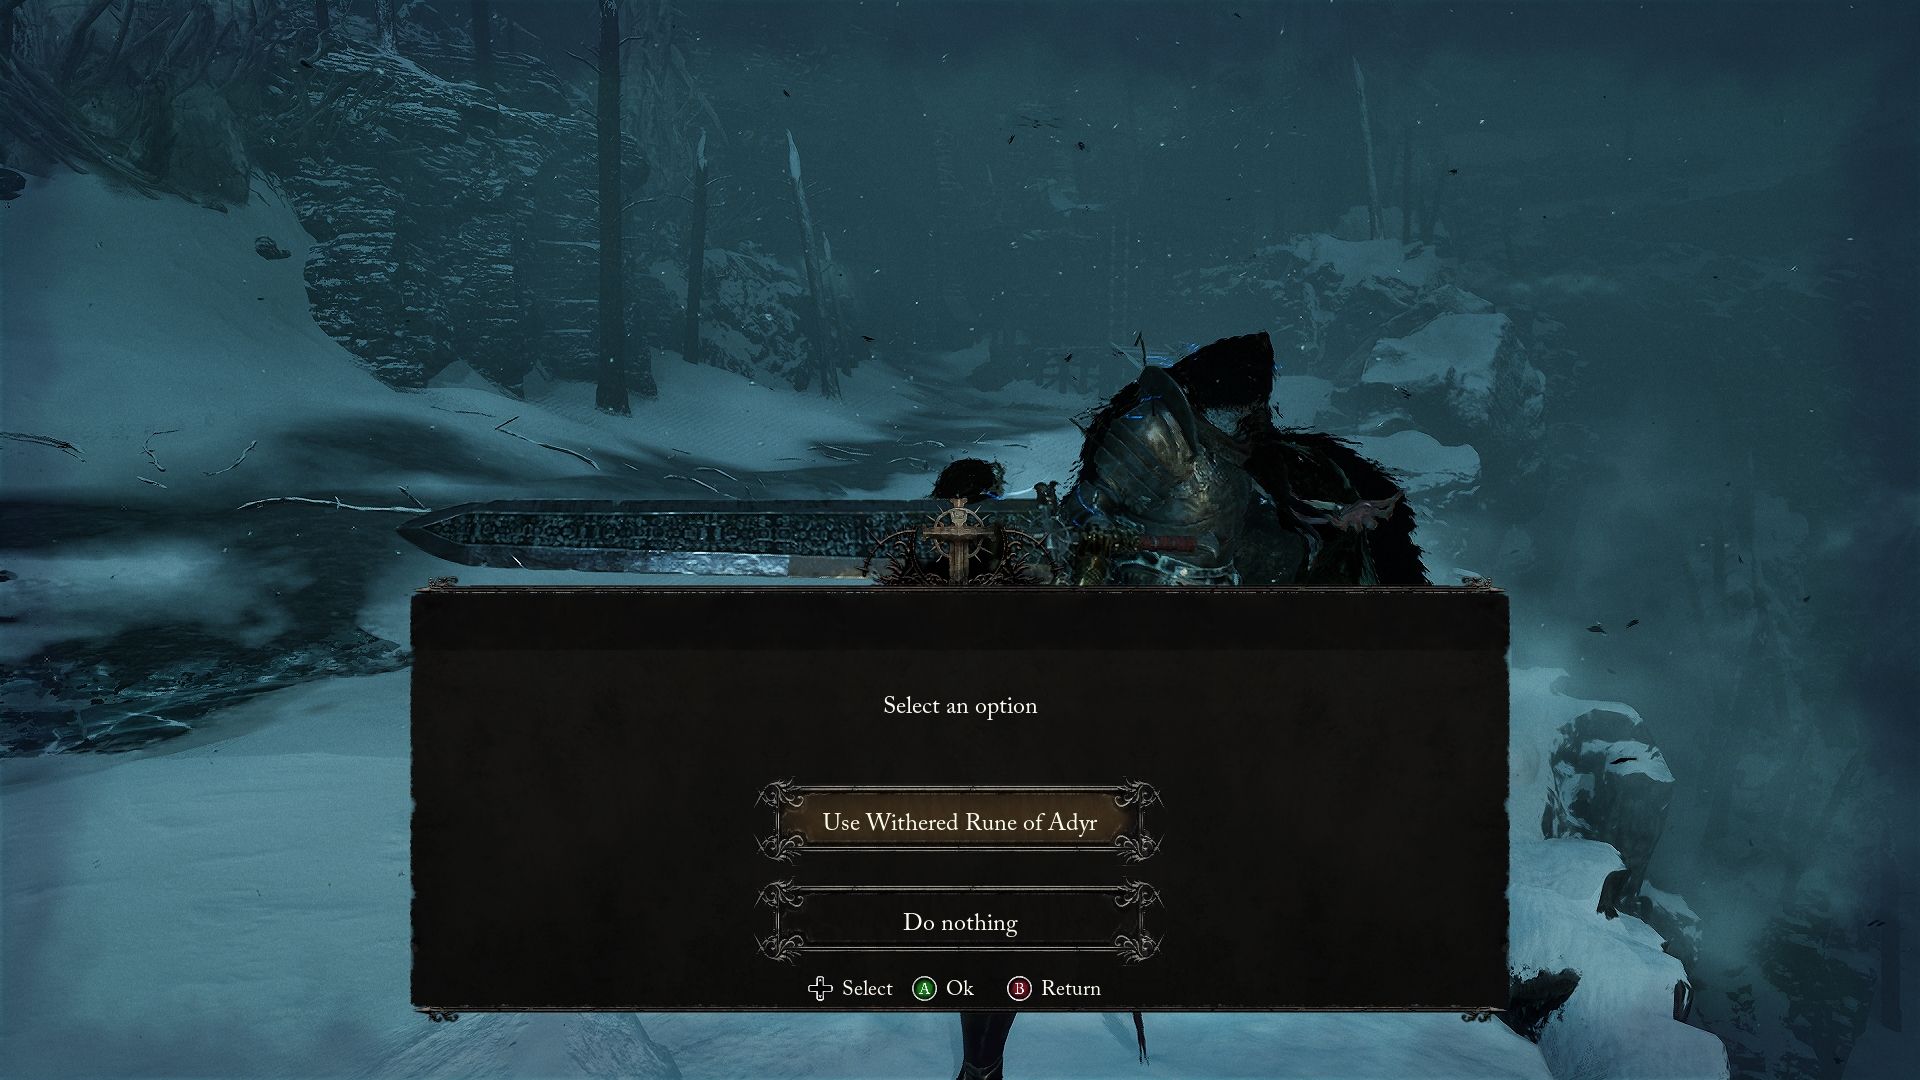
Now equipped with the new version of the rune, go back to the big gate where you fought the Iron Wayfarer. Interact with it using the Withered Rune of Adyr. This will grant you access to Bramis Castle.
Make sure the prompt “Use Withered Rune of Adyr” is displayed before proceeding.
In this area, progress to the end of it, where you’ll have to face the Sundered Monarch.
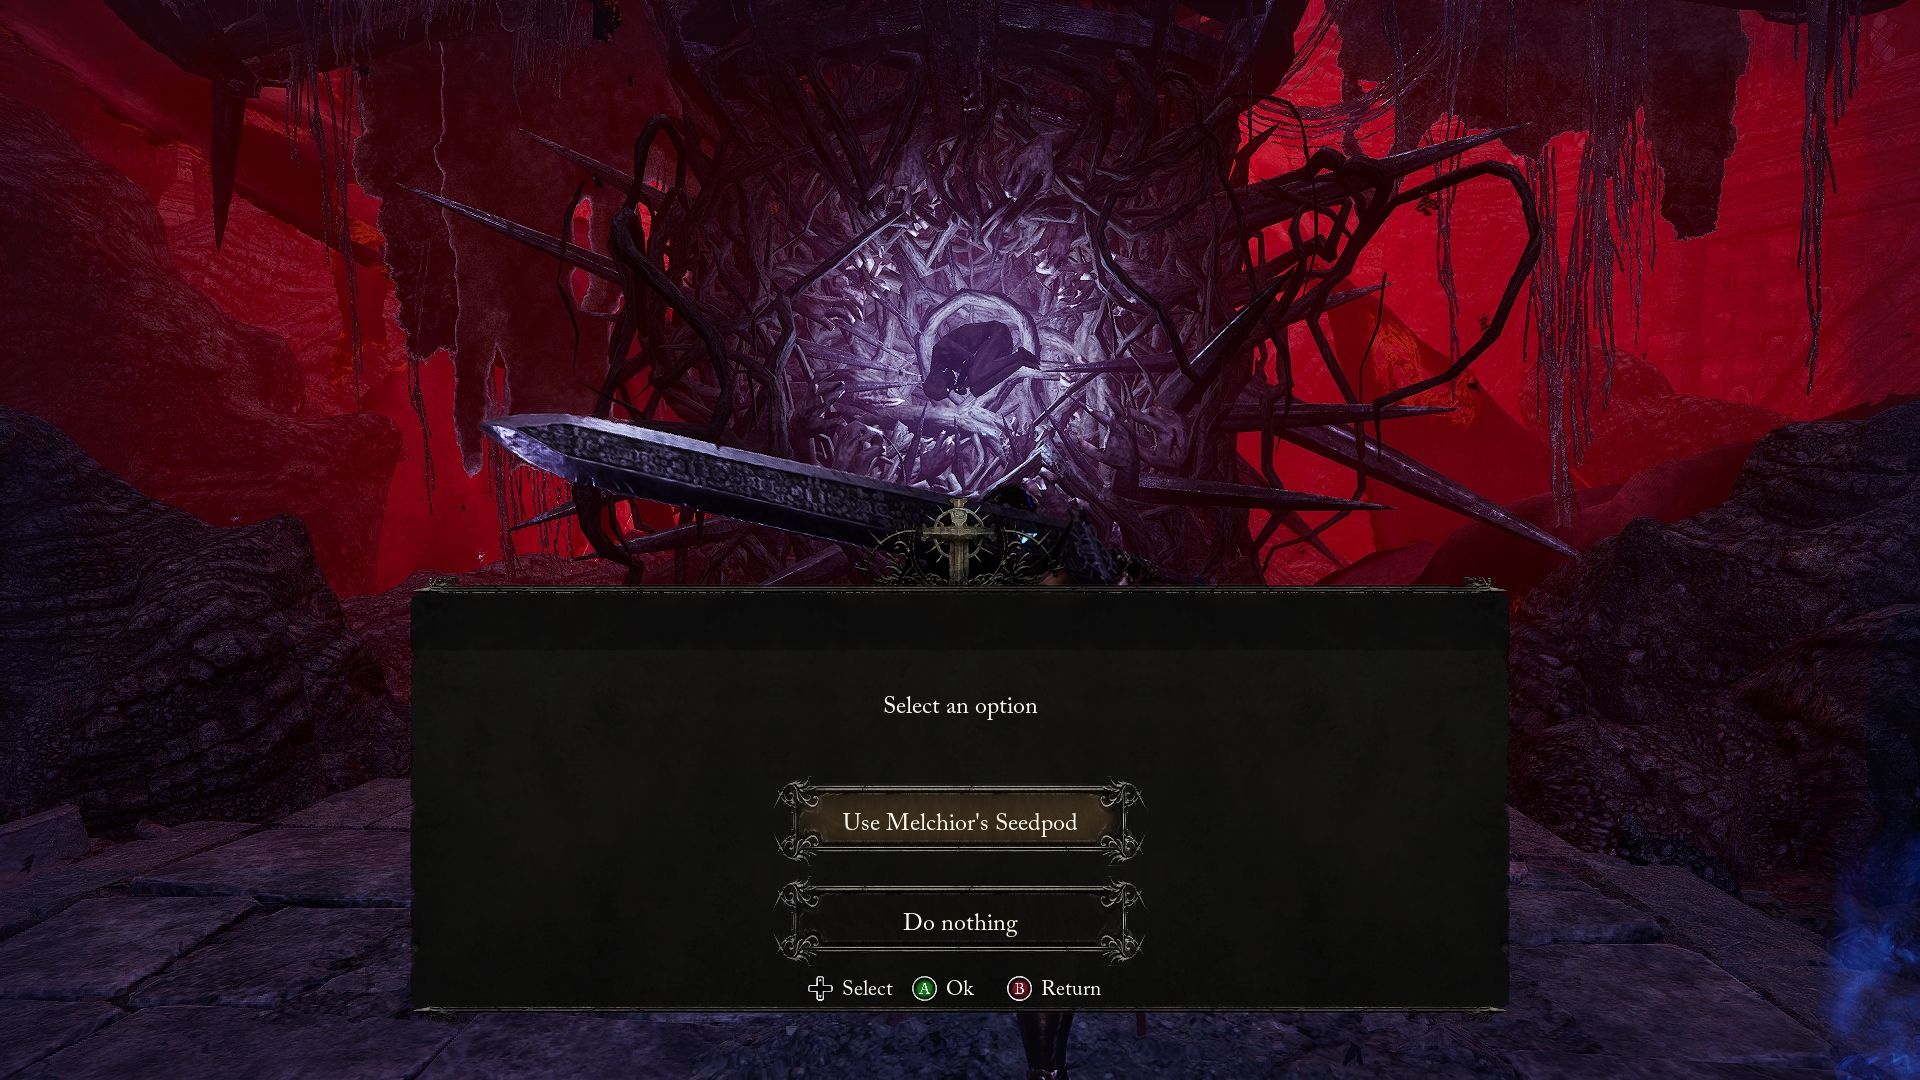
After defeating the Sundered Monarch, you’ll find a set of stairs leading to the effigy of Adyr. Interact with it until you receive the prompt to use Melchior’s Seedpod on it.
Next, your target is the Iron Wayfarer, who can be found at Fief of the Chill Curse.
From the first Vestige there, climb up the ladder until you reach the upper floor of the area. Progress forward to reach a snowy road. Follow it to its end, and you’ll find another ladder to your left. Climb up and then descend from the wooden structure.
In this area, enter Umbral realm, and you’ll come across the Iron Wayfarer. Interact with him and use the Withered Rune of Adyr to obtain Harkyn’s Umbral Parasite.
Now, it’s time to place the second parasite where it belongs.
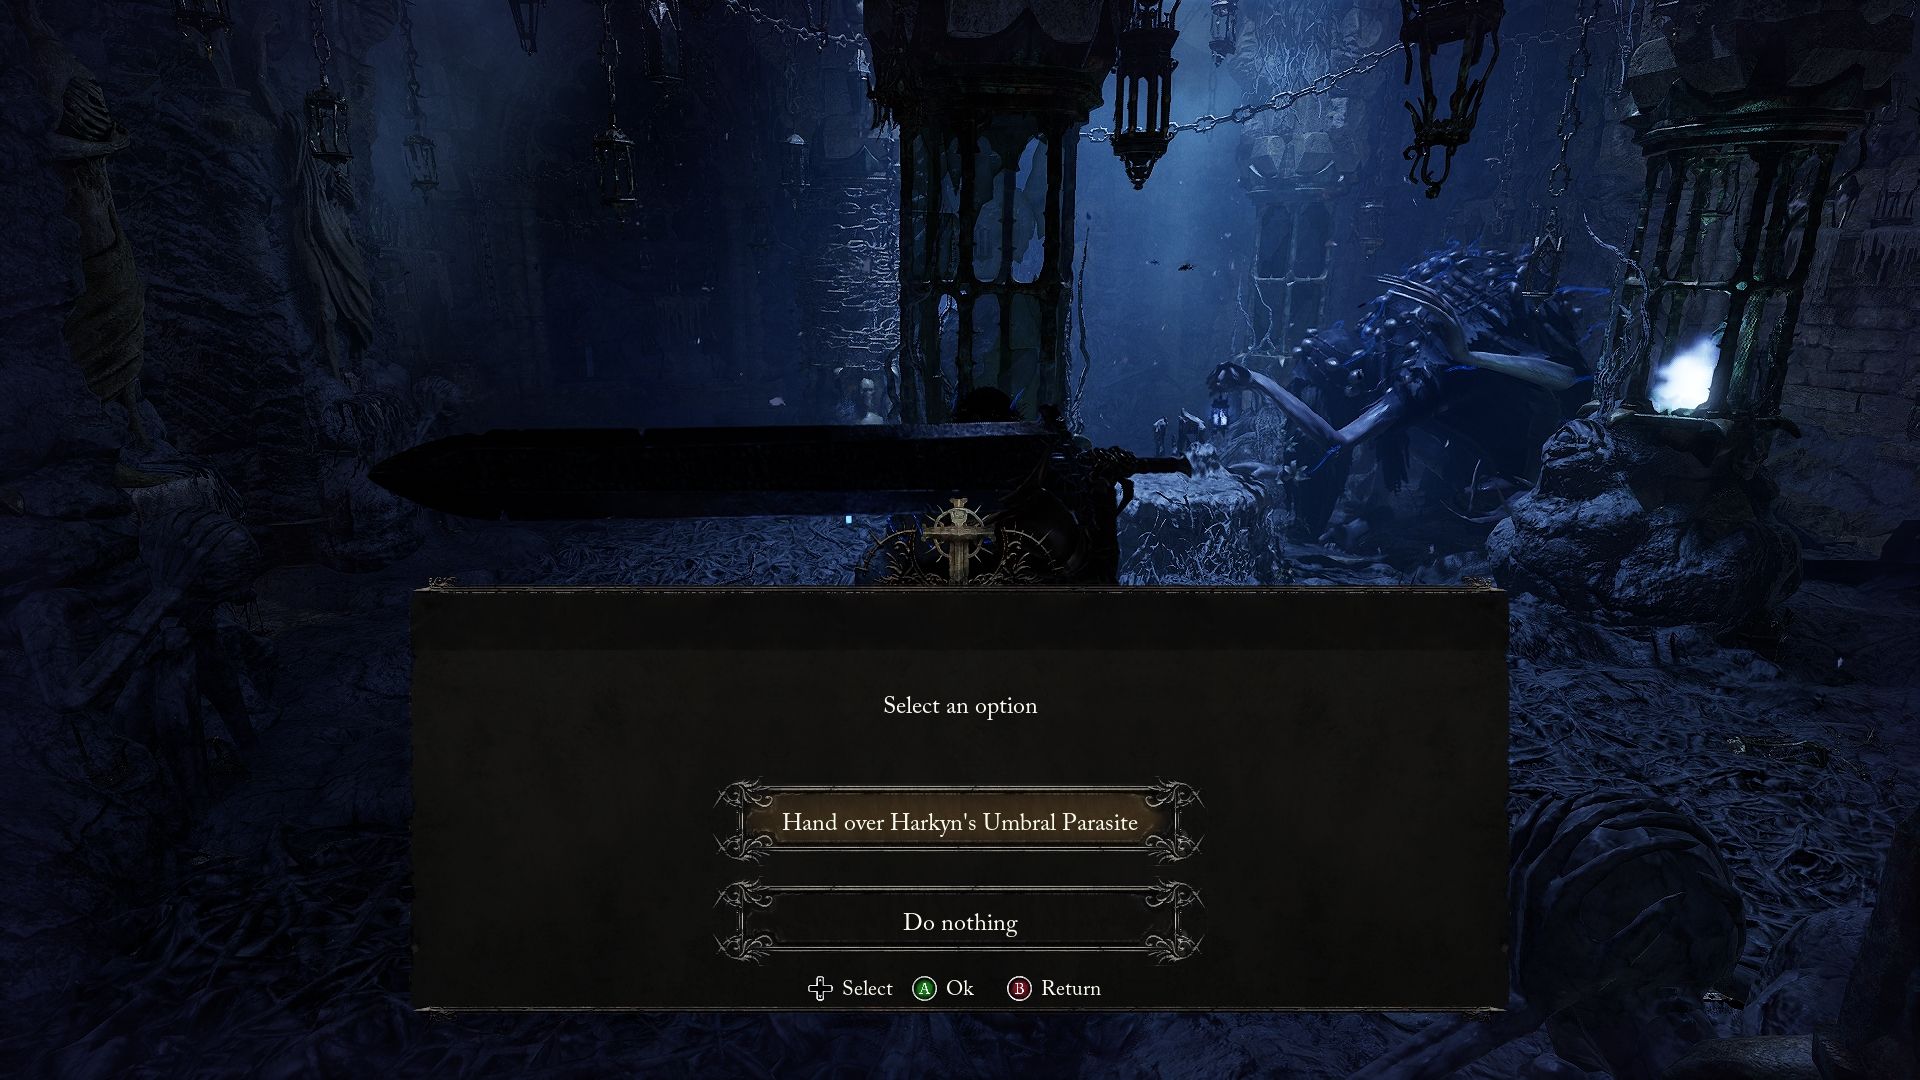
Just as you did with the first parasite, enter Umbral realm and return to Molhu. You’ll be able to interact with the second pillar, and you’ll receive a prompt to “Hand over Harkyn’s Umbral Parasite.” Select this option to move on to the next step.
After completing that step, rest at the Vestige in Skyrest, and then return to Molhu. Speak with him, and he will inform you that you require one more target to complete the process.
Defeat Elianne The Starved And Obtain Elianne’s Umbral Parasite
Now we’re heading toward the final steps to achieve the Umbral ending.
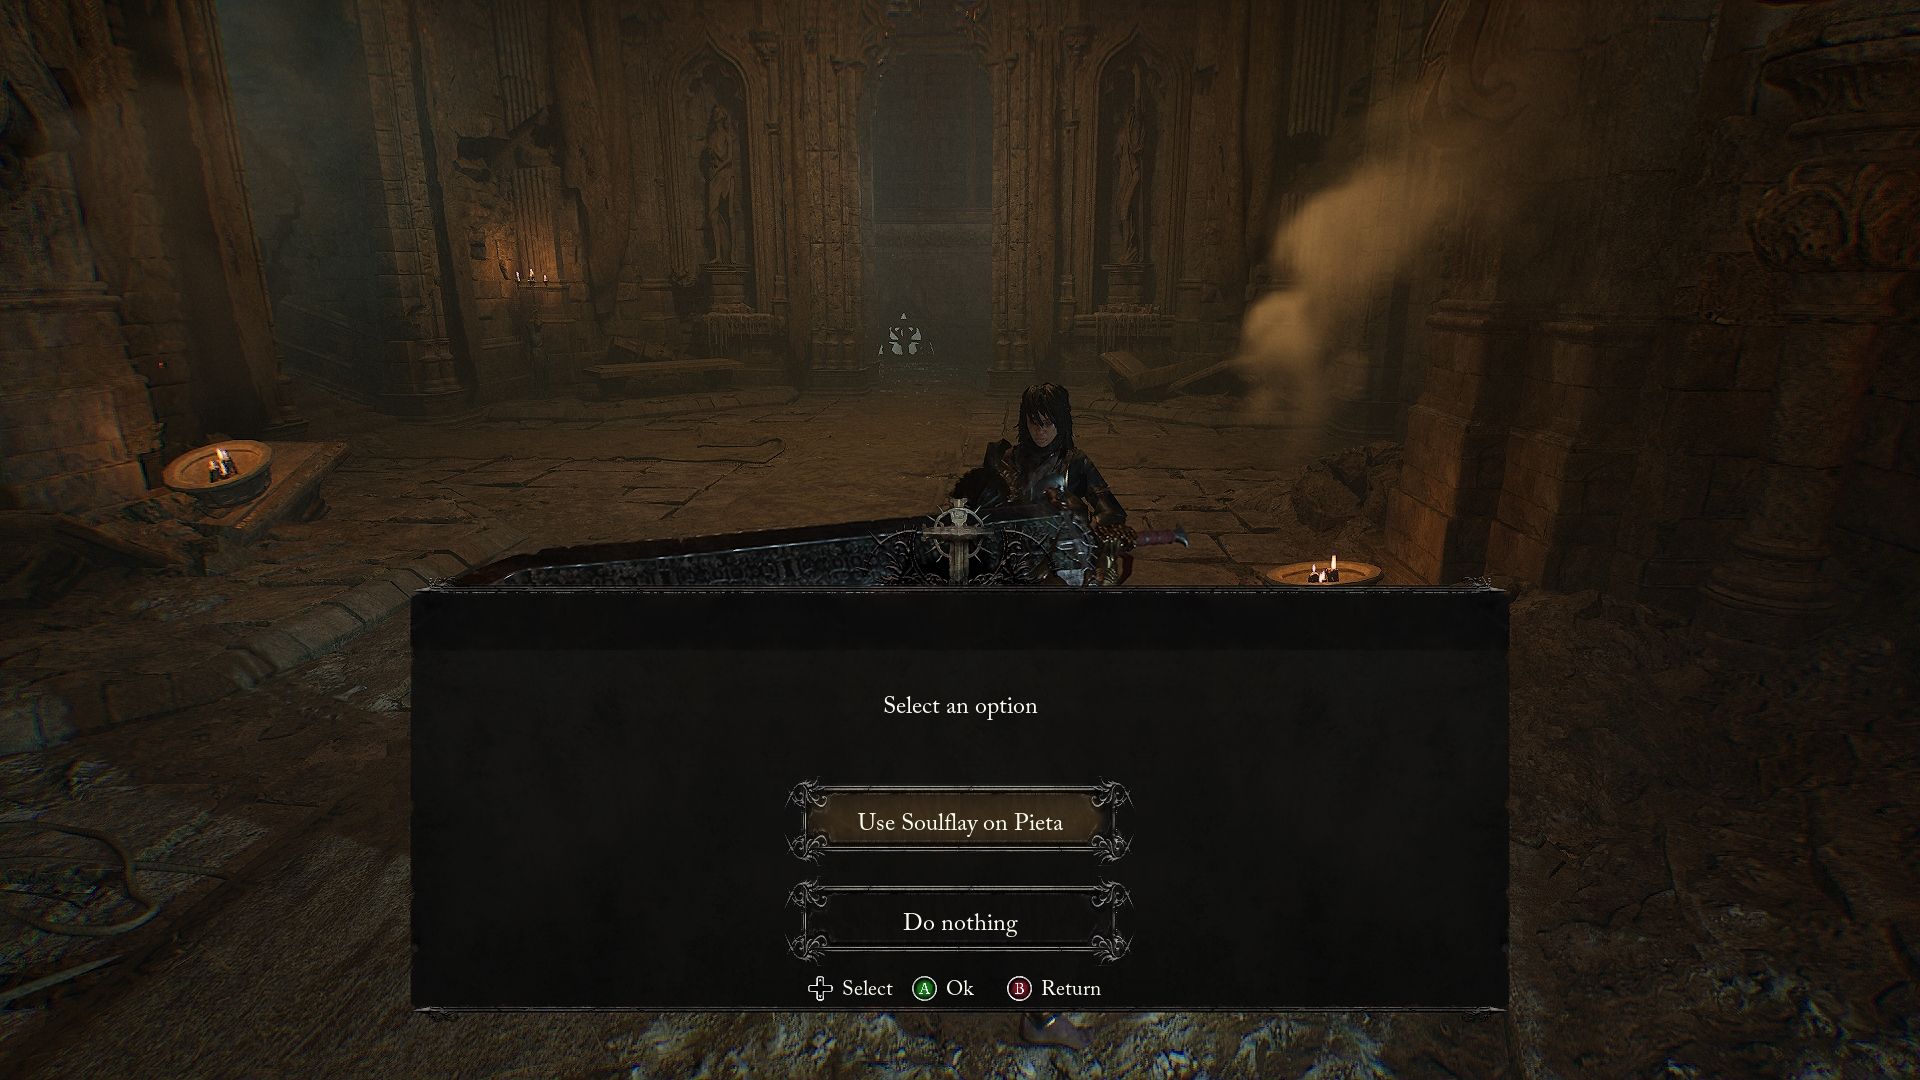
Your final target is Pieta, and you will need to interact with her and use the Soulflay option you will get. Keep in mind that doing so will kill her thus lock you out of upgrading your Sanguinarix.
It’s recommended to make sure that you have fully upgraded your Sanguinarix before proceeding to this step.
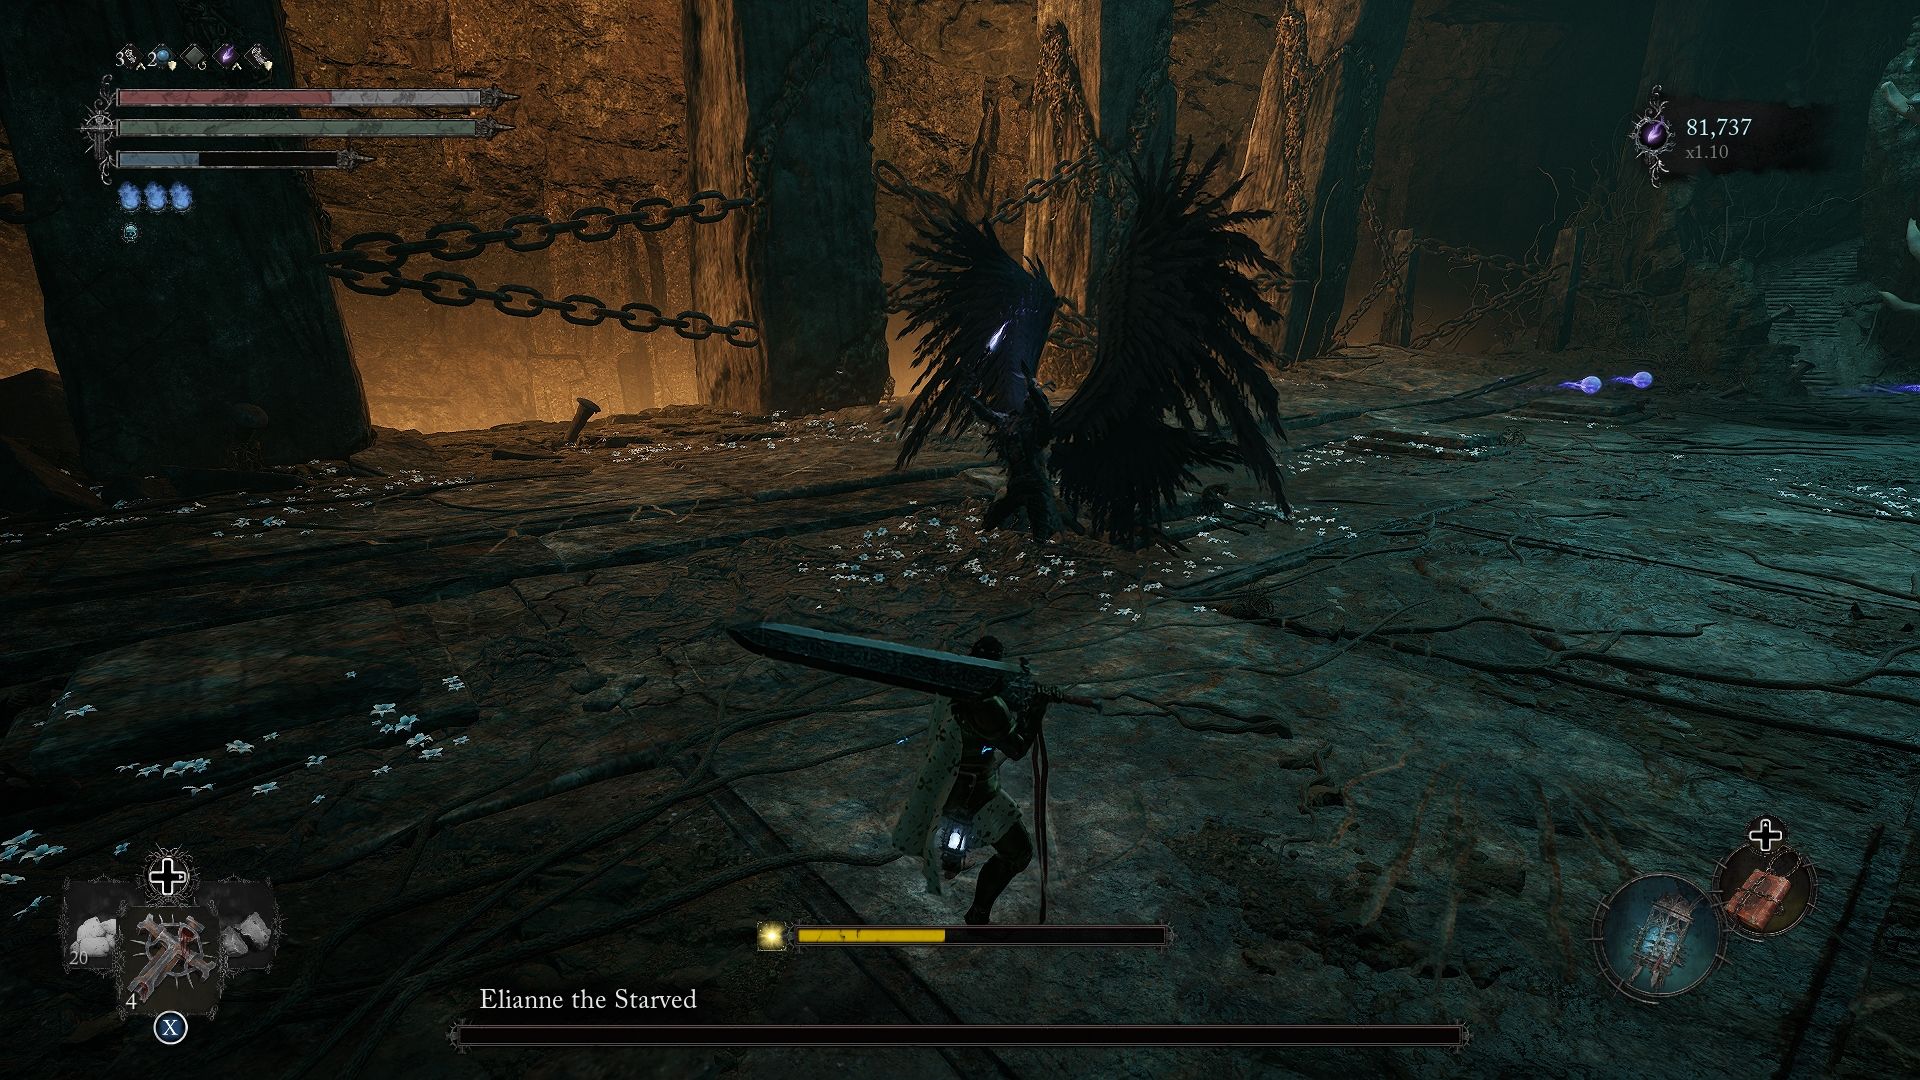
After you choose “Use Soulflay on Pieta“, there will be a cutscene showing the process and then you will be transported to the boss arena where you will fight Elianne the Starved. This boss is no joke and she’s quite challenging so be prepared for a tough boss fight.
When you die to Elianne, you will be sent back to Skyrest. While the area where you fight Elianne the Starved is the same one you fought Harrower Dervla the Pledged Knight; you don’t have to go to Revelation Depths.
Instead, you will be able to find a moth shape like Pieta that you can interact with and this will transport you directly there.
After successfully defeating Elianne the Starved, you’ll obtain Elianne’s Umbral Parasite, which is the final parasite needed. It’s time to place it where it belongs.
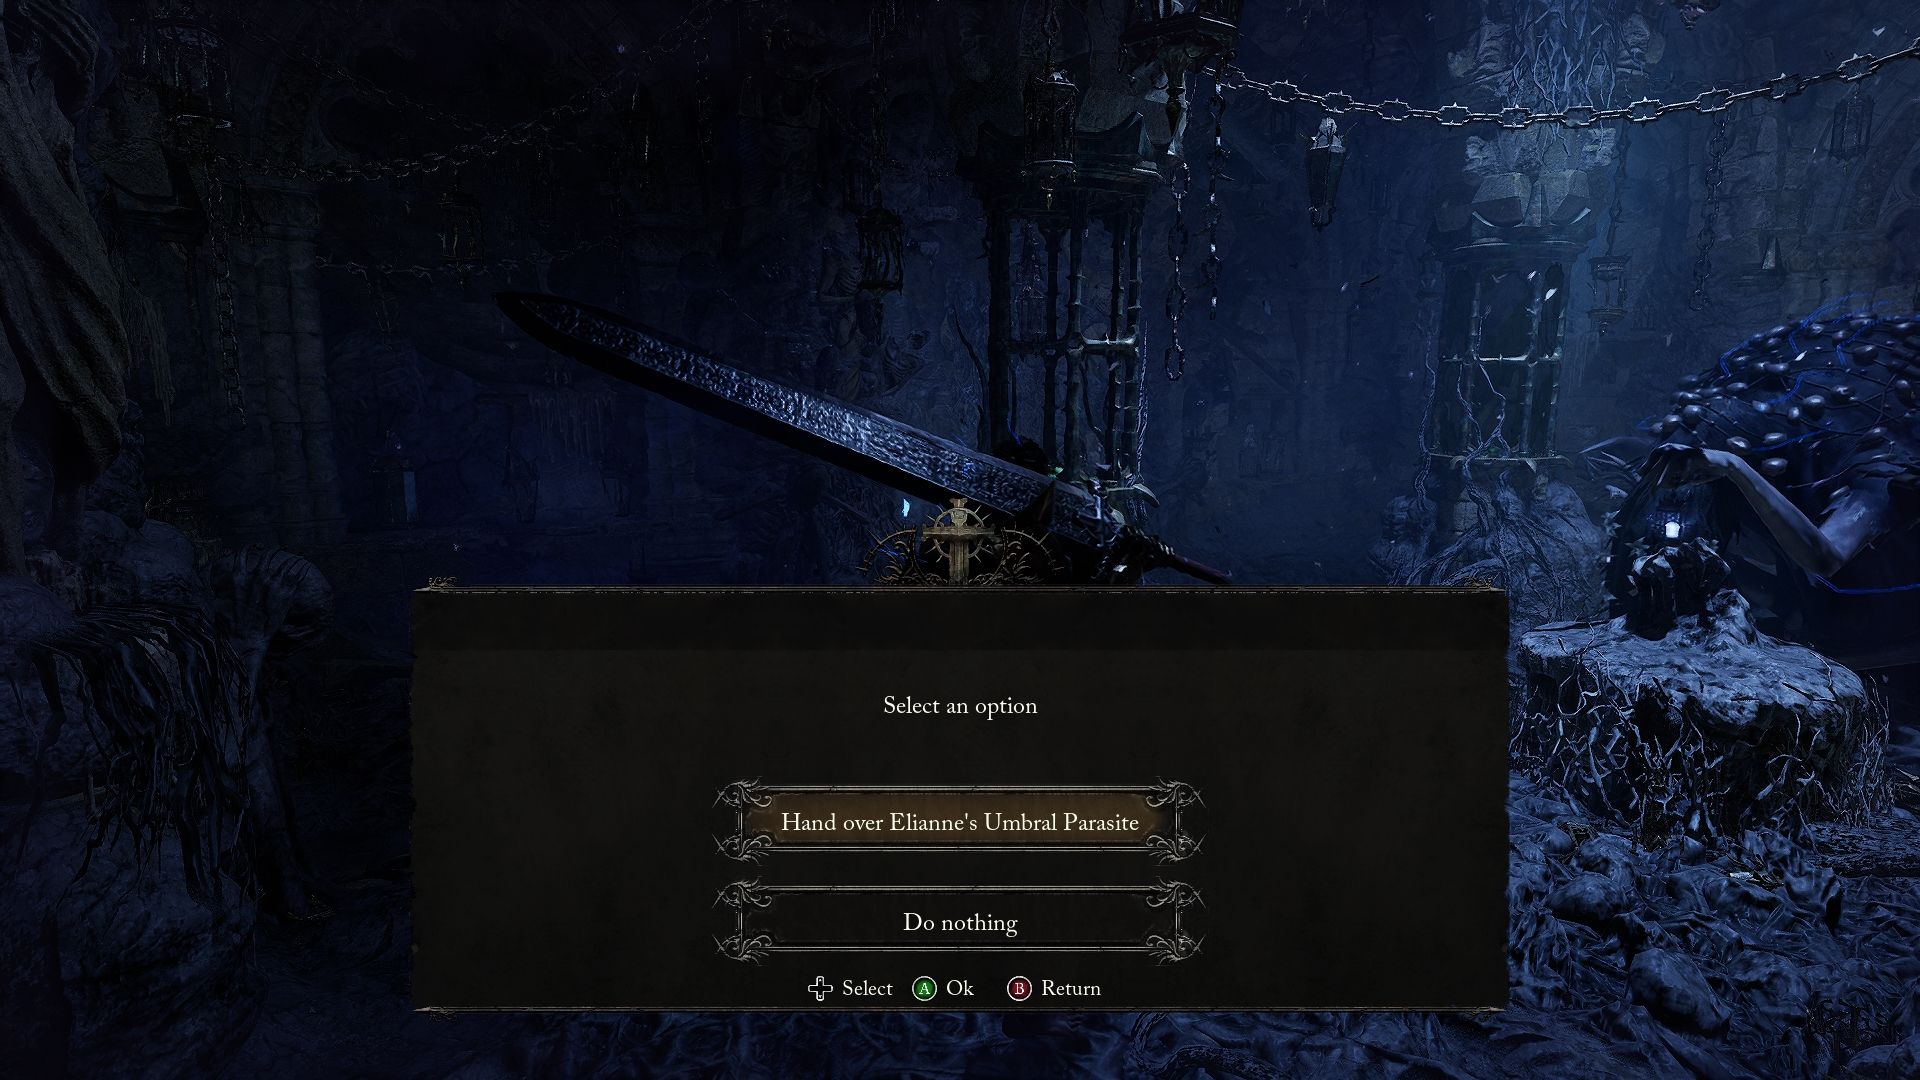
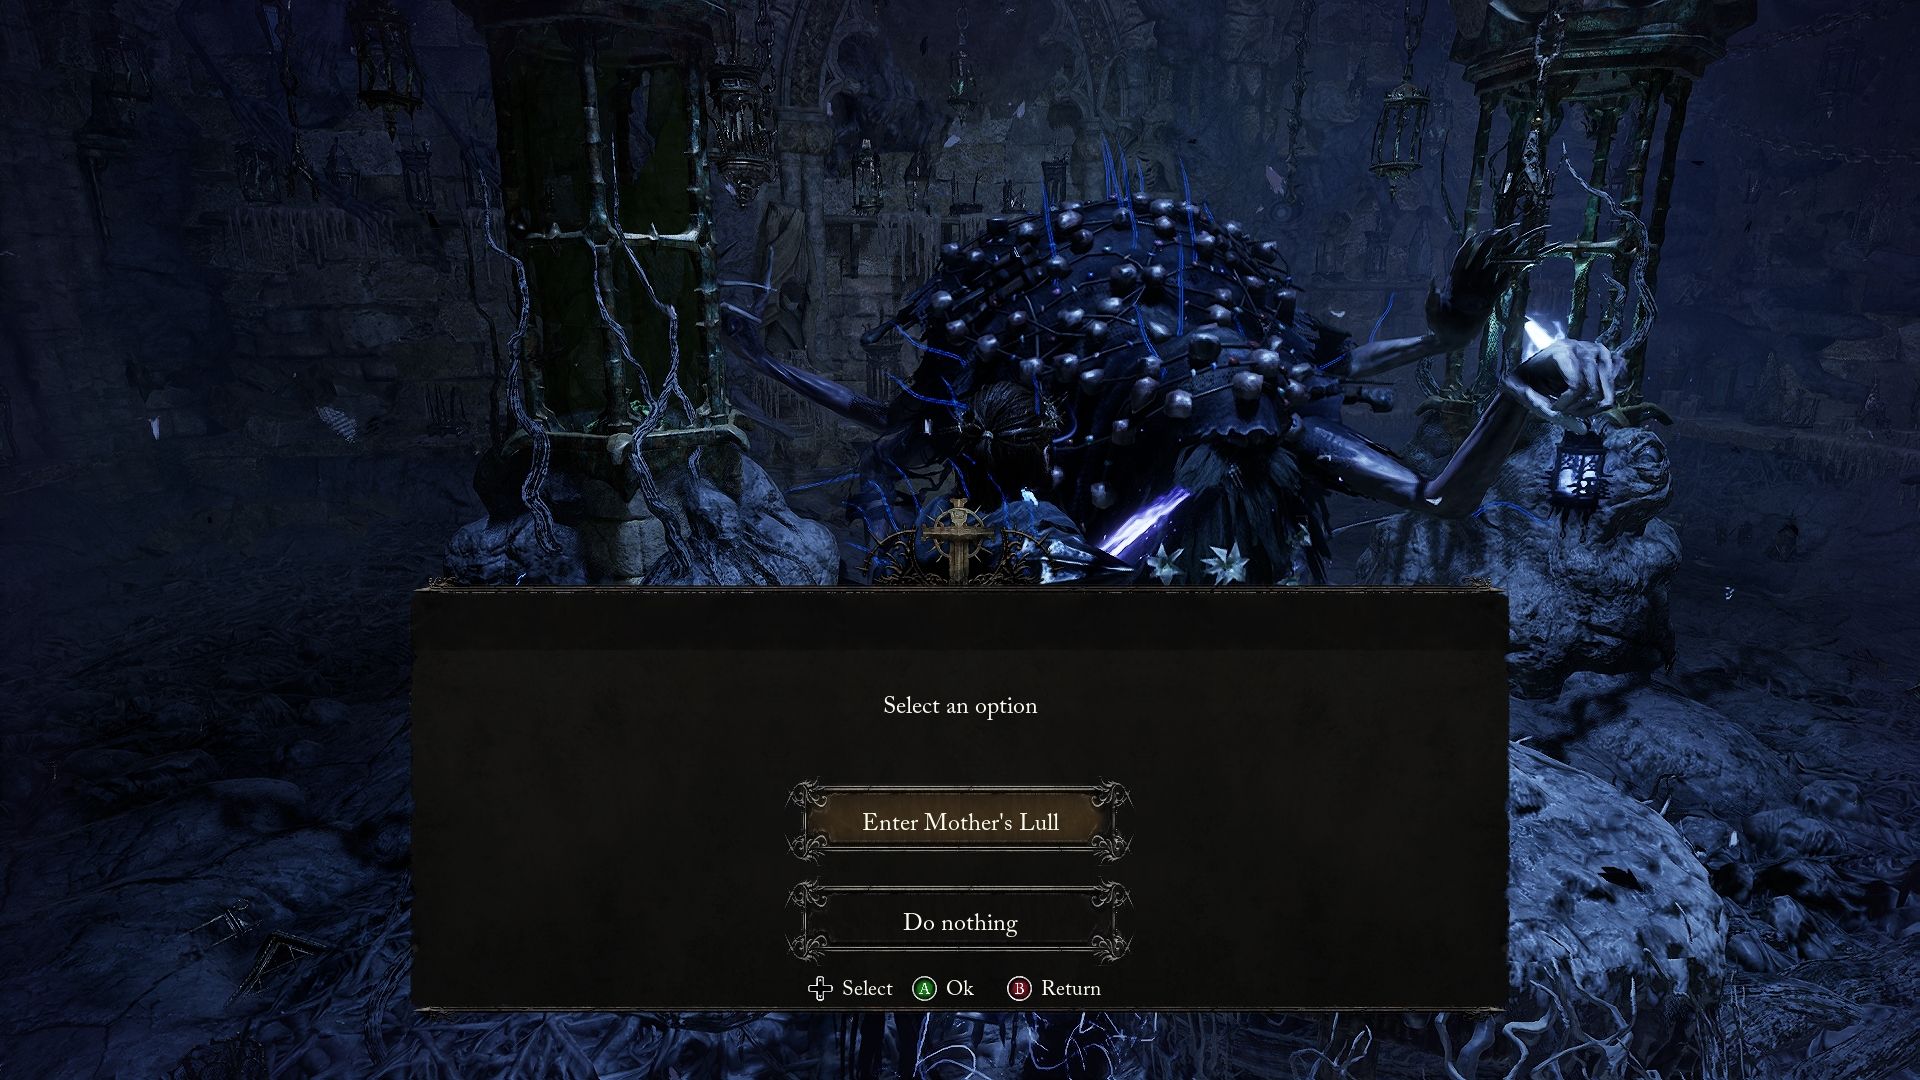
Just like with the other parasites, enter the Umbral realm and return to Molhu. You’ll be able to interact with another pillar there. Select the prompt that says “Hand over Elianne’s Umbral Parasite.” Afterward, speak to Molhu, and you’ll have the option to Enter Mother’s Lull.
Before proceeding, ensure that you have upgraded your Umbral Lamp, have the correct Umbral eyes socketed into your lamp, and have purchased everything you need from the Boss Remembrances.
This step will result in Molhu’s death and lock you out of these actions for the remainder of this playthrough.
Enter Mother’s Lull And Unlock The Umbral Ending
With everything in its place, it’s time to unlock that secret Umbral ending.
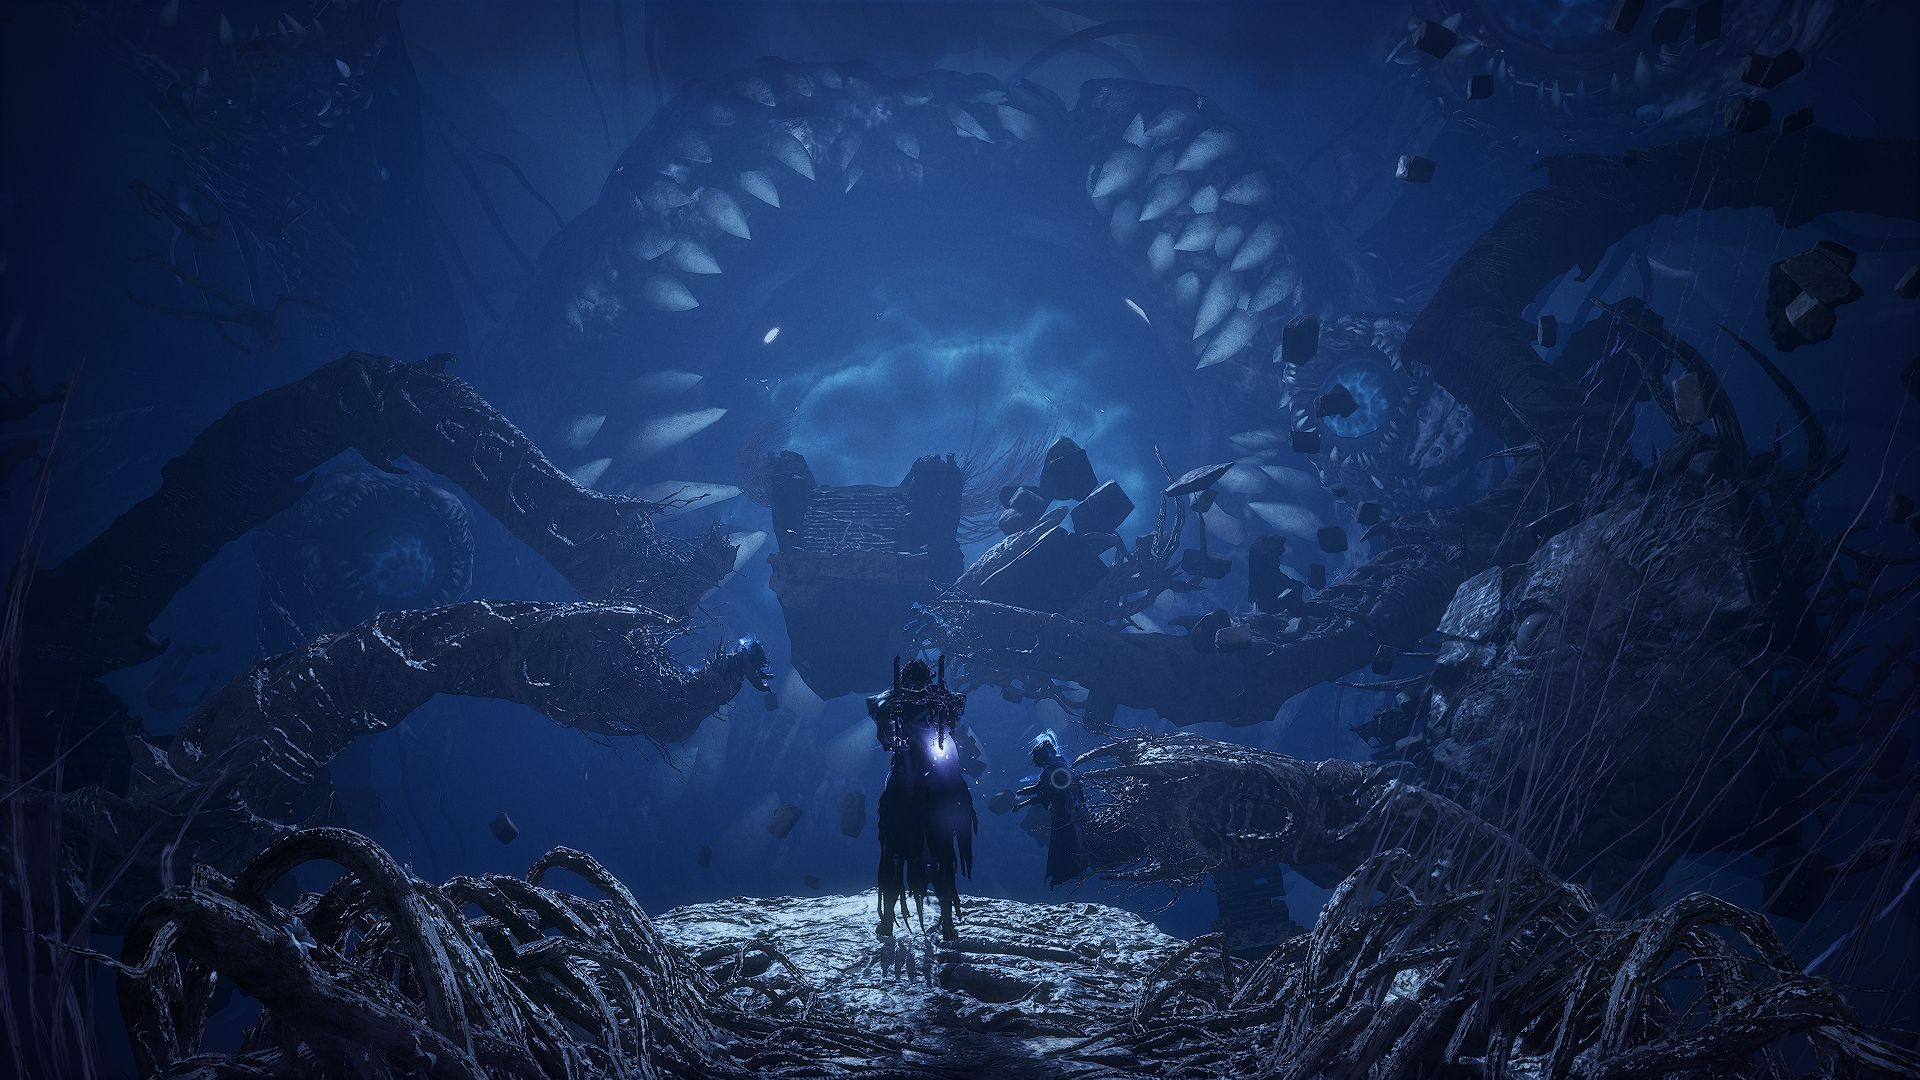
Upon entering Mother’s Lull, you’ll notice a platform at the edge with four Soulflay items that will help you reach the other side. These four Soulflay items represent the same individuals on whom you used the seedpod.
Once you’ve reached the platform with the giant eye, ascend the stairs, and a cutscene will play. This will trigger the Umbral ending, where the lampbearer is consumed by the enormous eye.
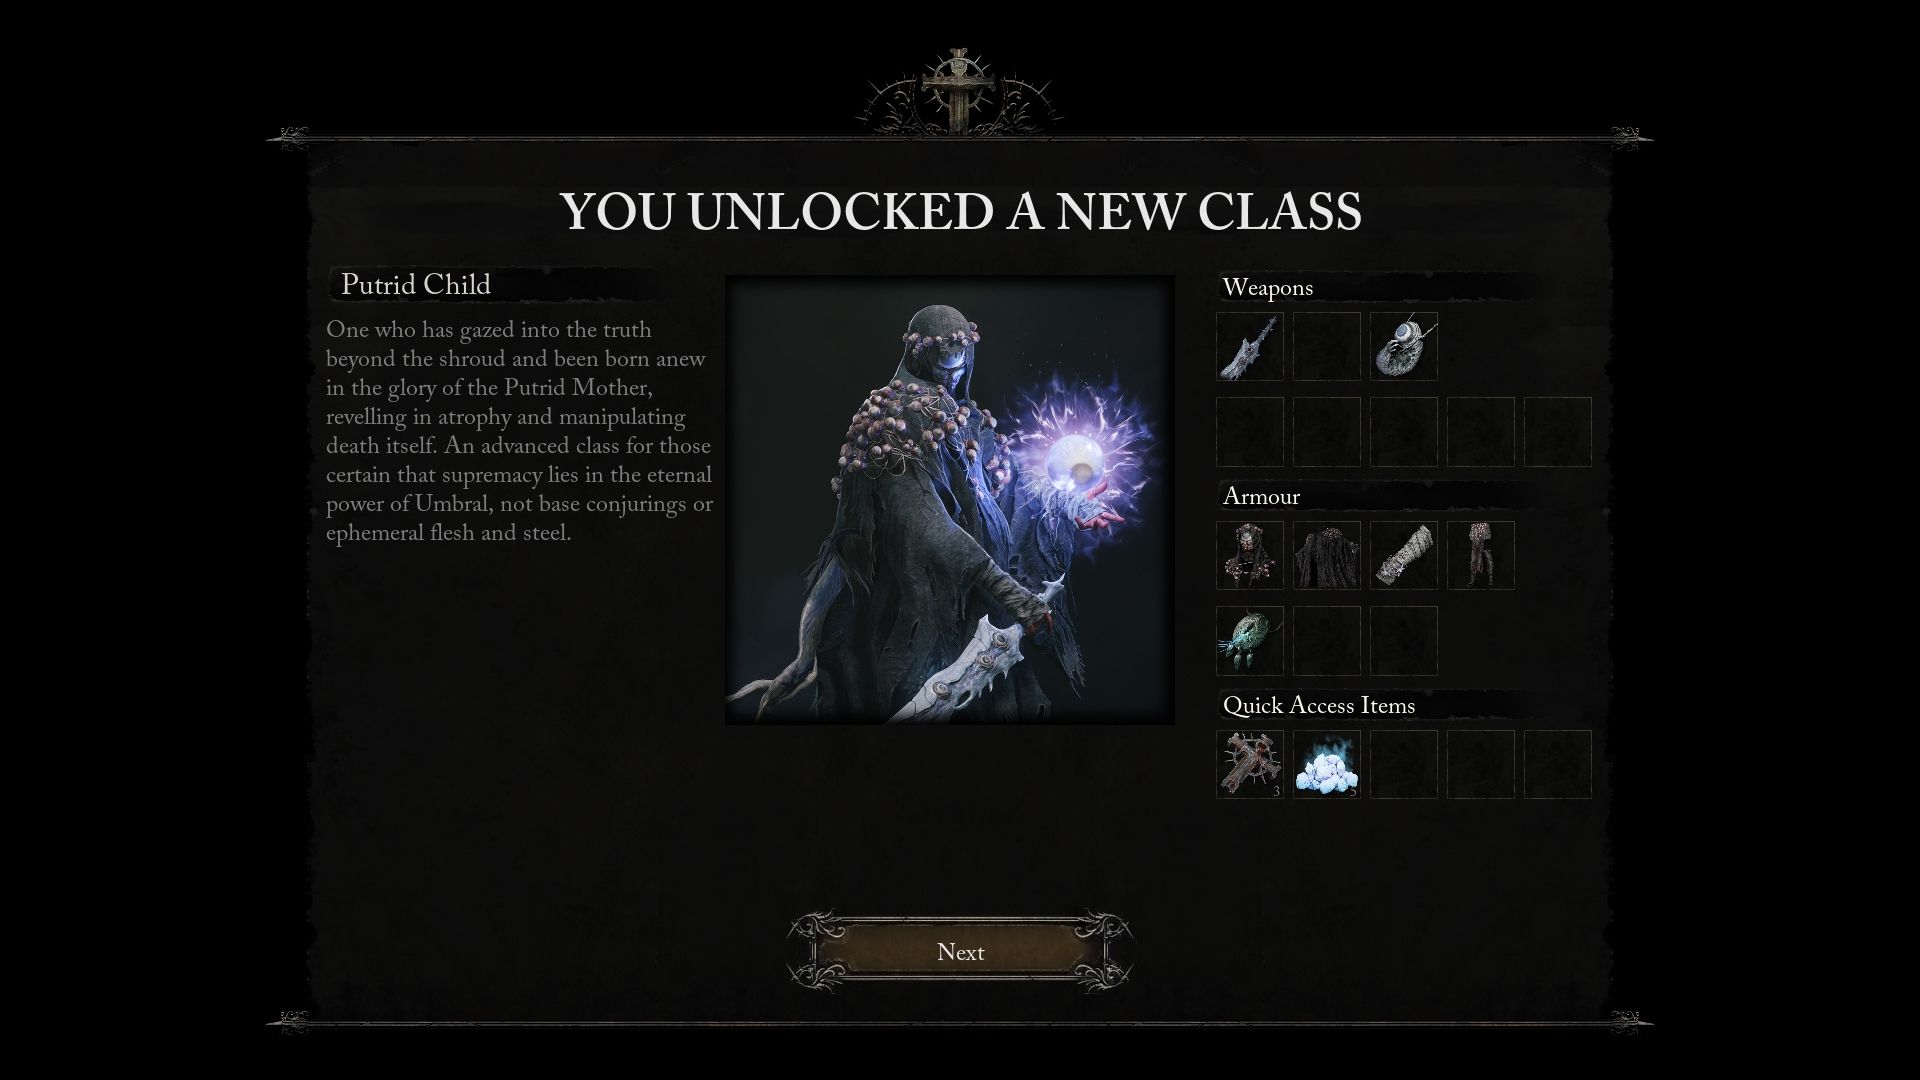
After the credits roll, you’ll receive a prompt indicating that you’ve unlocked a new class called Putrid Child.
Achieving the Umbral ending will also earn you the Back to the Void Trophy/Achievement.

