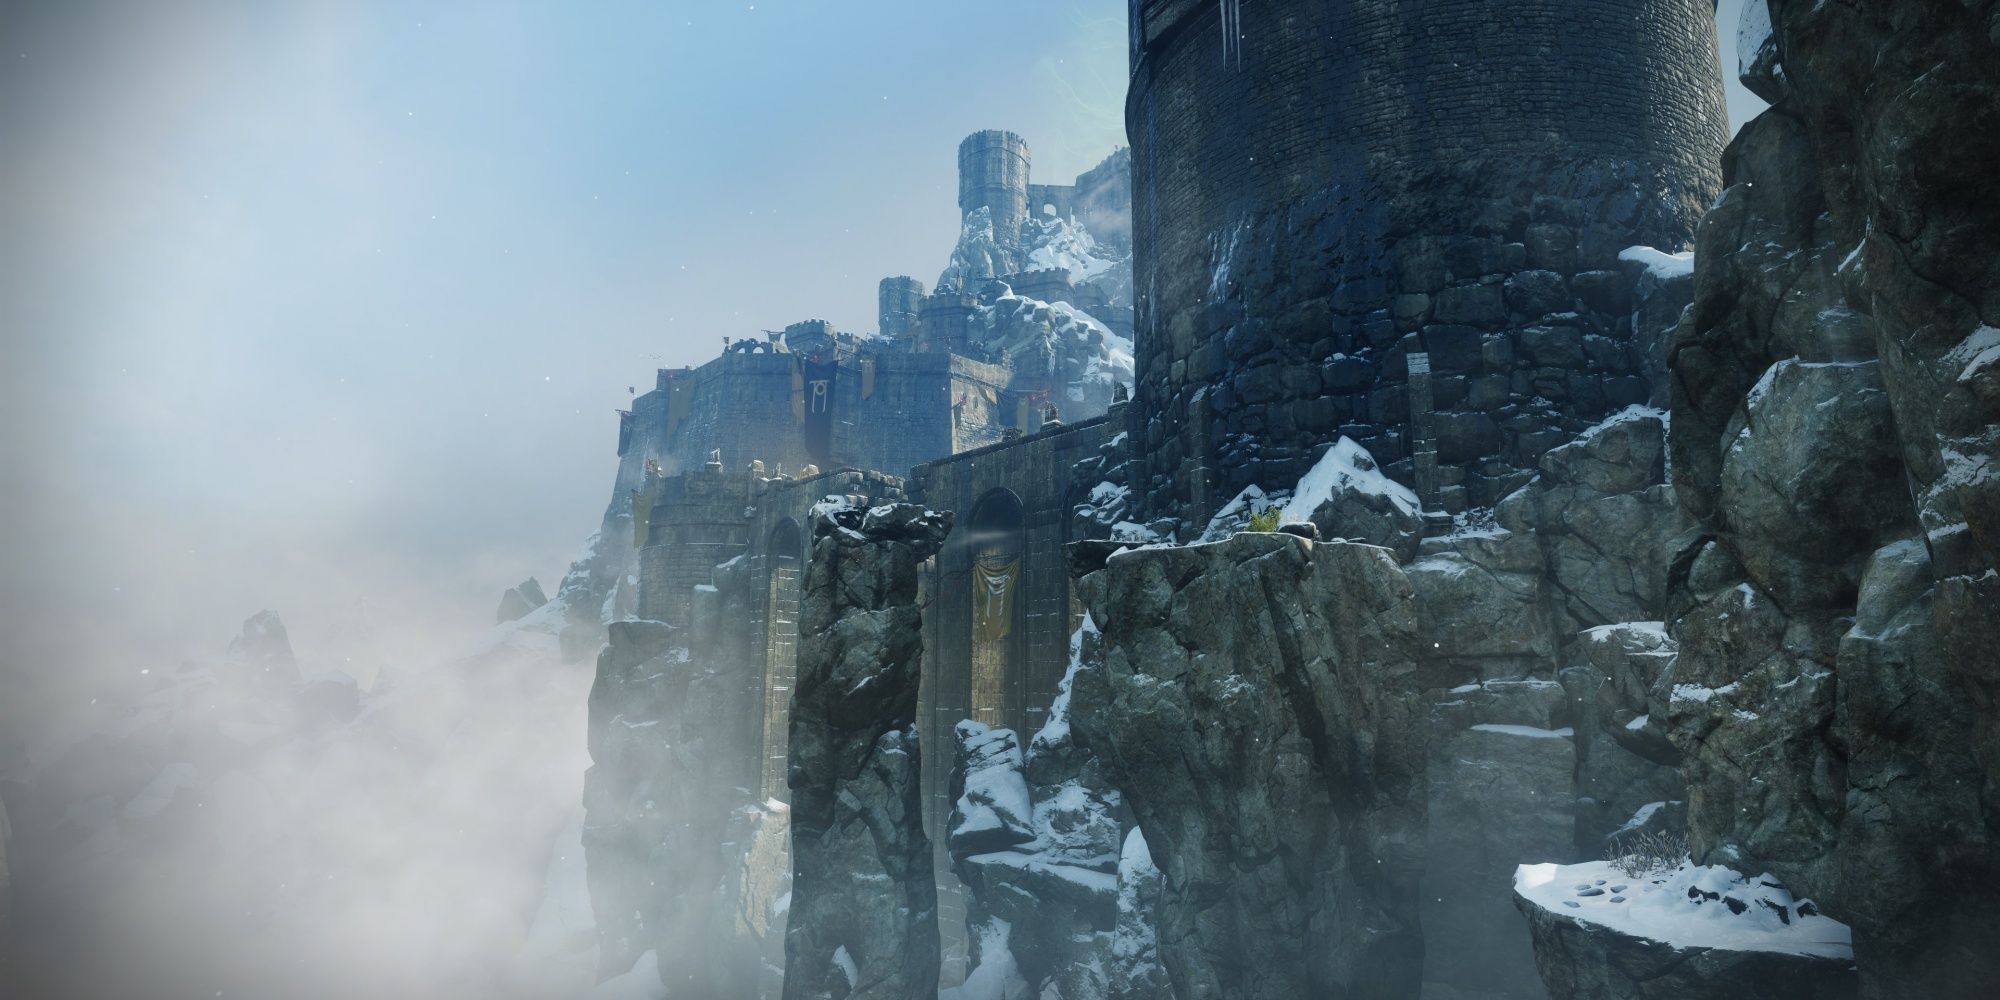
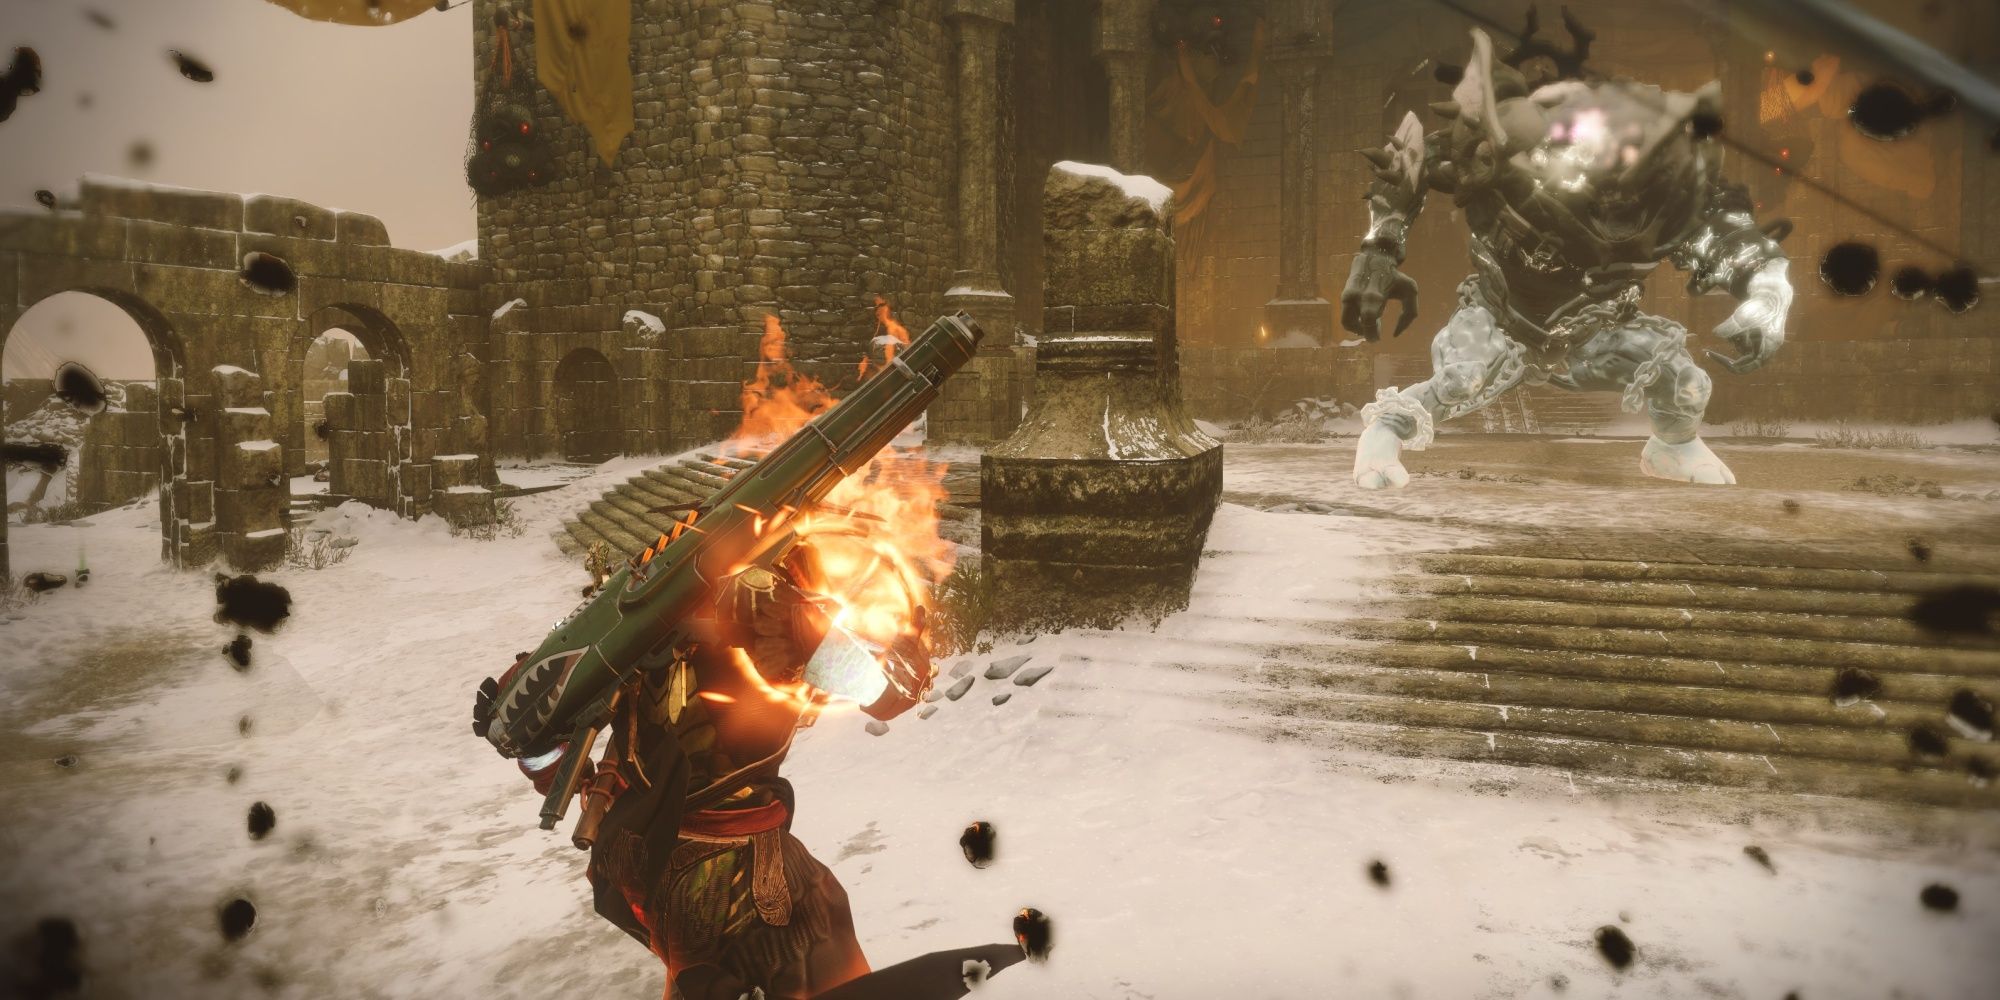
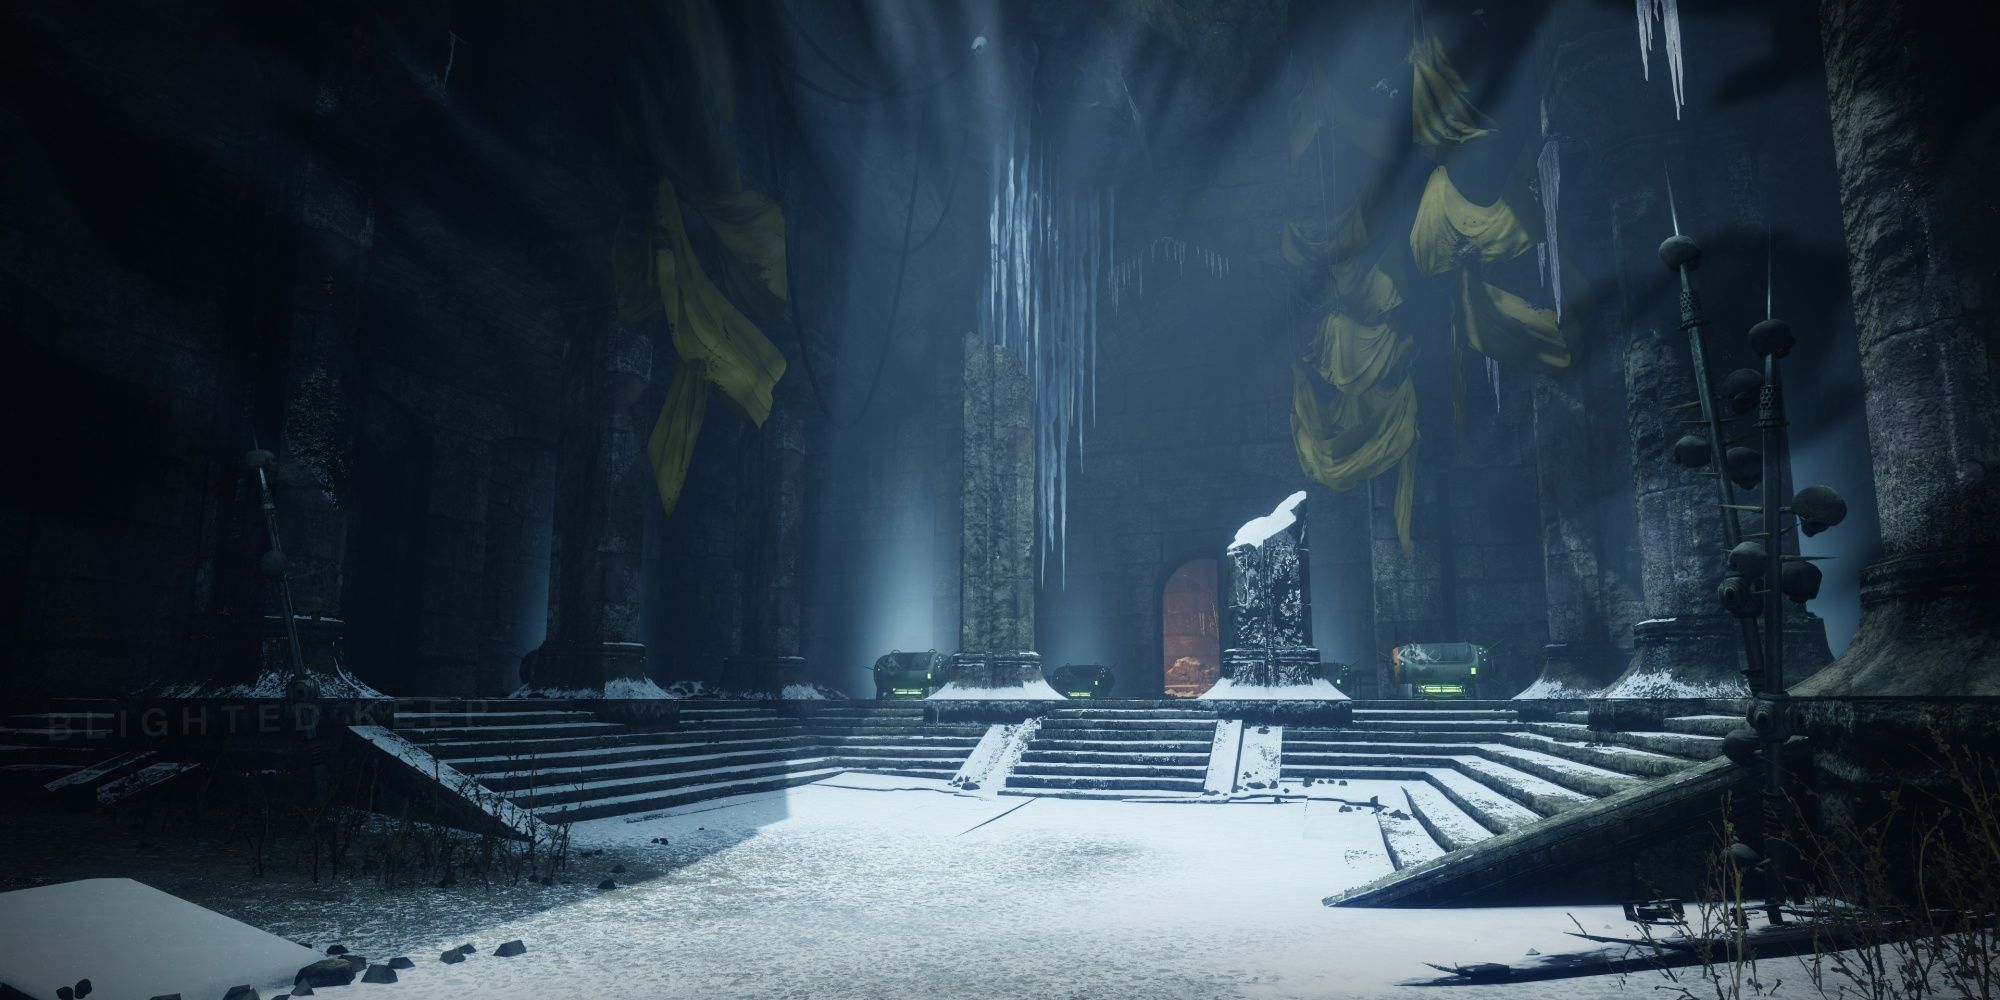
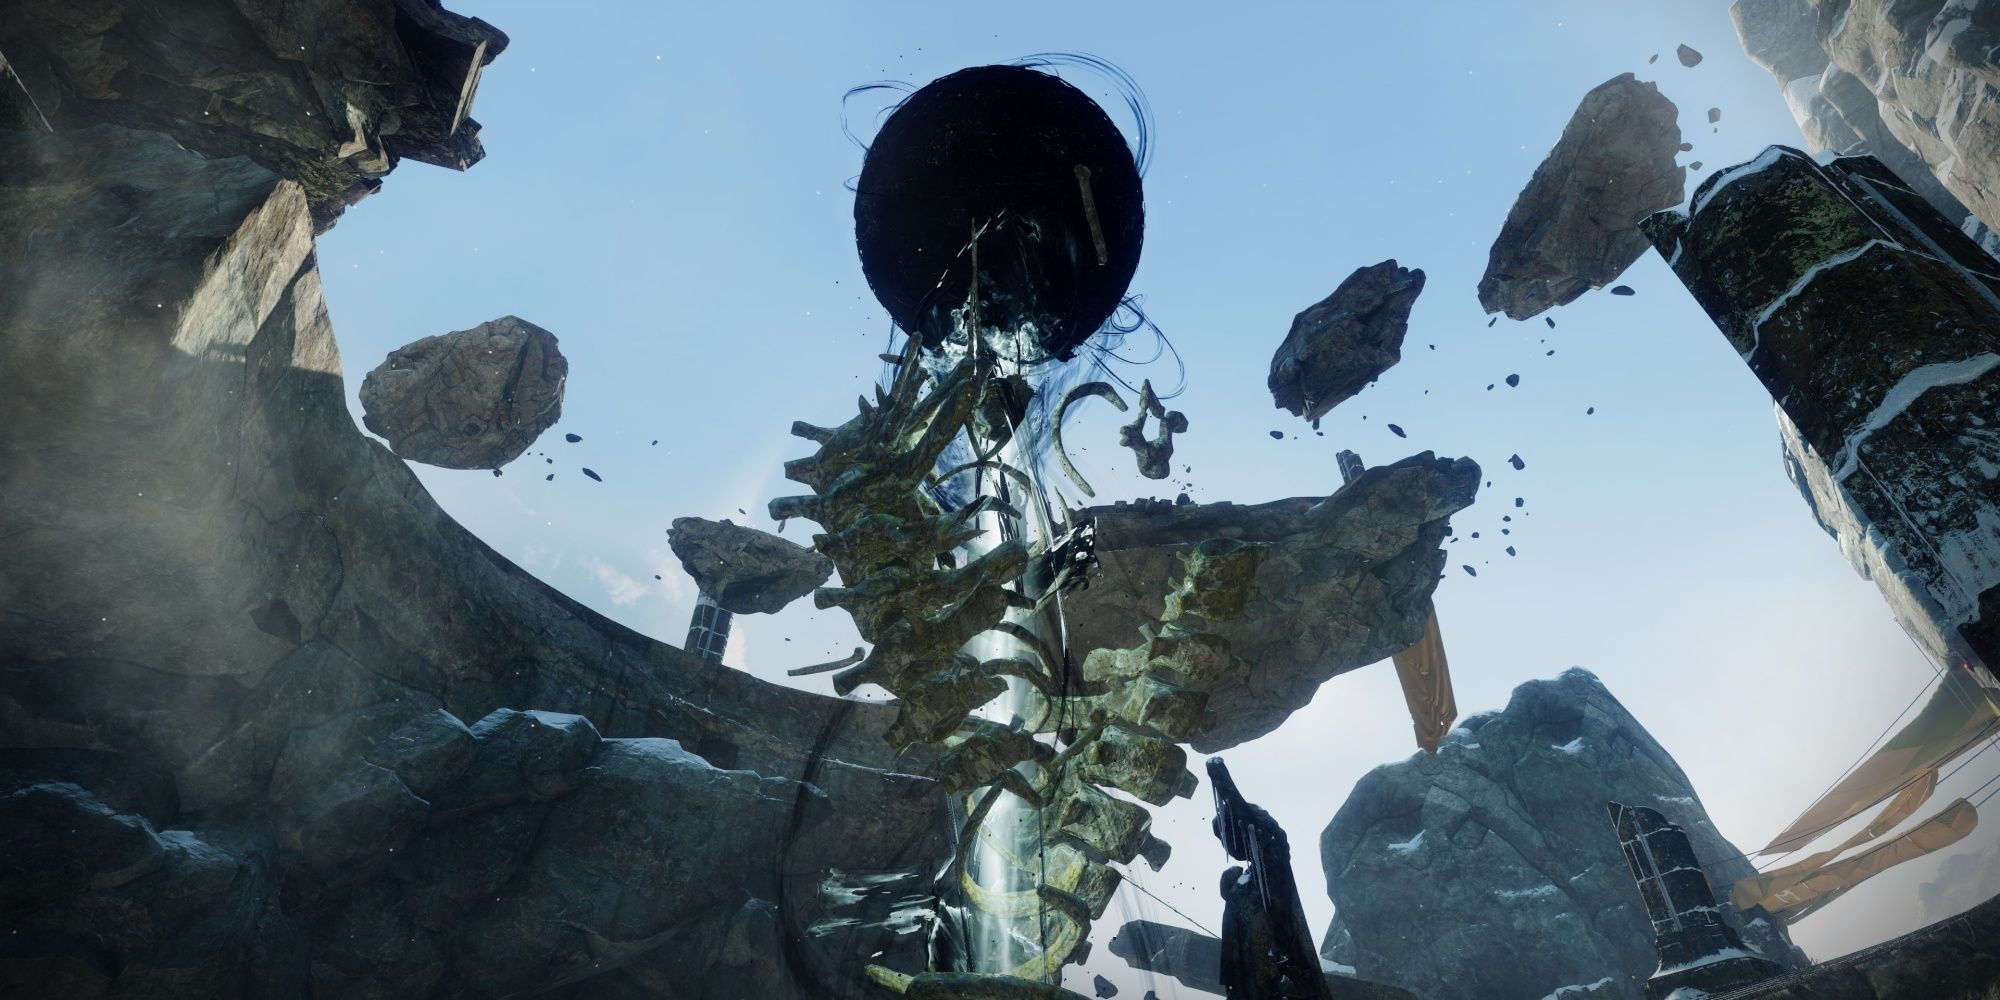
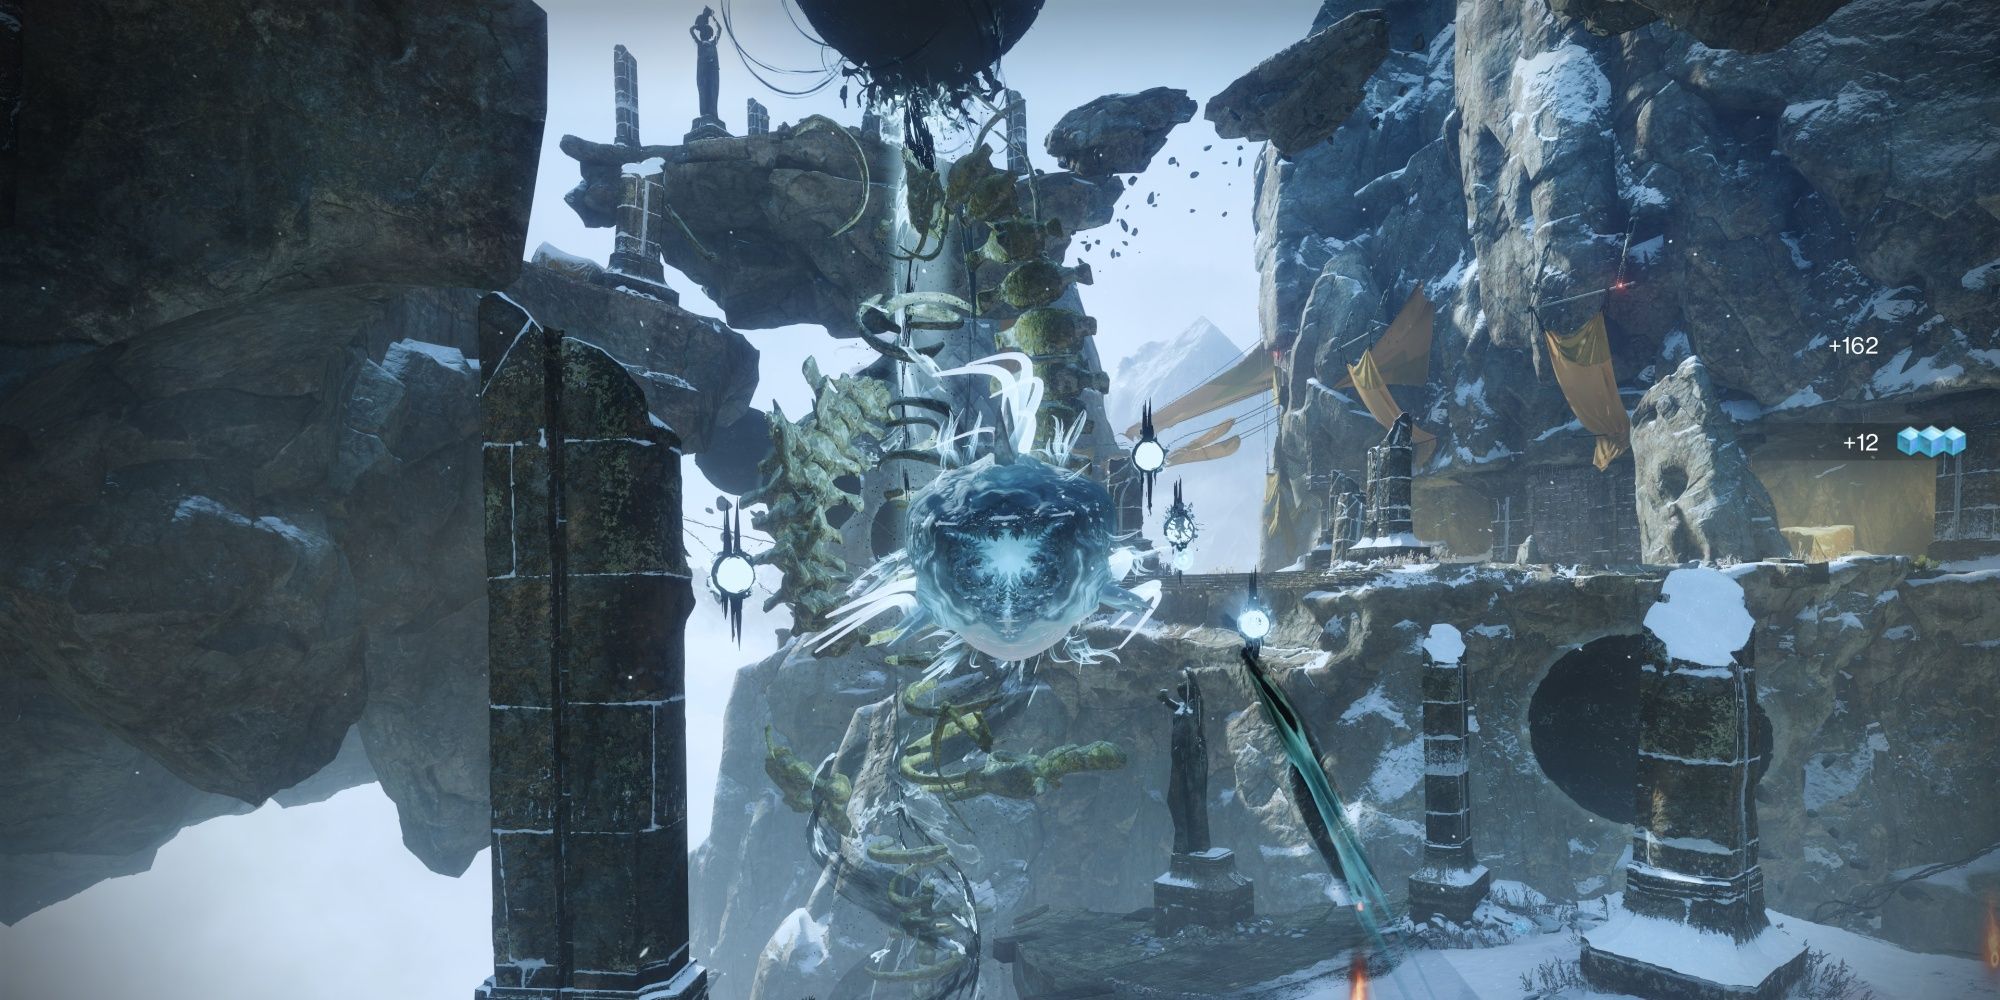
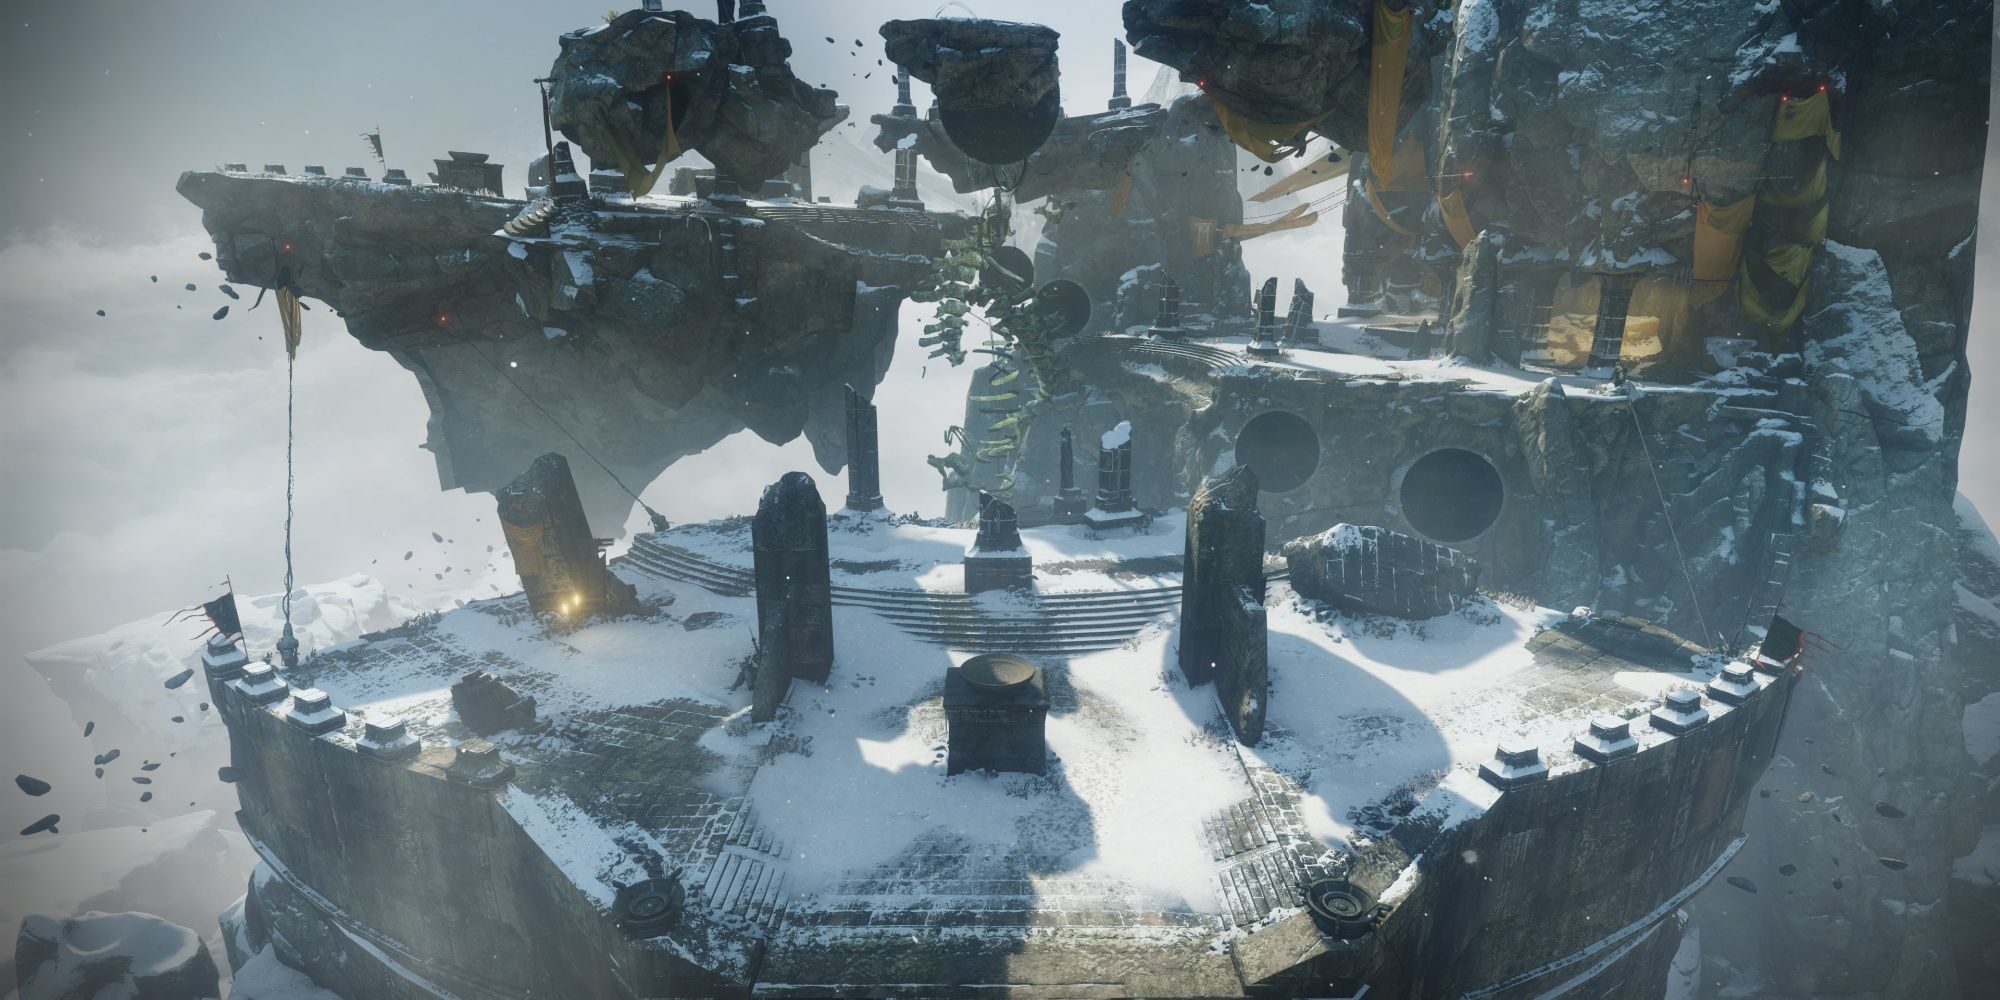
Destiny 2’s Season of the Wish has brought with it a new dungeon. Warlord’s Ruin takes Guardians to the ruins of a Dark Age castle that has been overrun with Taken and Scorn. Players will need to get inside the castle and defeat the forces within, granting a long-forgotten Ahamkara’s last wish.
Destiny 2: Season Of The Wish – The Coil Activity Guide
Uncover powerful Dragon’s Gifts, hidden chests, and more in Season of the Wish’s difficult roguelite mode.
In terms of difficulty, this dungeon is fairly easy for groups yet challenging for solo players. This guide will explain how each dungeon encounter works, recommend various DPS strategies, optimal loadouts, and provide tips for solo players looking to clear this dungeon without the help of other Guardians.
Recommended Loadouts
|
Subclasses |
||
|---|---|---|
|
Hunter |
Warlock |
Titan |
|
Nightstalker |
Dawnblade |
Berserker |
|
Gunslinger |
Shadebinder |
Sunbreaker |
These recommendations are tailored for solo play. Group play only requires a DPS buff (Radiant, Lumina, etc.) and a debuff (Tether or Tractor Cannon).
Warlord’s Ruin is one of Destiny 2’s harder dungeons to solo, mainly due to its high enemy density and minimal cover. The bosses don’t have shields like in Ghosts of the Deep, but each boss has roughly 14 million HP and high damage output. Burst damage and survivability are required for solo play.
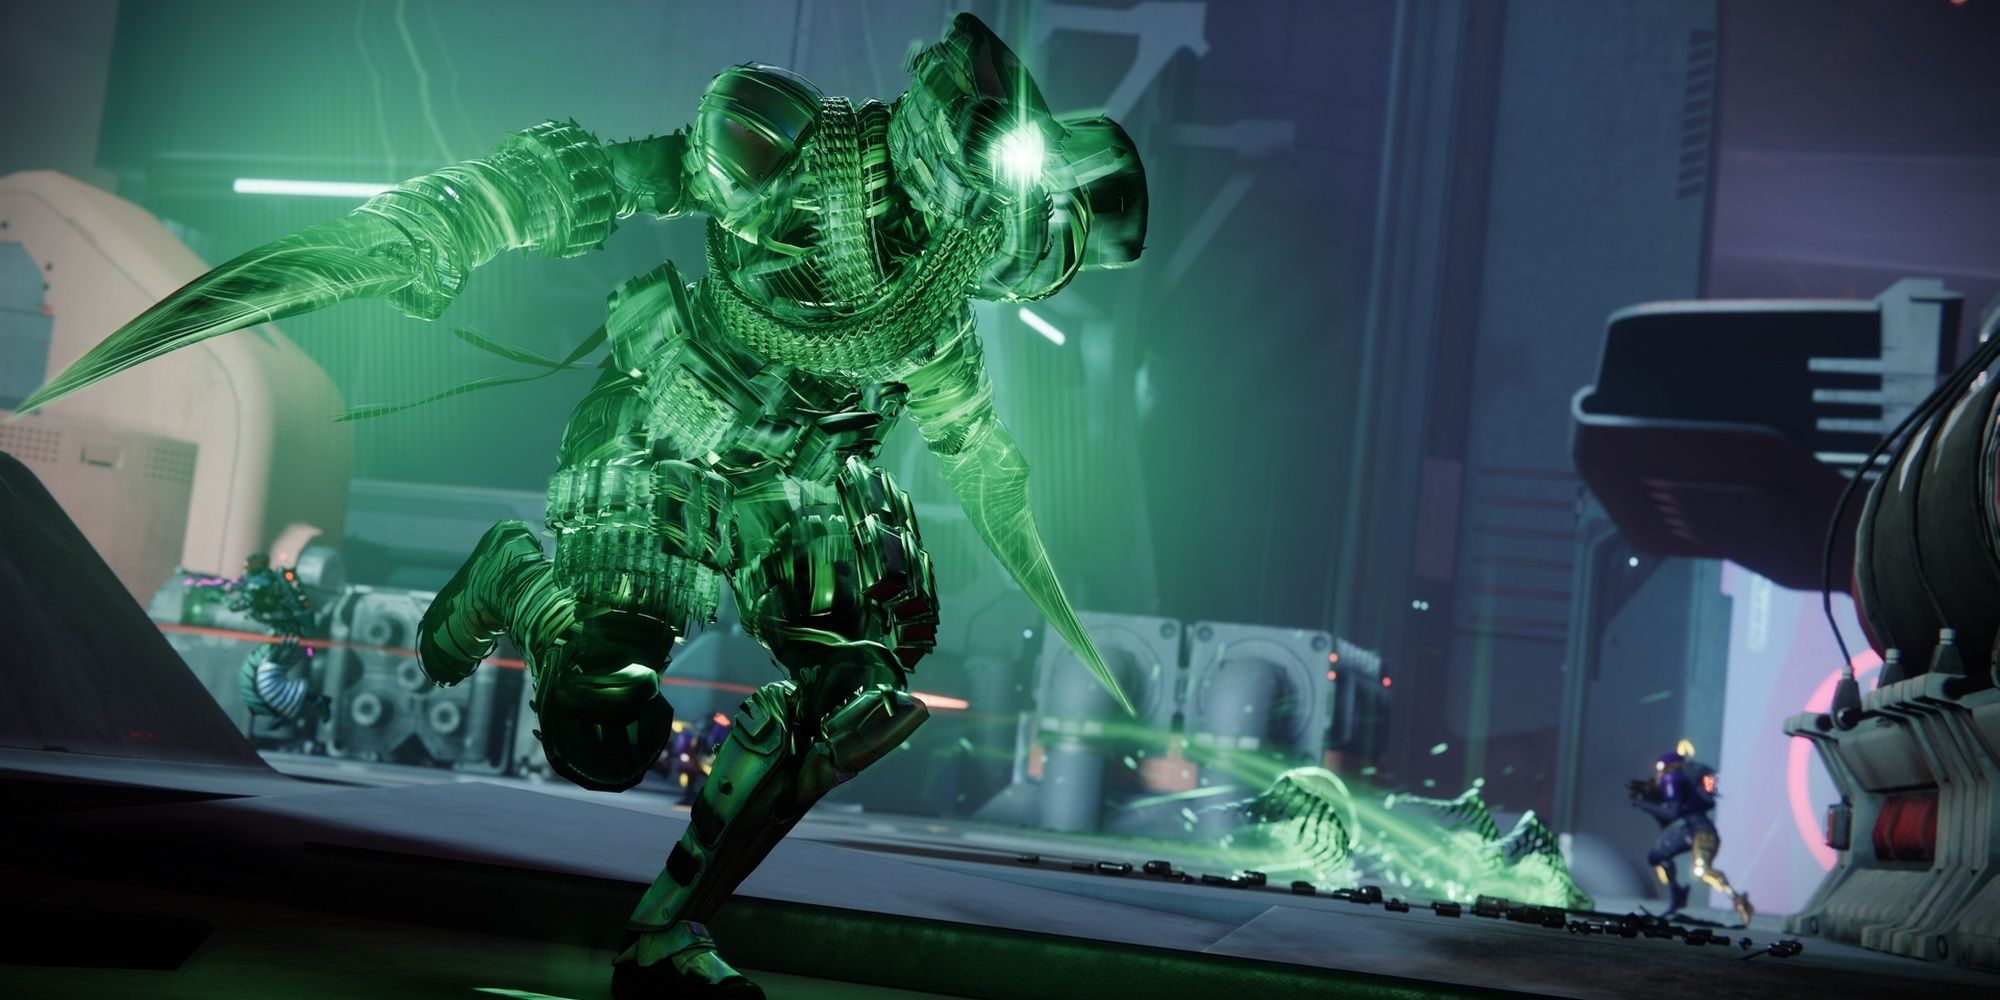
Hunters should make two loadouts for this dungeon: one with Assassin’s Cowl and another with a DPS Exotic like Celestial Nighthawk or Lucky Pants. The best DPS class you can use is Gunslinger since Golden Gun deals absurd damage if Nighthawk is equipped. If you hate loadout swapping, you can run Nightstalker with Gyrfalcon’s Hauberk or Orpheus Rig for the entire dungeon.
Warlocks will have the easiest time playing Dawnblade with either Sunbracers or Dawn Chorus. Use Heat Rises and Phoenix Dive to gain x2 Restoration, then use Ember of Empryrean to extend it as long as possible. For a slower, much safer approach to soloing each encounter, Shadebinder with Osmiomancy Gloves can make add clear a non-issue with Bleak Watcher turrets.
Titans should use Berserker here. Use Banner of War with Synthoceps or Wormgod Caress to greatly improve your melee damage and survivability. Frenzied Blade isn’t practical for DPS in the final encounter, so you’ll want to bring a good Heavy weapon to compensate. Sunbreaker is still a good pick despite the nerfs, but you’ll need to lean on weapons for DPS phases now.
Weapons
|
Weapons |
||
|---|---|---|
|
Kinetic Slot |
Energy Slot |
Heavy Slot |
|
Scatter Signal |
Sunshot |
Dragon’s Breath |
|
The Supremacy |
Forbearance |
Rocket Launchers |
|
Bows |
Bows |
Grenade Launchers |
This dungeon has plenty of adds and fairly short DPS windows, so any good burst DPS weapons are ideal here. Add clear becomes important during the last two encounters as well, so you might want to use your Exotic slot for a Primary weapon. This will also help with Heavy ammo uptime if you have a Heavy Ammo Finder mod installed.
If you’re attempting this solo, by far the best Primary you can use is Sunshot. It annihilates adds, two-taps the Blighted Eyes seen in every encounter, and makes the DPS phases in the final fight far more manageable. If you don’t have a good Legendary Heavy Weapon, you can either run Forbearance or a Solar Bow with Incandescent to take care of adds.
Since Forbearance is a Wave-Frame GL, it can’t hit the Blighted Eyes in each encounter. Keep this in mind if you plan on using it.
The Kinetic slot should be used to debuff bosses or kill the Blighted Eyes. Scatter Signal is an amazing choice since it has top-tier Fusion DPS and can benefit from Unraveling Rounds. If you want to pop Blighted Eyes but aren’t using Sunshot, The Supremacy with Enhanced Kinetic Tremors can clear multiple eyes in two shots. Bows are also an option if ammo becomes an issue.
For your Heavy weapon, Dragon’s Breath is absurdly powerful for solo play. Fire a rocket, DPS with your Special, then fire another rocket after an Ignition occurs. Treat it as an auto-loading rocket, and you’ll deal some excellent DPS. Legendary Rocket Launchers and GLs work here too—Apex Predator, Cataphract, and Cold Comfort to name a few.
Return to Quick Links

Destiny 2: Every New Weapon In Season Of The Wish
Season of the Wish has brought back some iconic Destiny weapons, including Dragon’s Breath, Breakneck, and more.
Hidden Chest Locations
Hidden Chest #1: Kingsbane Rampart
This chest is found right after the Locus of Wailing Grief encounter. When you first enter the Kingsbane Rampart, you’ll enter a room that’s filled with Fallen chests. The correct hidden chest will not be glowing with Dark Ether (shown above). It might take a few seconds for the chests to start glowing, so be patient. The correct chest is randomized every run.
Return to Quick Links
Hidden Chest #2: Vengeful Peak
Continue through the Kingsbane Rampart and Blighted Keep after the Locus of Wailing Grief encounter. Eventually, you’ll receive the “Vengeful Peak” objective on your HUD and get ambushed by a platoon of Taken enemies. Once you’ve killed the enemies, jump up the snow-capped ledges to view the ruins of the castle.
You should see three castle passageways surrounding the Taken Blight. Jump to the passage on your left. Run to the end of the tunnel and turn left to find the chest.
Return to Quick Links
The Climb
Warlord’s Ruin begins in the mountaintops near a Dark Age castle. You’ll need to progress through a short jumping section to reach the castle. Follow the flags that dot the path until you reach a dead end, then turn around. You should see a flag that was knocked down atop some mountainous rocks. Jump atop the rocks and hop to the snow-covered ledges to your left.
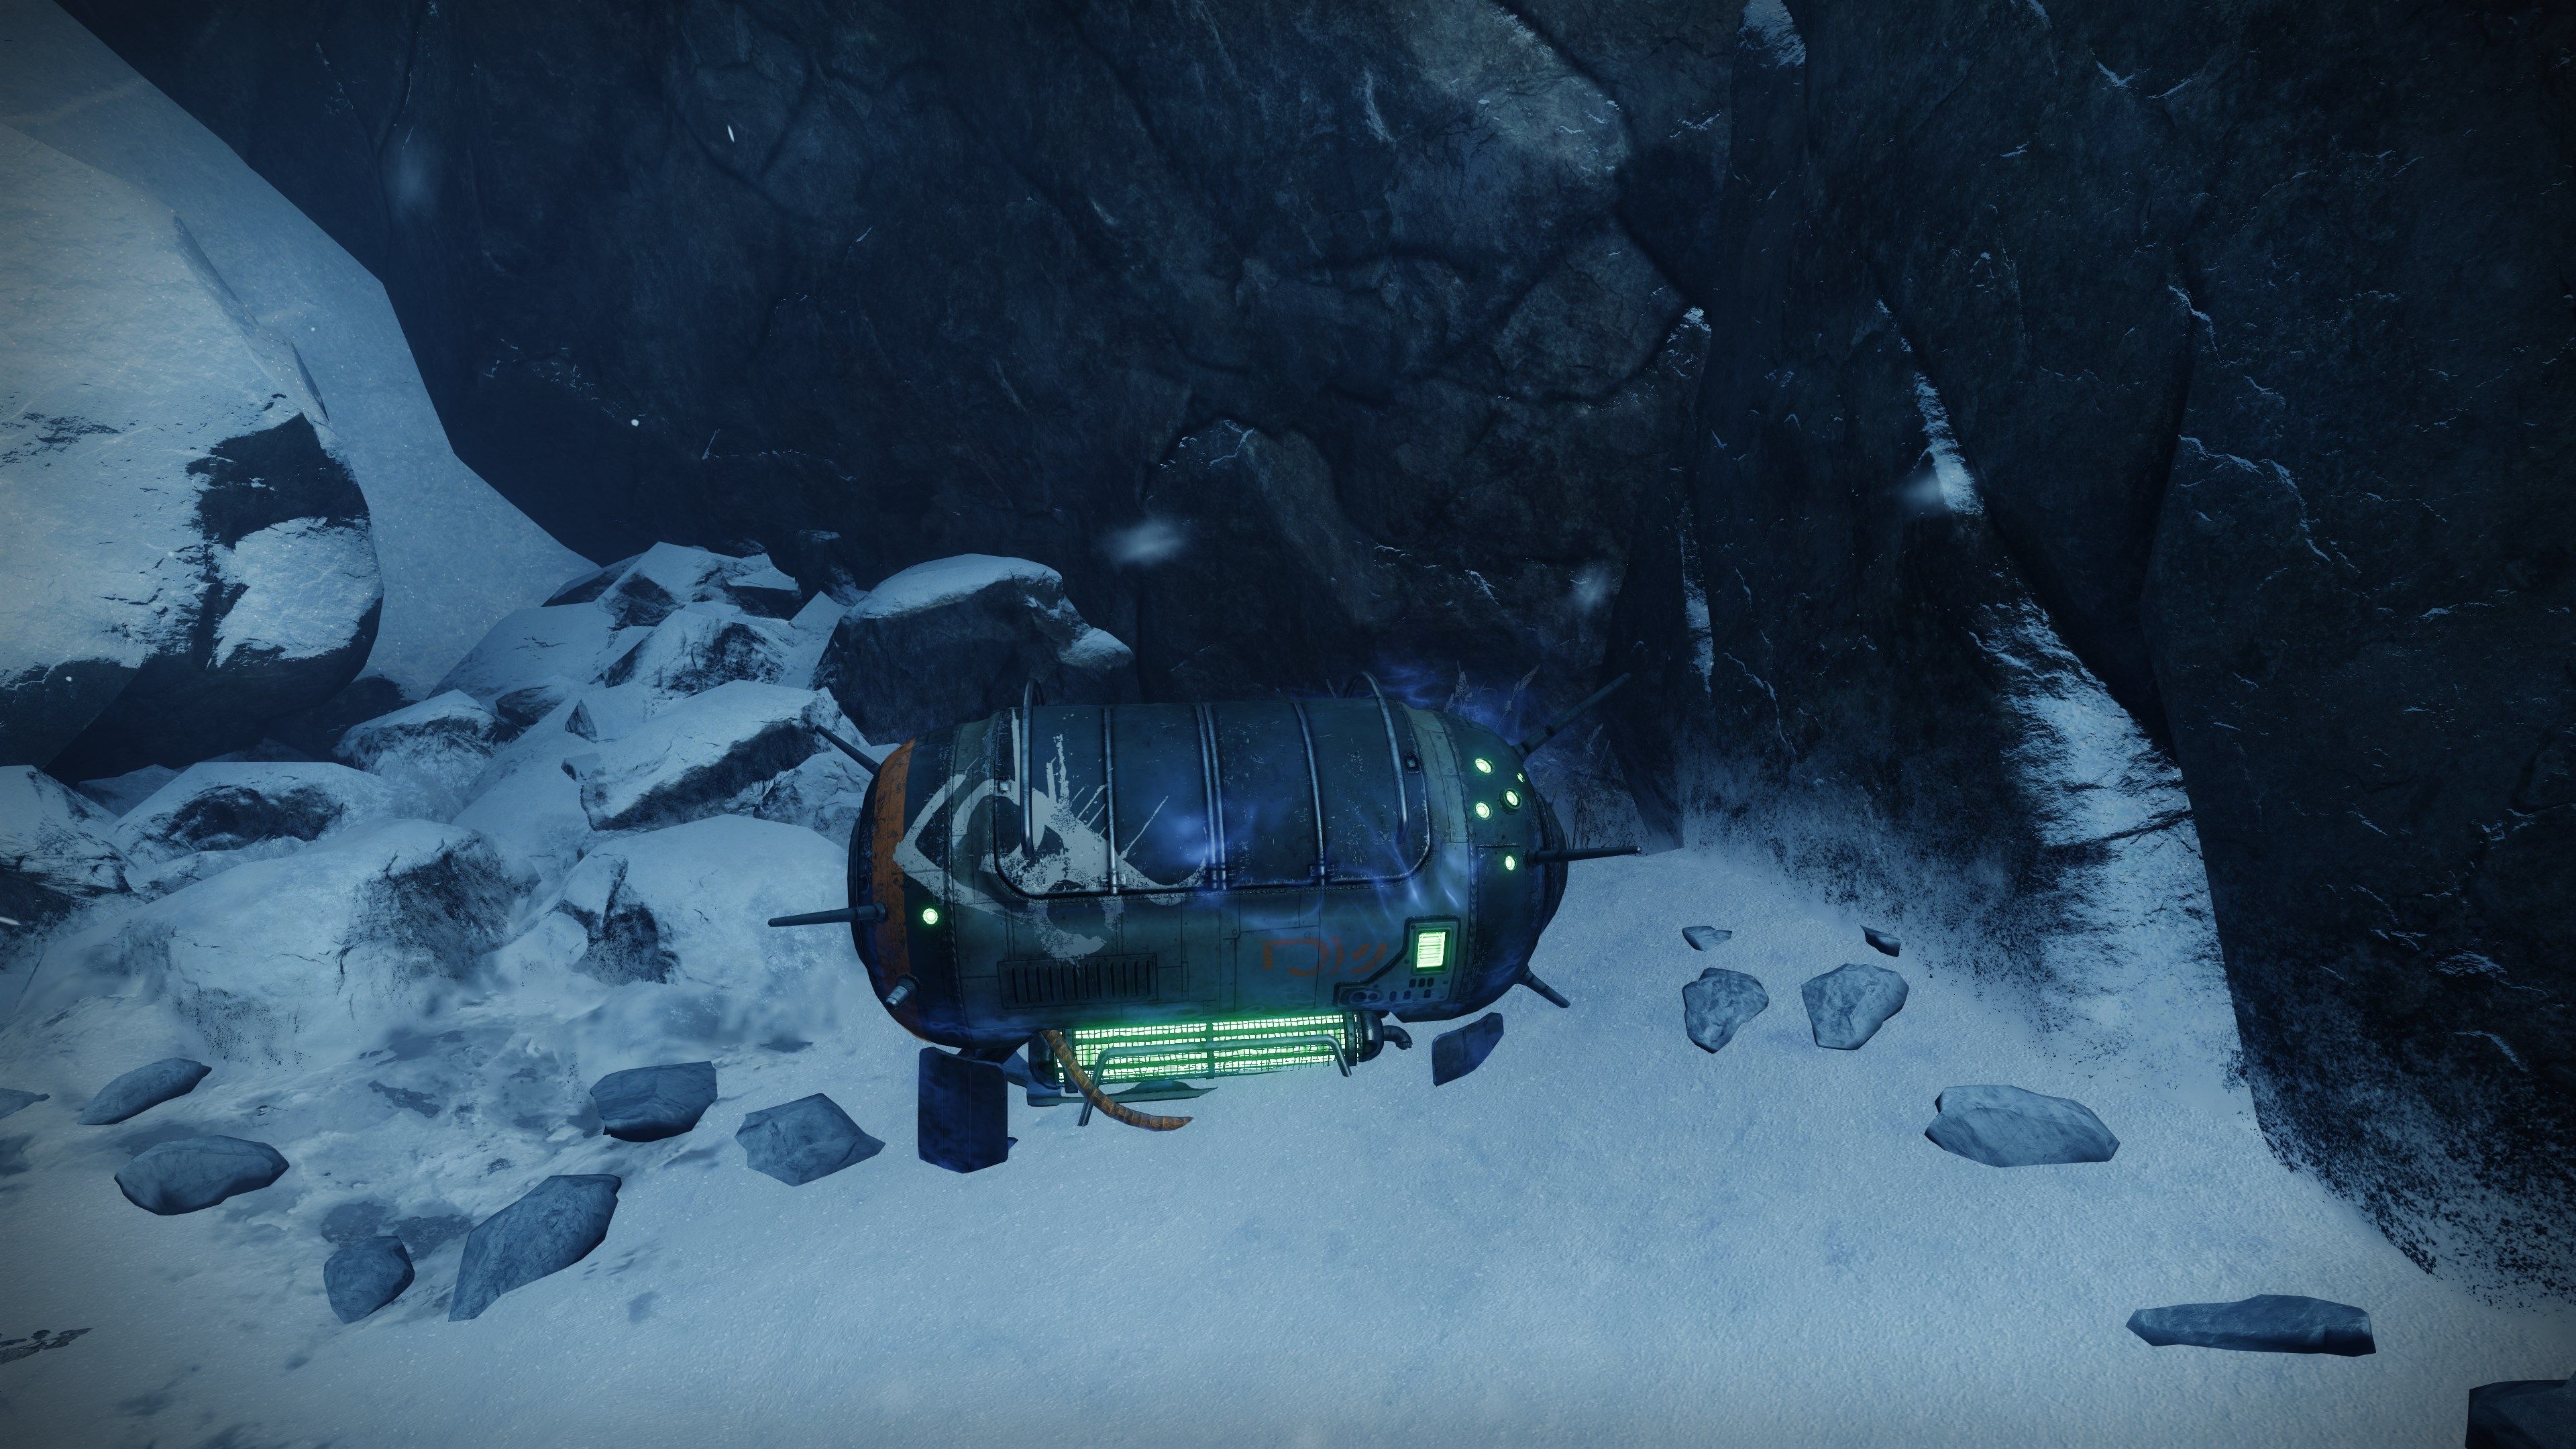
Following the path will eventually lead you to a deceptively-placed chest. Do not open it. If you look at the chest for a few seconds, you’ll begin to see it smoke with Dark Ether. This is an indicator that the chest is trapped. If you open it, a group of Screebs will spawn and kill you. Keep this in mind, as it’s used later in the dungeon.
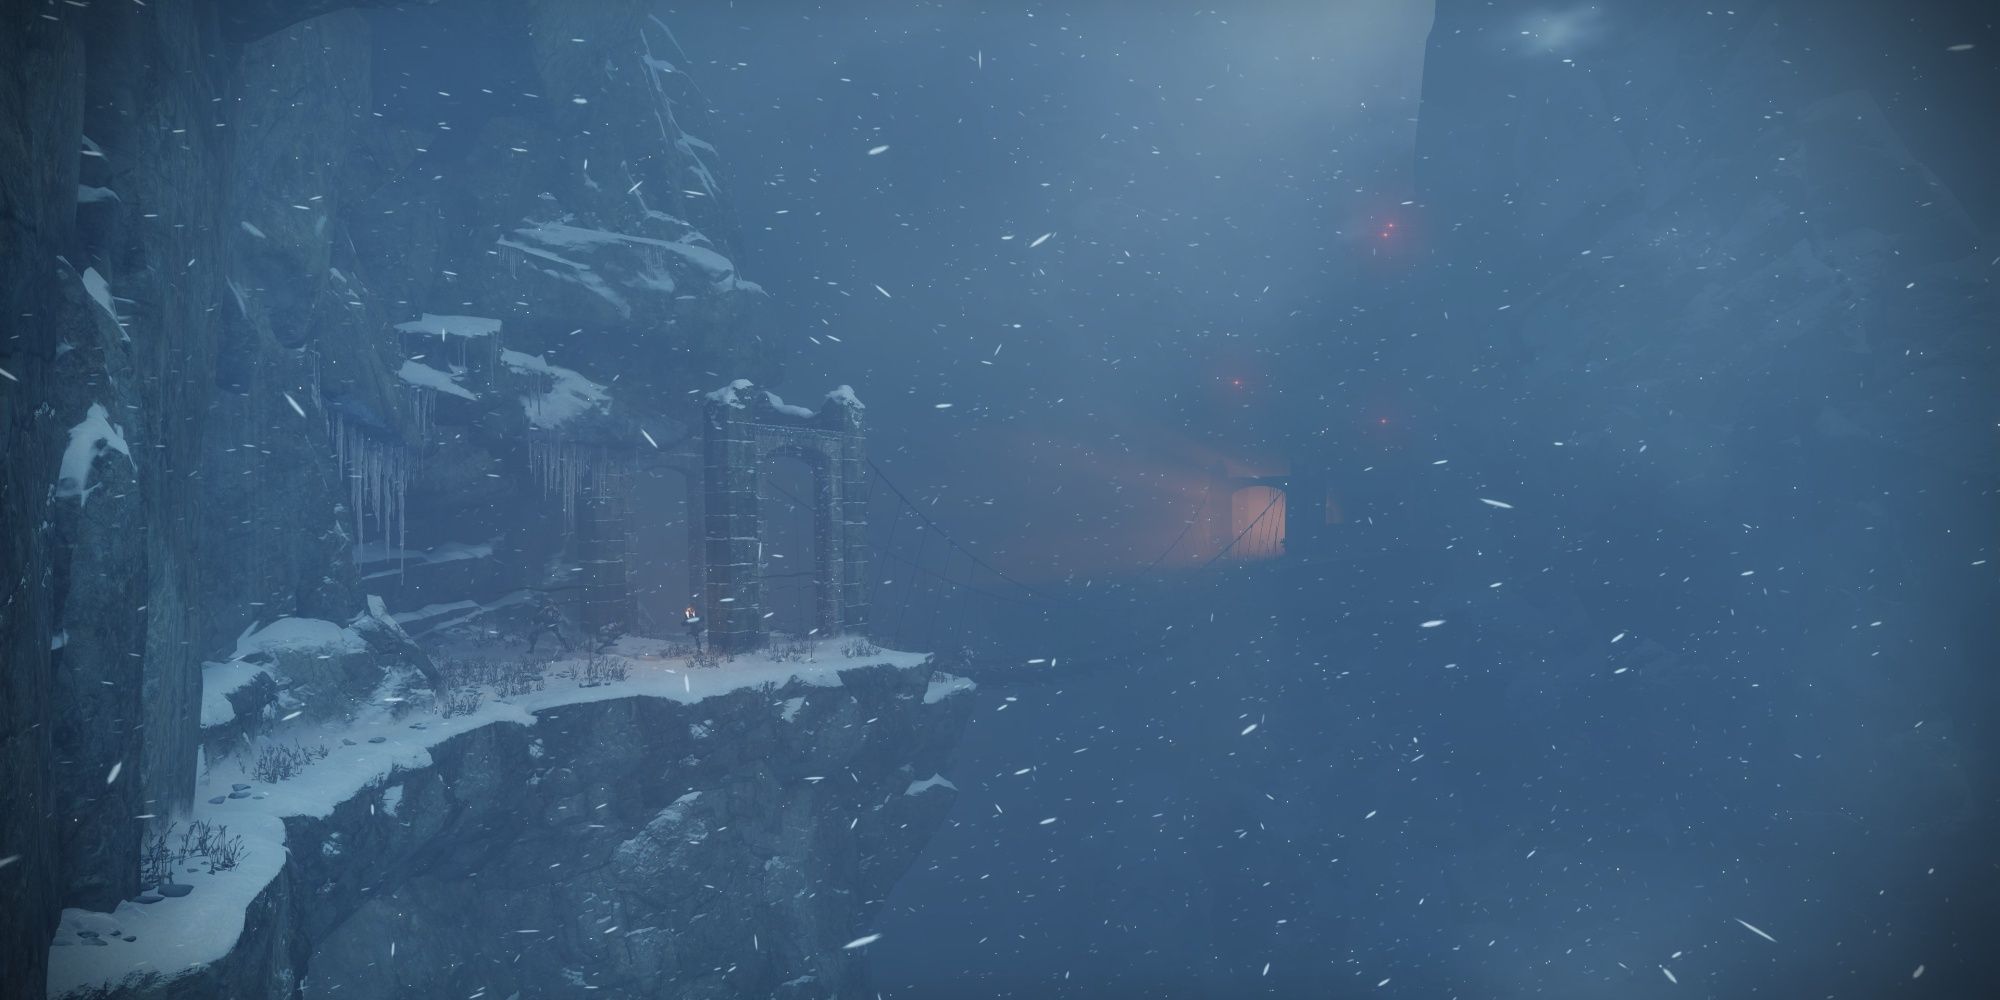
Redirect your attention to the ledges and continue progressing through the mountains. You should find a wooden bridge that leads into the ancient keep. Clear out the Scorn guarding the entrance and make your way inside. Navigate the halls until you reach the first encounter.
Return to Quick Links
Defeat Rathil, First Broken Knight Of Fikrul
Rathil is a fairly straightforward encounter that requires you to cleanse Taken Totems to remove the boss’ immunity shield. There are quite a few adds in this encounter and little cover, so be sure to use a build with some form of survivability. Woven Mail, Restoration, and Invisibility are a few buffs that make this encounter far easier.
Start the fight by getting near Rathil. It will become enraged and begin to shoot you, spawning two waves of Scorn adds after a few seconds. Shortly thereafter, Rathil will raise its arms and summon a Taken Totem nearby. Take note of where this totem is. This will also give you the “Imminent Wish” buff for 30 seconds. This indicates when the DPS phase will begin.
When Rathil spawns the first totem, your fireteam will be teleported into cages overlooking the map. If you do not find a way out of the cage in ten seconds, you will die. Destroy the three Blighted Eyes around your cage to open it and exit before the cage kills you. The remaining time on the “Imminent Wish” buff determines how much time you have to cleanse totems.
To cleanse a totem, stand near it for a total of eight seconds. Each totem you cleanse will add time to the DPS phase, so you’ll want to cleanse as many totems as you can. Any totems not cleansed by the time DPS starts will despawn.
DPS Phase
Damaging Rathil is the same as any typical dungeon boss. Once “Imminent Wish” expires, your team will gain “Naeem’s Wish Empowerment” for a set duration. This is your DPS window, with each cleansed totem adding bonus time. Rathil itself has no unique mechanics or gimmicks during the damage phase, so use everything you have to kill them.
If Rathil is still alive when the DPS phase ends, then more adds will spawn and the encounter will reset. Repeat the process until Rathil is slain.
Return to Quick Links
Destiny 2: A Complete Guide To The Spire Of The Watcher Dungeon
Ascend an ancient tower and clear the Vex inside with this in-depth Spire of the Watcher dungeon guide.
Imprisoned Puzzle
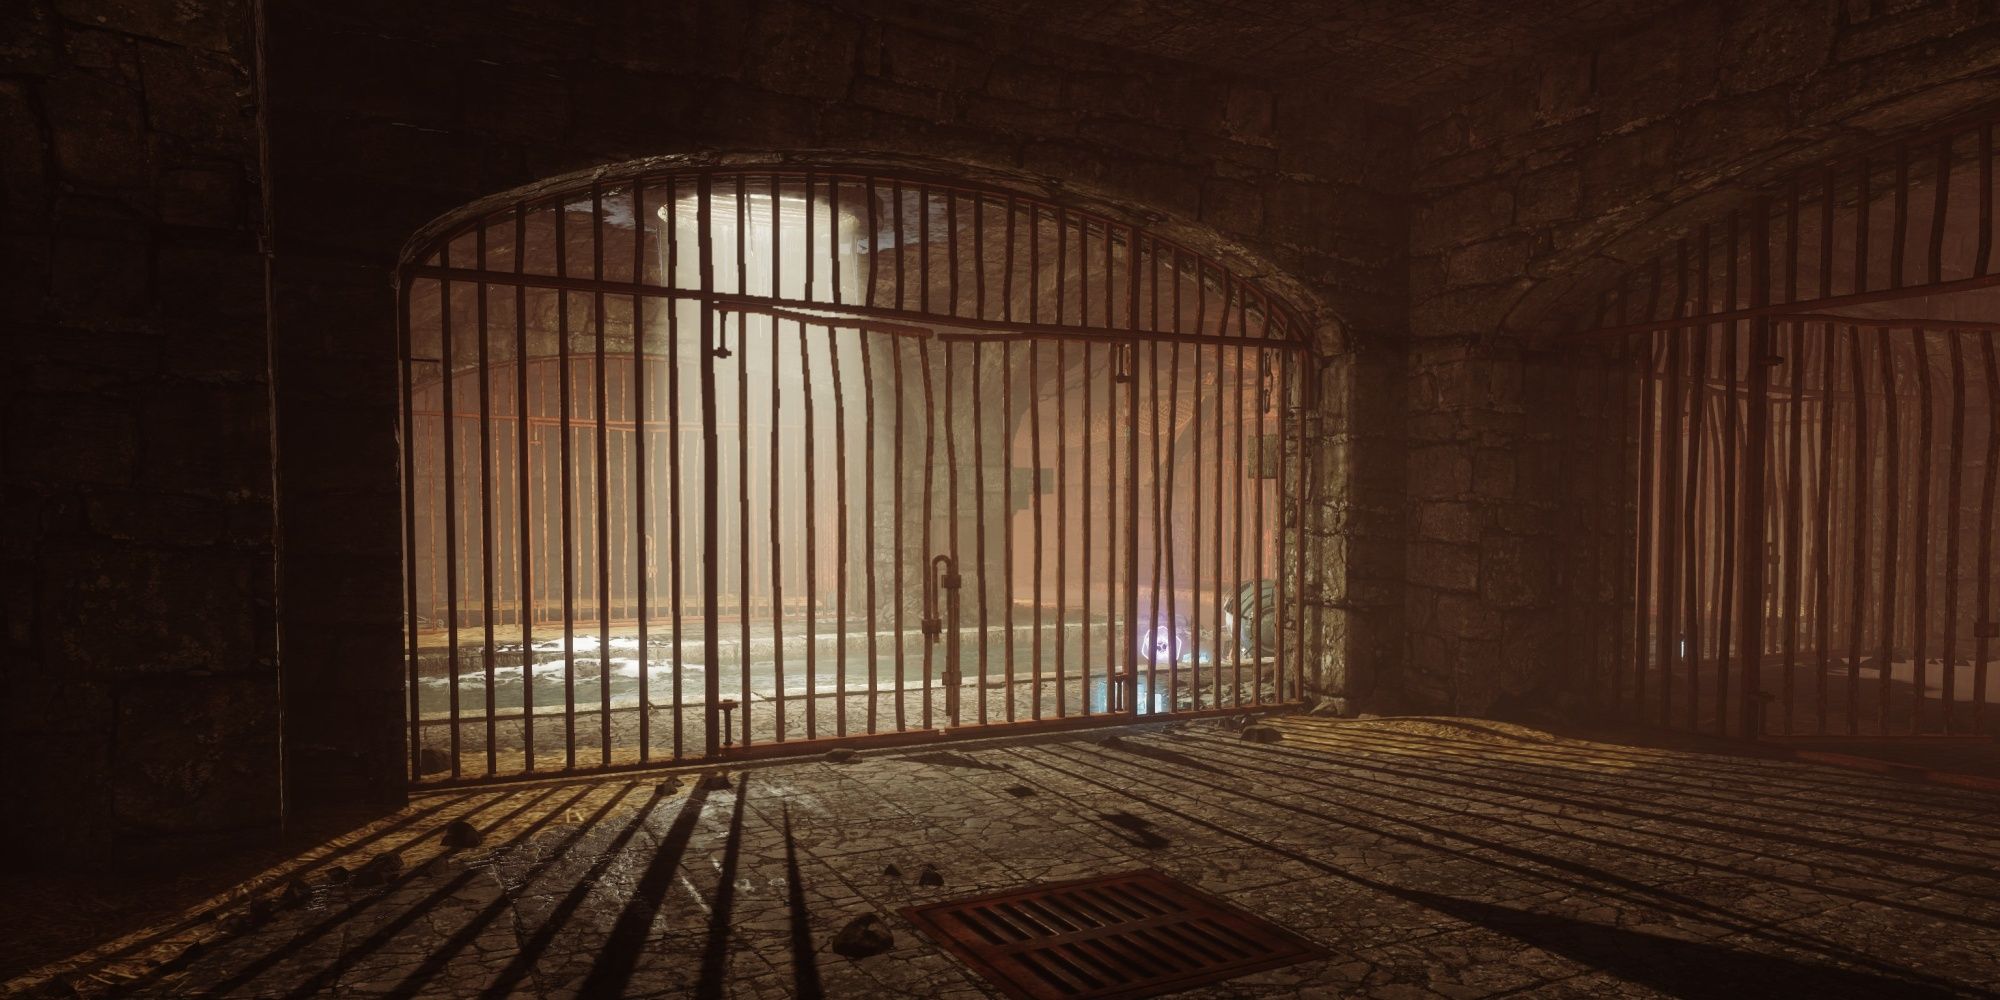
Claiming your encounter loot is going to be a small challenge in this dungeon. Rathil will teleport you into a cell block underneath the castle. There doesn’t seem to be an exit at first glance, but there is a way to force the locks open through cogs that line the walls of the jail.
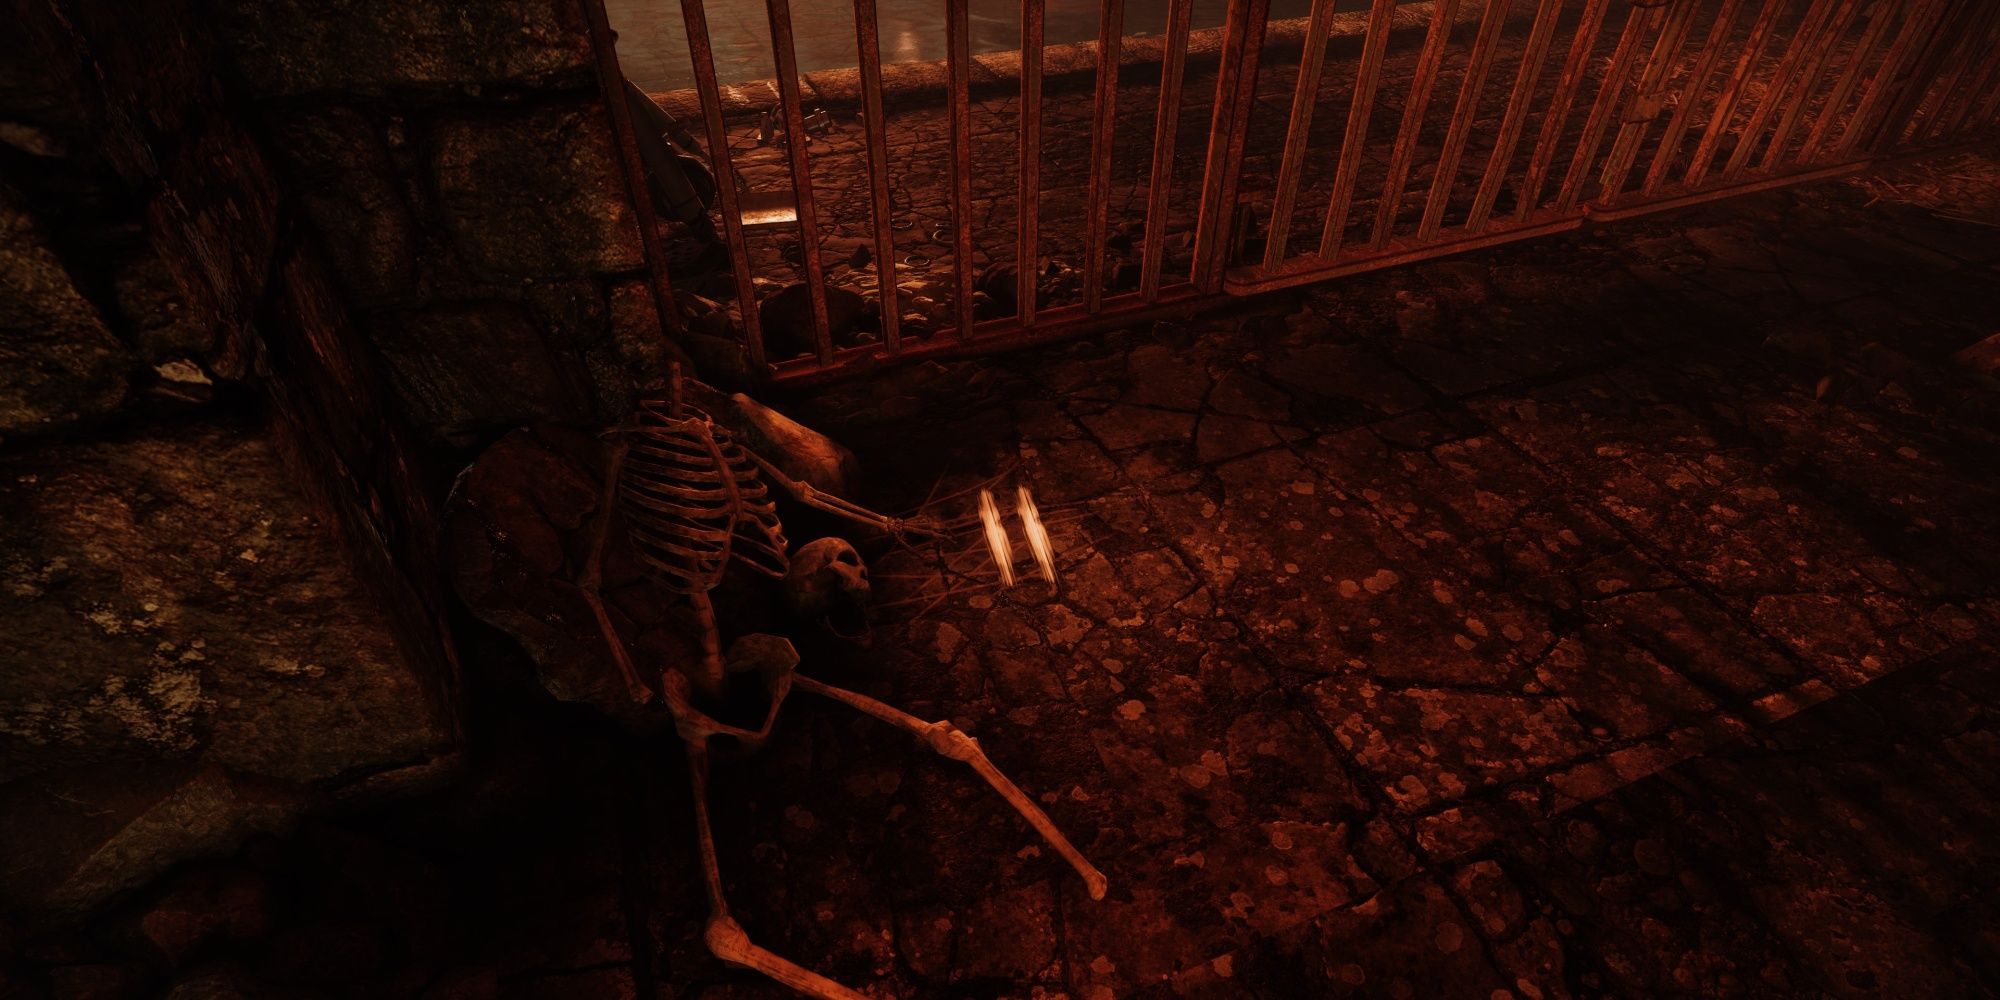
From your cell, follow the path to your right until you reach a dead end. The corner of that cell will have a skeleton with a set of tally marks beside it. These tally marks indicate how many cogs must rotate clockwise, with the remaining cogs rotating counterclockwise.
There are six cogs in the area:
- In the corner of the prison, found next to your jail cell.
- In the adjacent jail cell to #1 above the doorway.
- Found above your jail cell door.
- Directly across from your jail cell door.
- Perpendicular to cog #4, facing the skeleton with the tally marks.
- Jump up the hole above the skeleton’s jail cell. Drop into the nearby room. The cog will be resting on a wall one cell down.
Once you have all six cogs turning, shoot the latch right outside your jail cell. If done correctly, your cell door should open and allow entry to the rest of the castle. Grab your loot and proceed through the underbelly of the keep.
Navigate The Ruined Undercroft
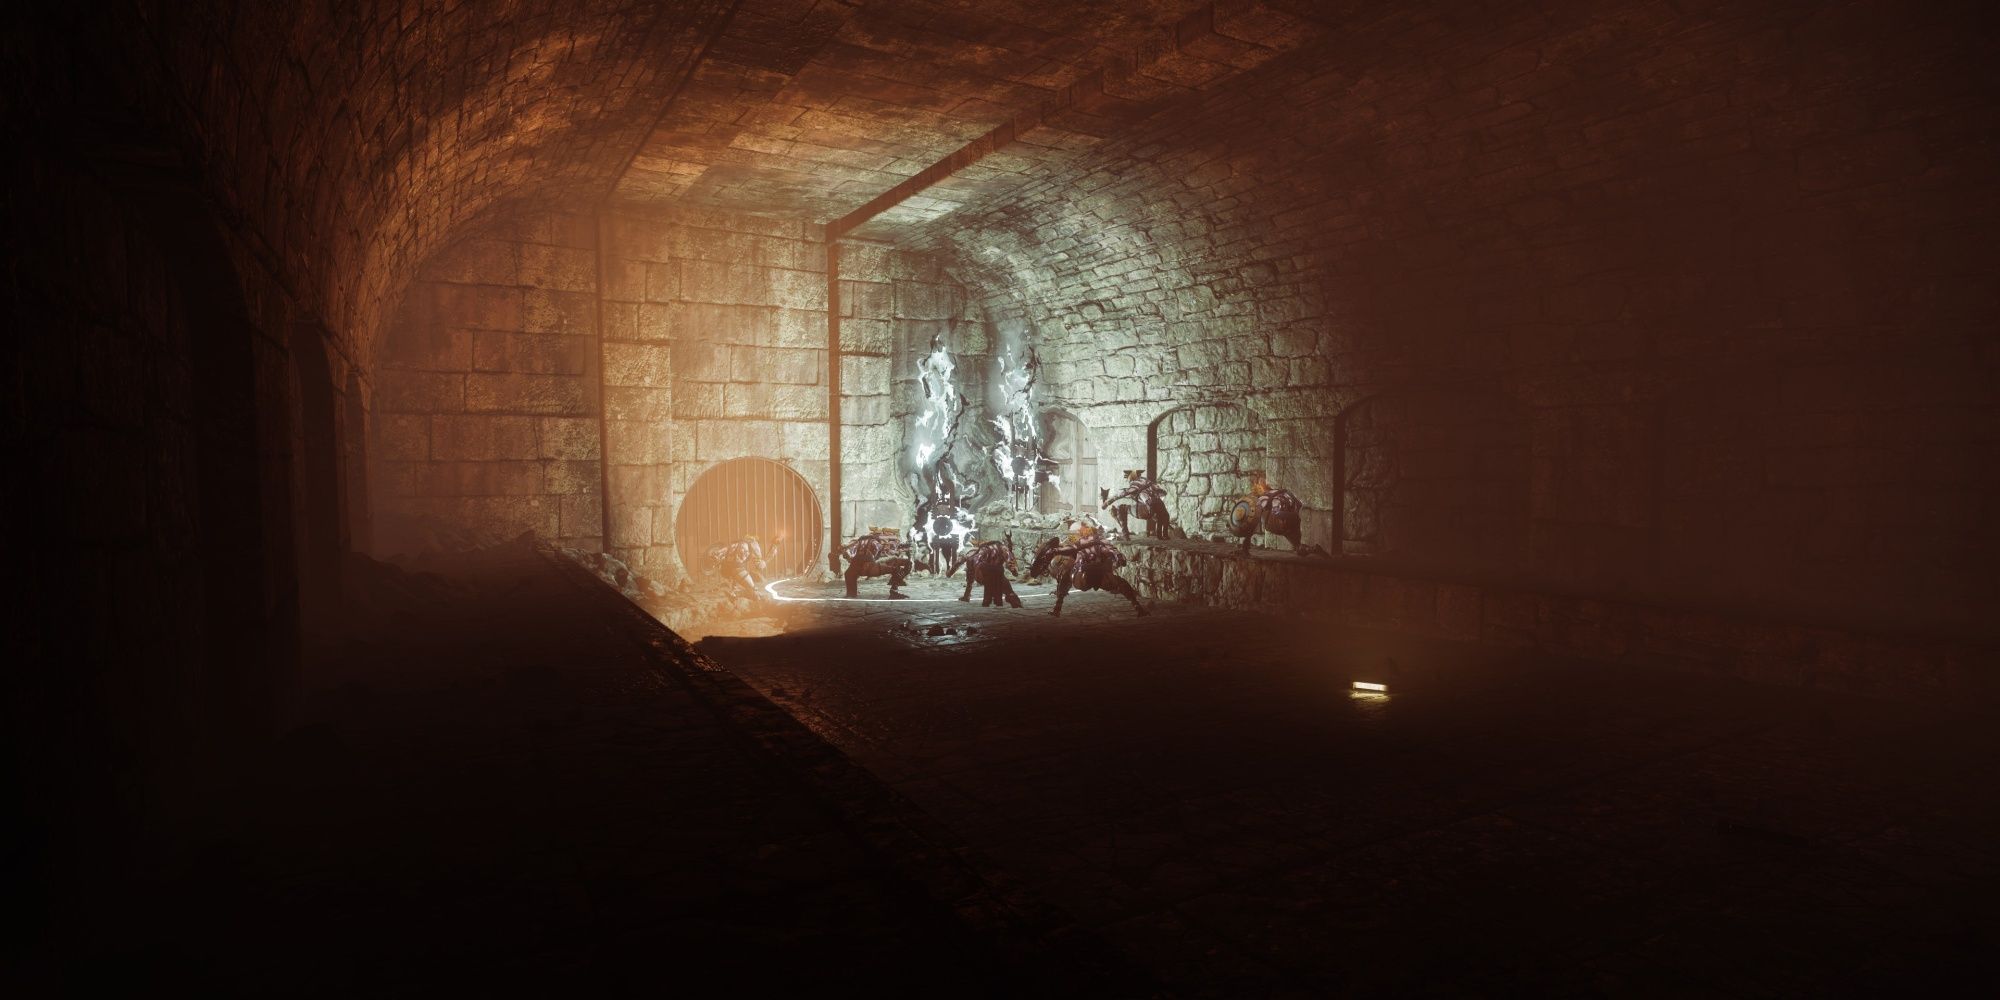
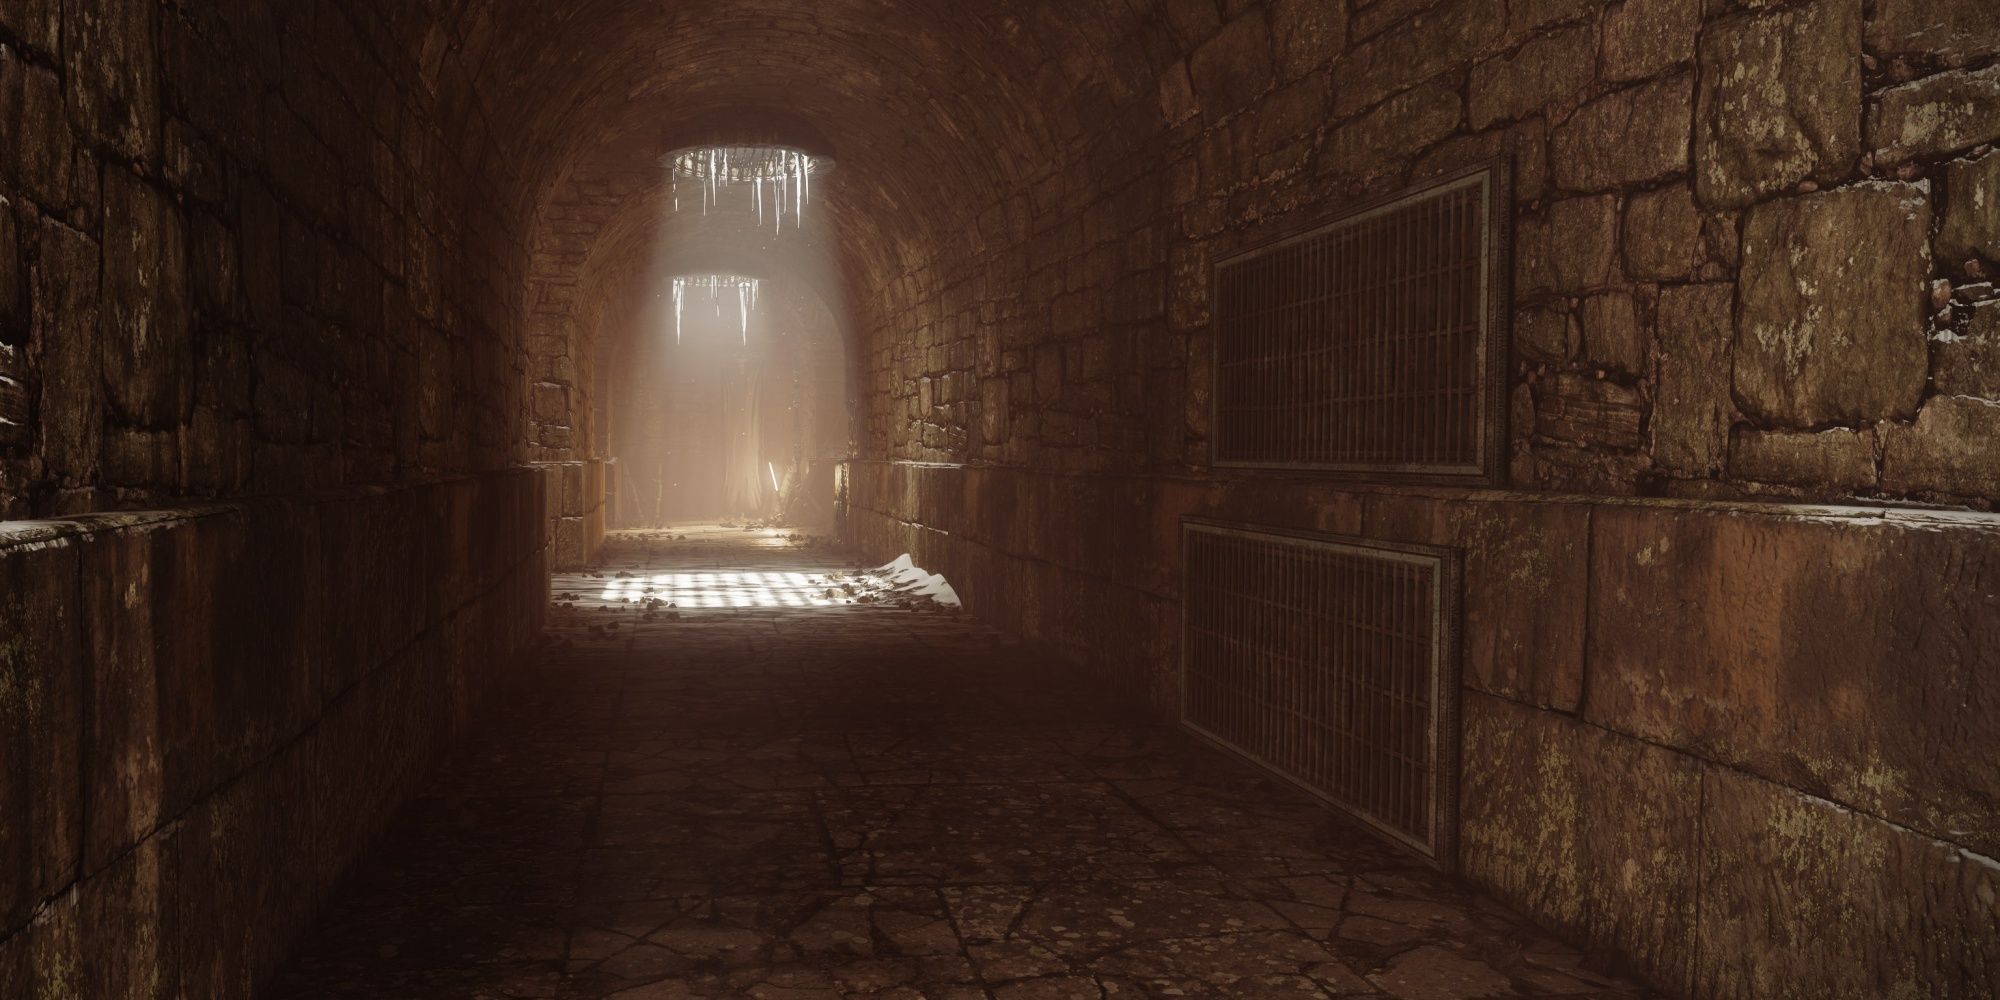
The undercroft consists of various sewer tunnels and narrow passageways that lead through the keep. Defeat the Scorn worshipping the Taken Totem, then drop down the nearby hole. You’ll want to follow each passageway when possible until you hit a dead end. This sewer is a labyrinth of passageways and enemy spawn locations, so be vigilant. All the chests in this section explode; don’t open them.
Certain walls within the undercroft are lined with spike traps, denoted by rectangular grates. Slide or crouch-walk under them to avoid getting impaled.
You can also lure enemies into these spike traps for some easy kills.
Outward
Now that you’ve escaped the undercroft, it’s time to find a way into the castle proper. Climb up the nearby bridge and kill the lone Scorn enemy. This will spawn a small army of Scorn enemies and Hefnd’s Vengeance, a Servitor that’s been corrupted beyond recognition. Kill all the Scorn enemies guarding the castle, including the Abomination guarding the main gate.
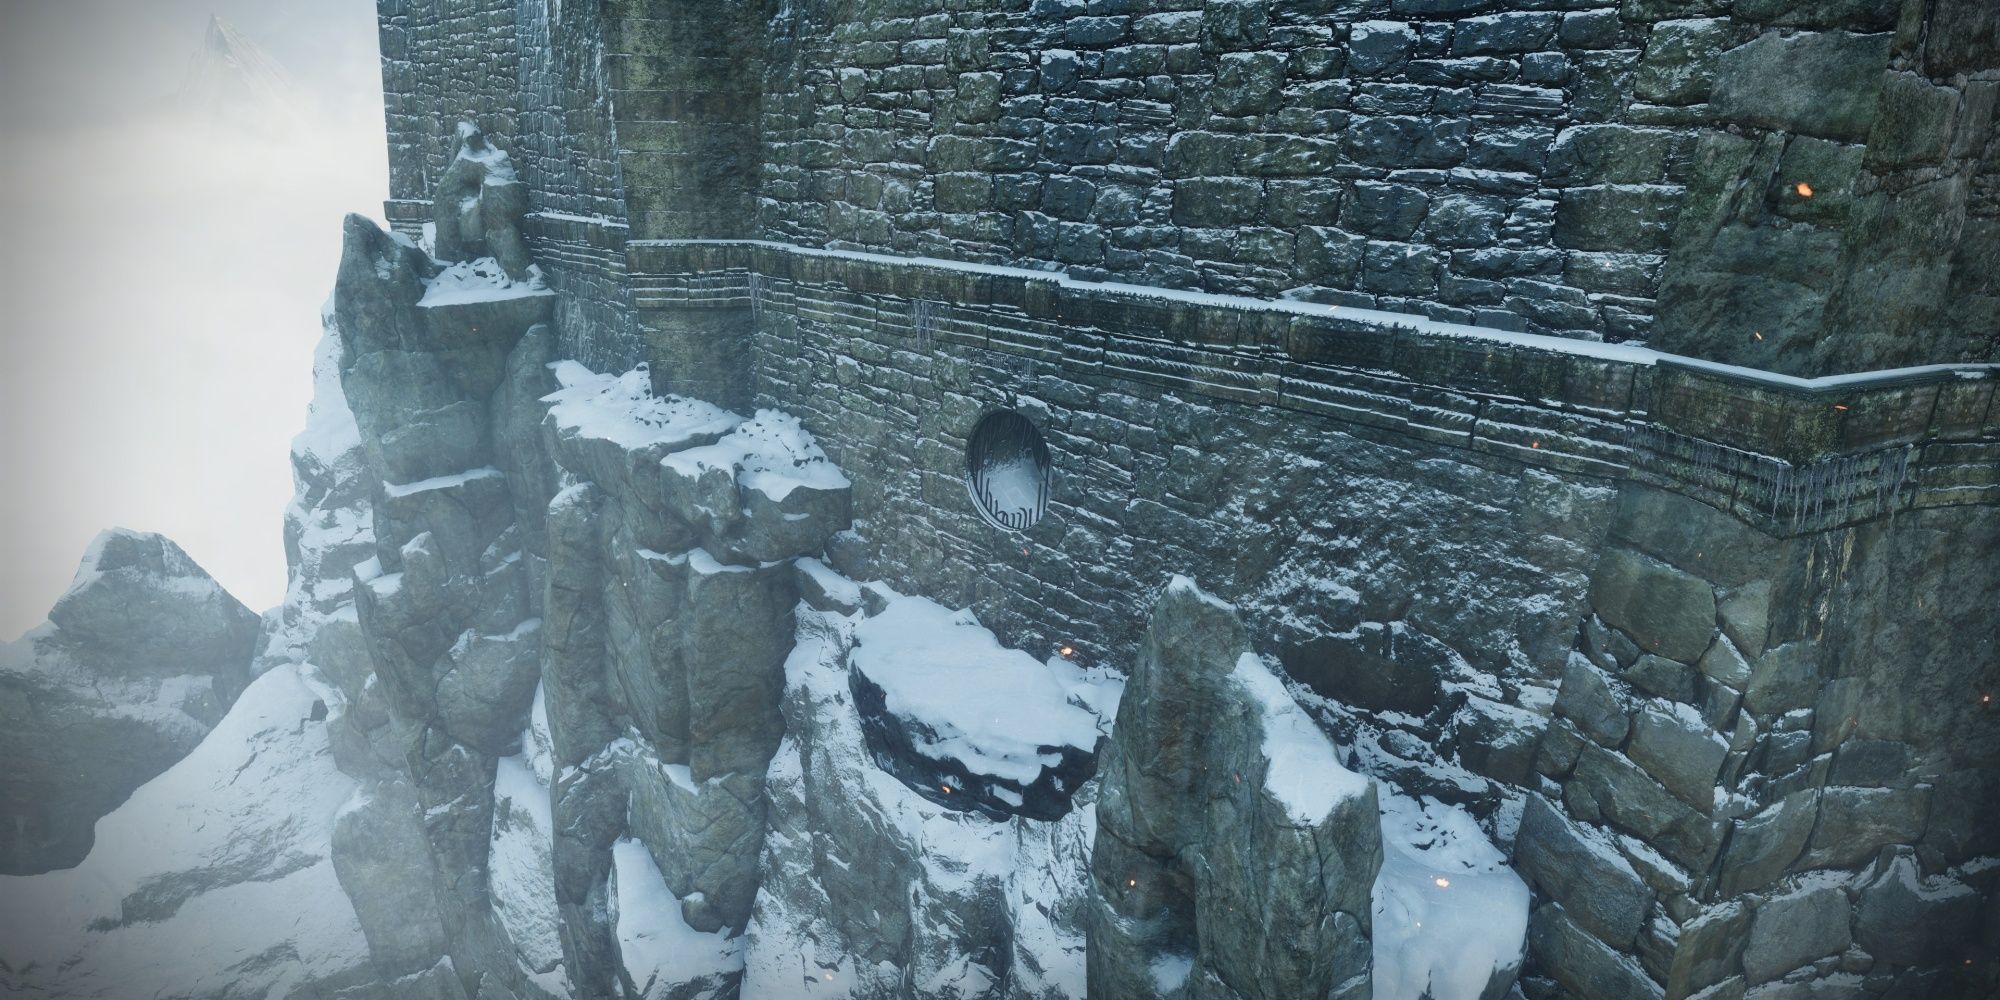
Unfortunately, the gate is locked, so you’ll need to find a new way into the keep. When you’re right outside the castle, hug the left wall and follow it until you reach a broken sewer grate. Enter the sewer to find a way into the castle’s courtyard. Prepare for a long encounter.
Return to Quick Links
Defeat The Locus Of Wailing Grief
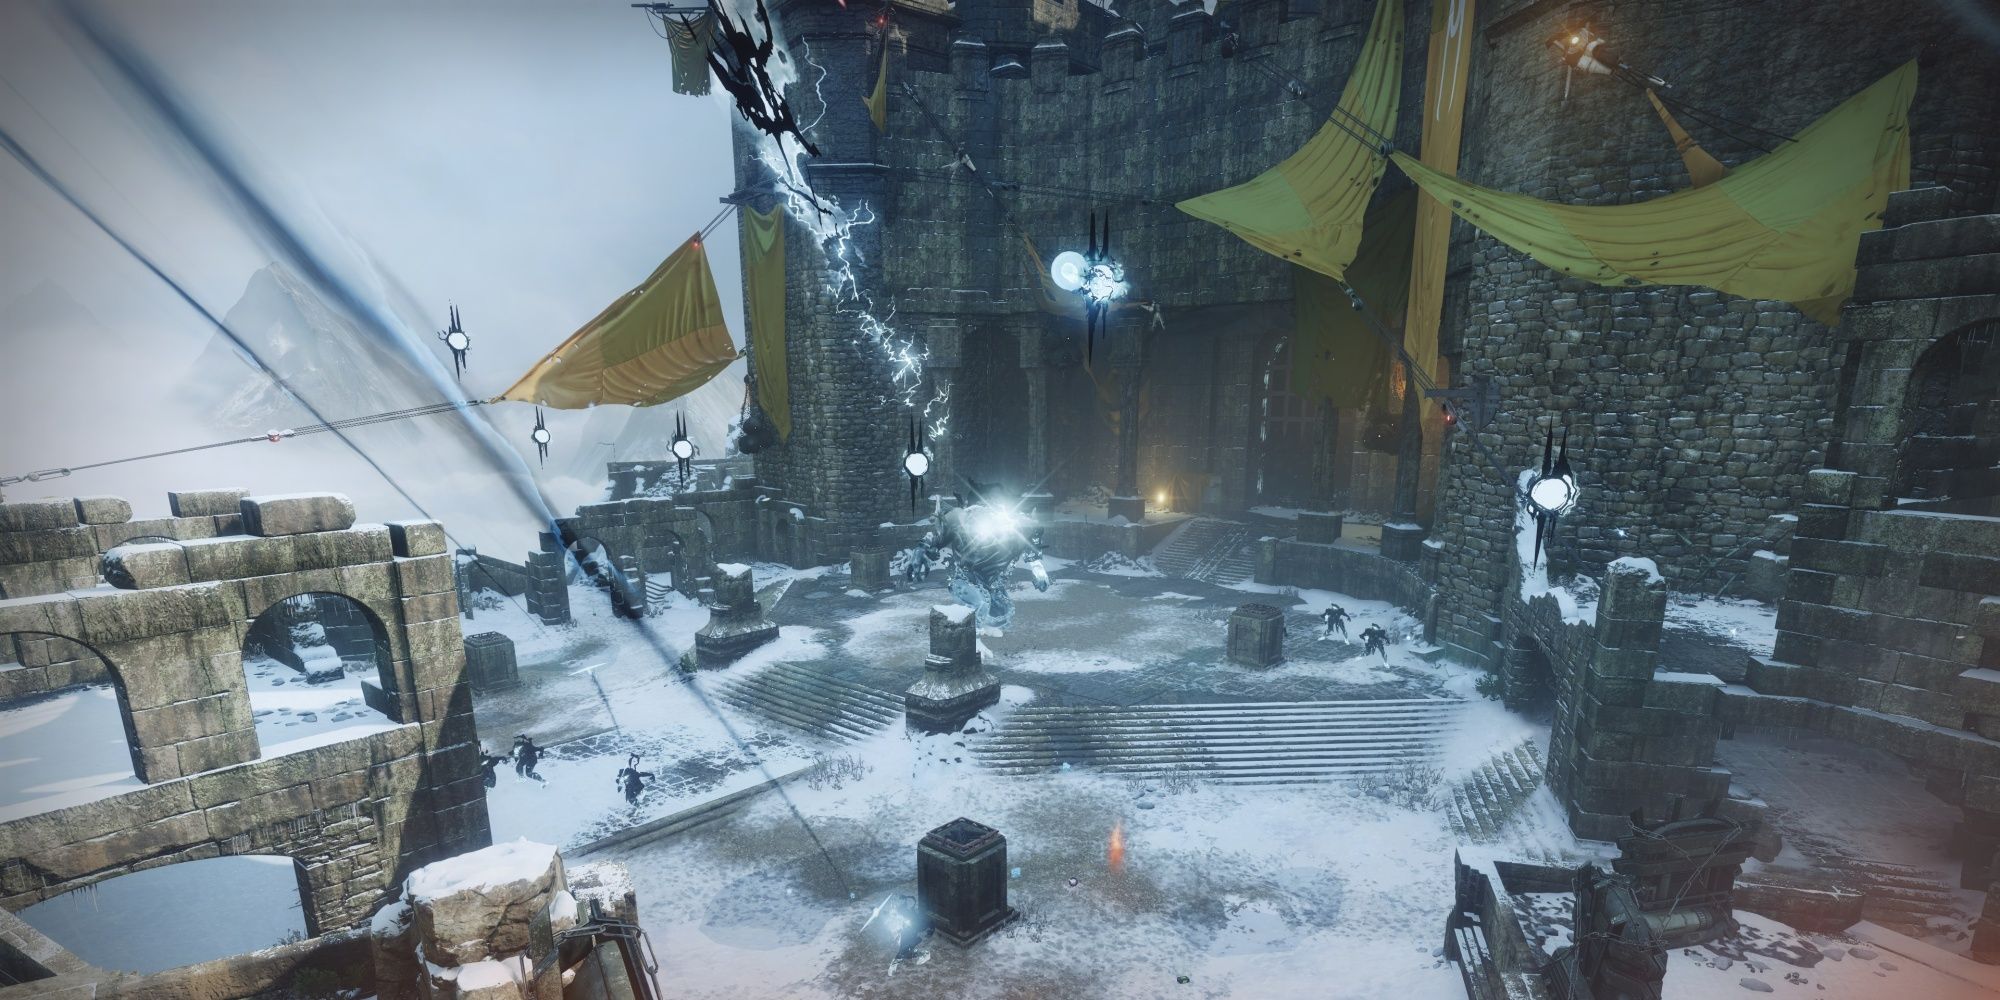
The Locus of Wailing Grief is arguably the hardest encounter for solo players. Your goal is to light four pillars with Solar orbs that spawn upon defeating Blighted Knights, weaker versions of Rathil you killed during the last encounter. Survivability is critical here. Be sure you have multiple sources of DR or healing before you start. Note the torches that line the wall behind you. You’ll need to use them later.
Destroy the floating Blight near the center of the courtyard to start the encounter. A massive Taken Ogre will spawn and try to knock you back with its eye beam attack. Stay near cover to avoid this. Upon clearing out the first wave of adds, six Blighted Eyes will spawn. You must destroy all six to progress. Get near the left or right side of the courtyard before breaking the final eye.
If the Blighted Eyes are giving you trouble, destroy five of them. The next mechanic doesn’t start until all six are destroyed.
Once this eye breaks, two Broken Knights will spawn at opposite ends of the castle. These enemies behave identically to Rathil from the previous encounter. Once a totem spawns, a blizzard will overtake the keep. If you reach x10 Biting Winds stacks, you’ll be encased in Stasis and perish. You must cleanse this debuff by standing near torches that line the edges of the keep.
This section is tricky, but your ultimate goal is to cleanse as many totems as possible without freezing to death. We recommend waiting for the Knight to spawn a totem before killing them, as this will create a second totem in close proximity. Stand between both totems to cleanse, then purge the Biting Winds debuff by standing near a totem. You can walk away from the torch once the blizzard ends.
Each totem cleansed will spawn a Solar Orb near the Rally Flag, noted on your HUD with an orb icon. You must escort these Solar Orbs to unlit pillars near the center of the courtyard. We suggest waiting until you’ve broken five of the six Blighted Eyes before doing so, as these eyes can easily kill you if you aren’t careful. The DPS phase begins when four pillars are lit.
DPS Phase
The damage phase for Locus of Wailing Grief is identical to the Caretaker fight in Vow of the Disciple. Each burning pillar acts as a DPS zone, lasting 15 seconds. So long as you’re standing near a lit pillar, you’ll be able to damage the Ogre. Be wary that there’s virtually no cover here, so now is the perfect time to cast a defensive Super.
After 15 seconds or when the Ogre reaches the pillar—whichever happens first—the light will extinguish and remove your DPS buff. Move to another pillar to regain the DPS buff. You will continue to damage the Ogre while rotating between pillars until they all extinguish, at which point the encounter will reset. Return to the wall, destroy the Blighted Eyes, and repeat the process of lighting the pillars. The encounter ends once the Ogre has been slain.
Return to Quick Links

Destiny 2: Every Way To Obtain High-Stat Armor
Use these tips to obtain high-stat armor with excellent stat distributions.
Follow The Whispers
Now that the Ogre is slain, it’s time to reach the apex of this massive castle and clear out the Taken. Follow the short series of hallways to reach the next part of the castle.
When you reach Kingsbane Rampart, slide through the wall of rubble to reach the snow-capped mountains from earlier. A small group of Scorn and Taken will be guarding the exit. Any AoE weapons or abilities will flush them out. Once outside, you’ll want to make a left U-turn to reach the Blighted core of the keep.
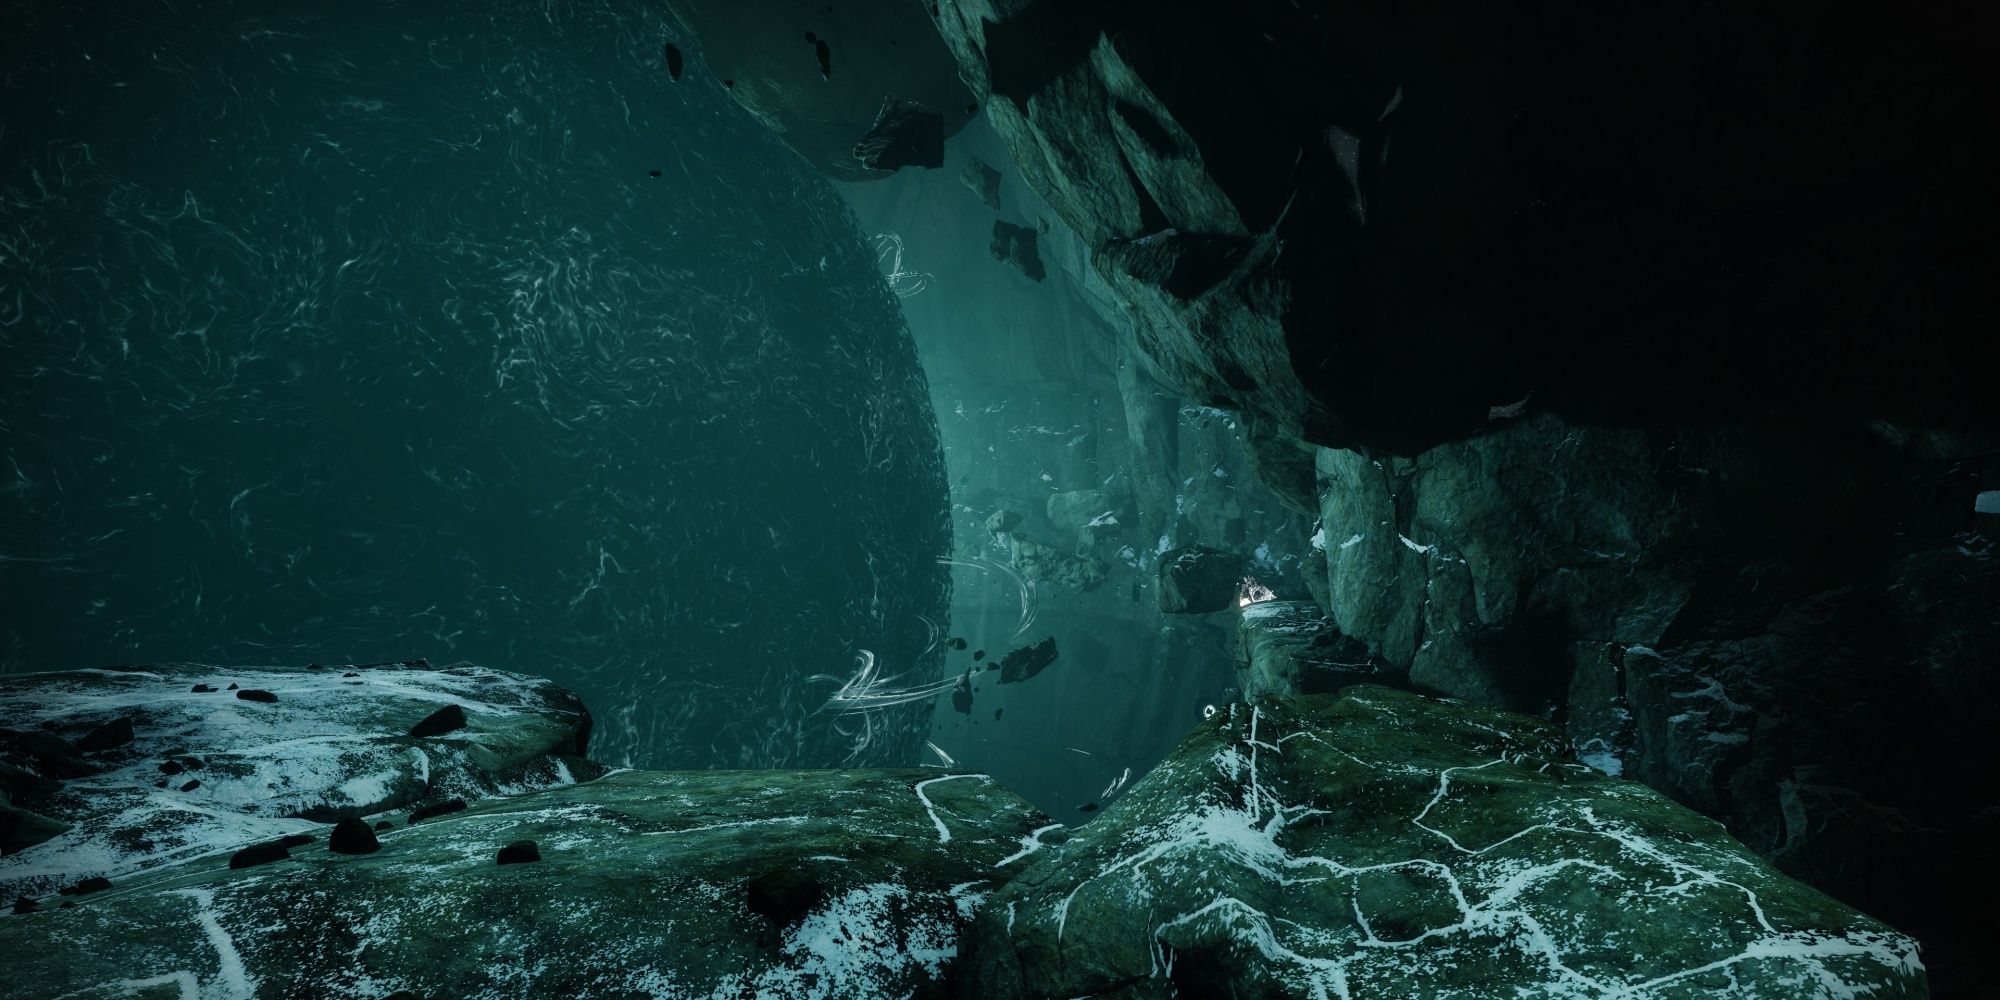
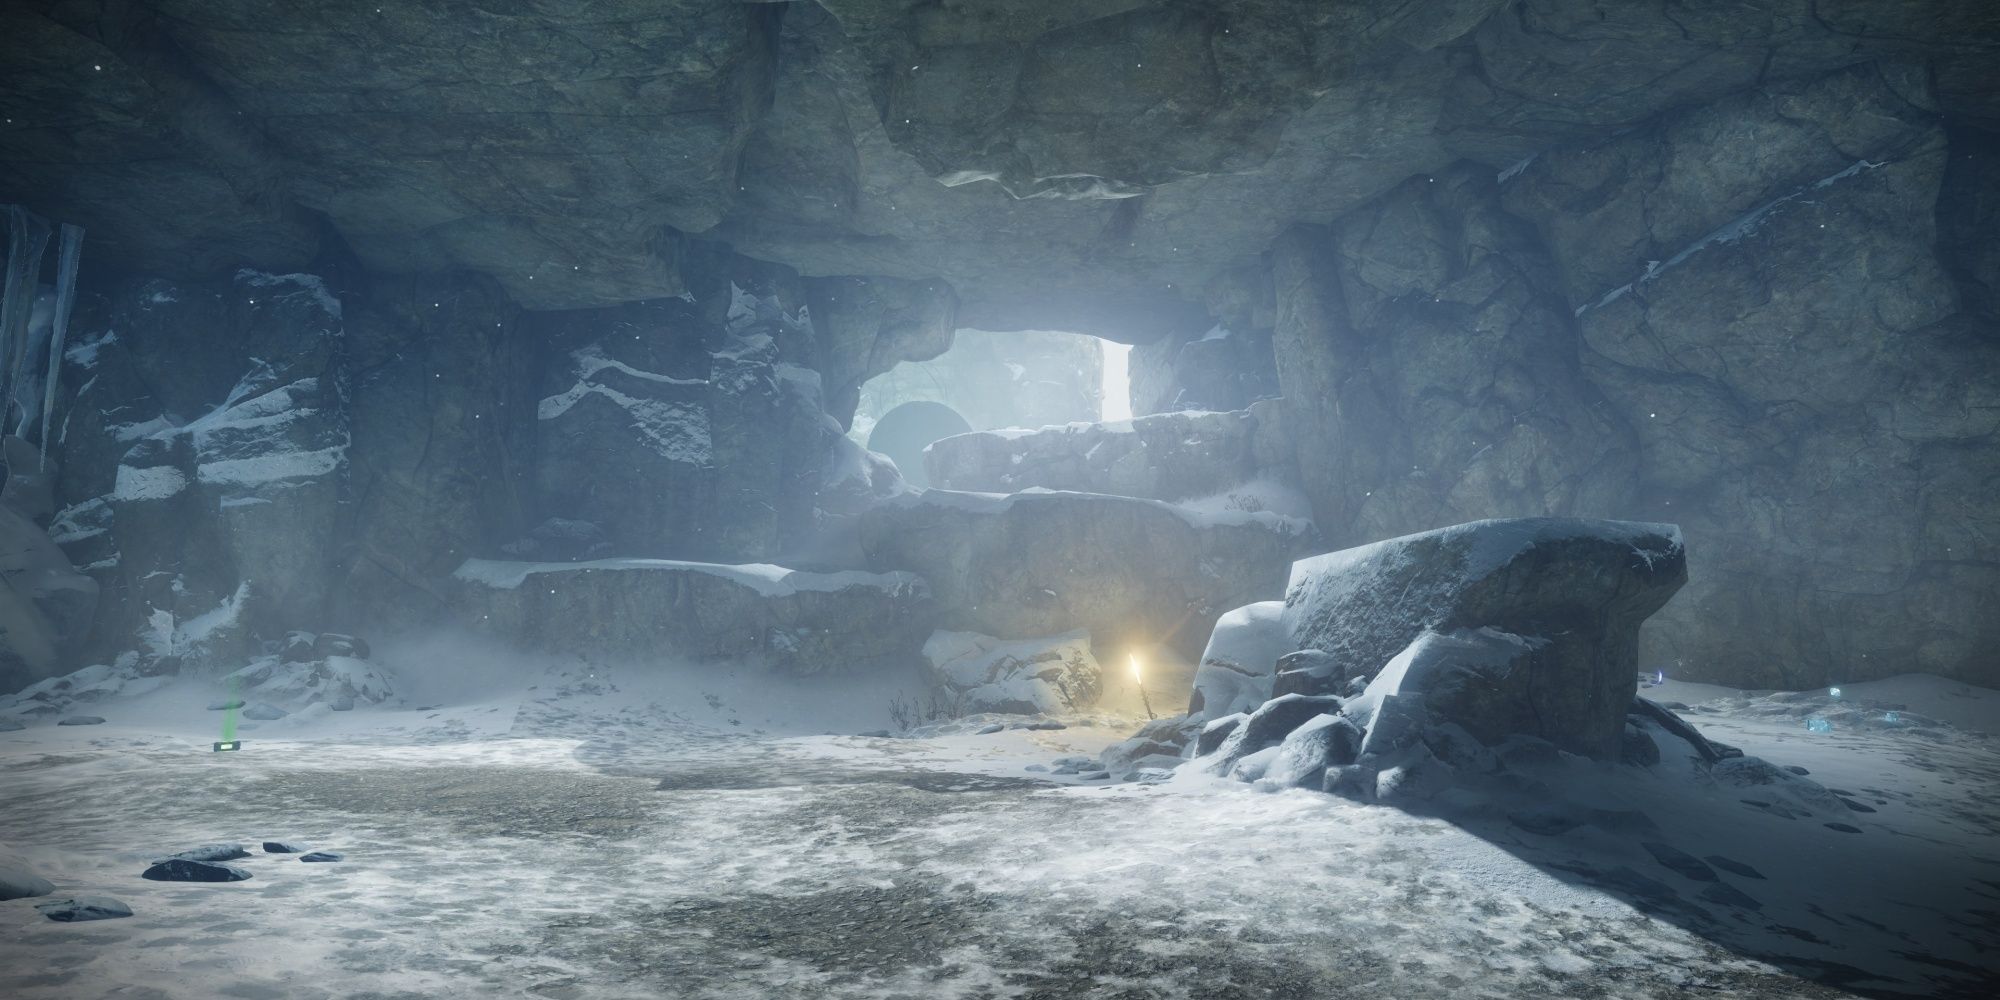
Inside the Blighted cave, you’ll want to hug the right wall whenever possible, taking out the Scorn snipers and Taken Wizards before proceeding. A Scout Rifle, Bow, or Machine Gun will work well here. You can also use Strand or Stasis to make this platforming section a little easier. Head for the ice-covered exit at the opposite end of the cave.
You should be outside again. Head right to find a small Taken ambush. Some of these enemies are fairly tanky, so don’t be afraid of using your Super or Heavy ammo. Climb up the snow-covered ledges beside you to reach another Blight, this time surrounded by castle ruins. Jump to the top doorway and follow the path. Ascend the mountain until you reach the tower.
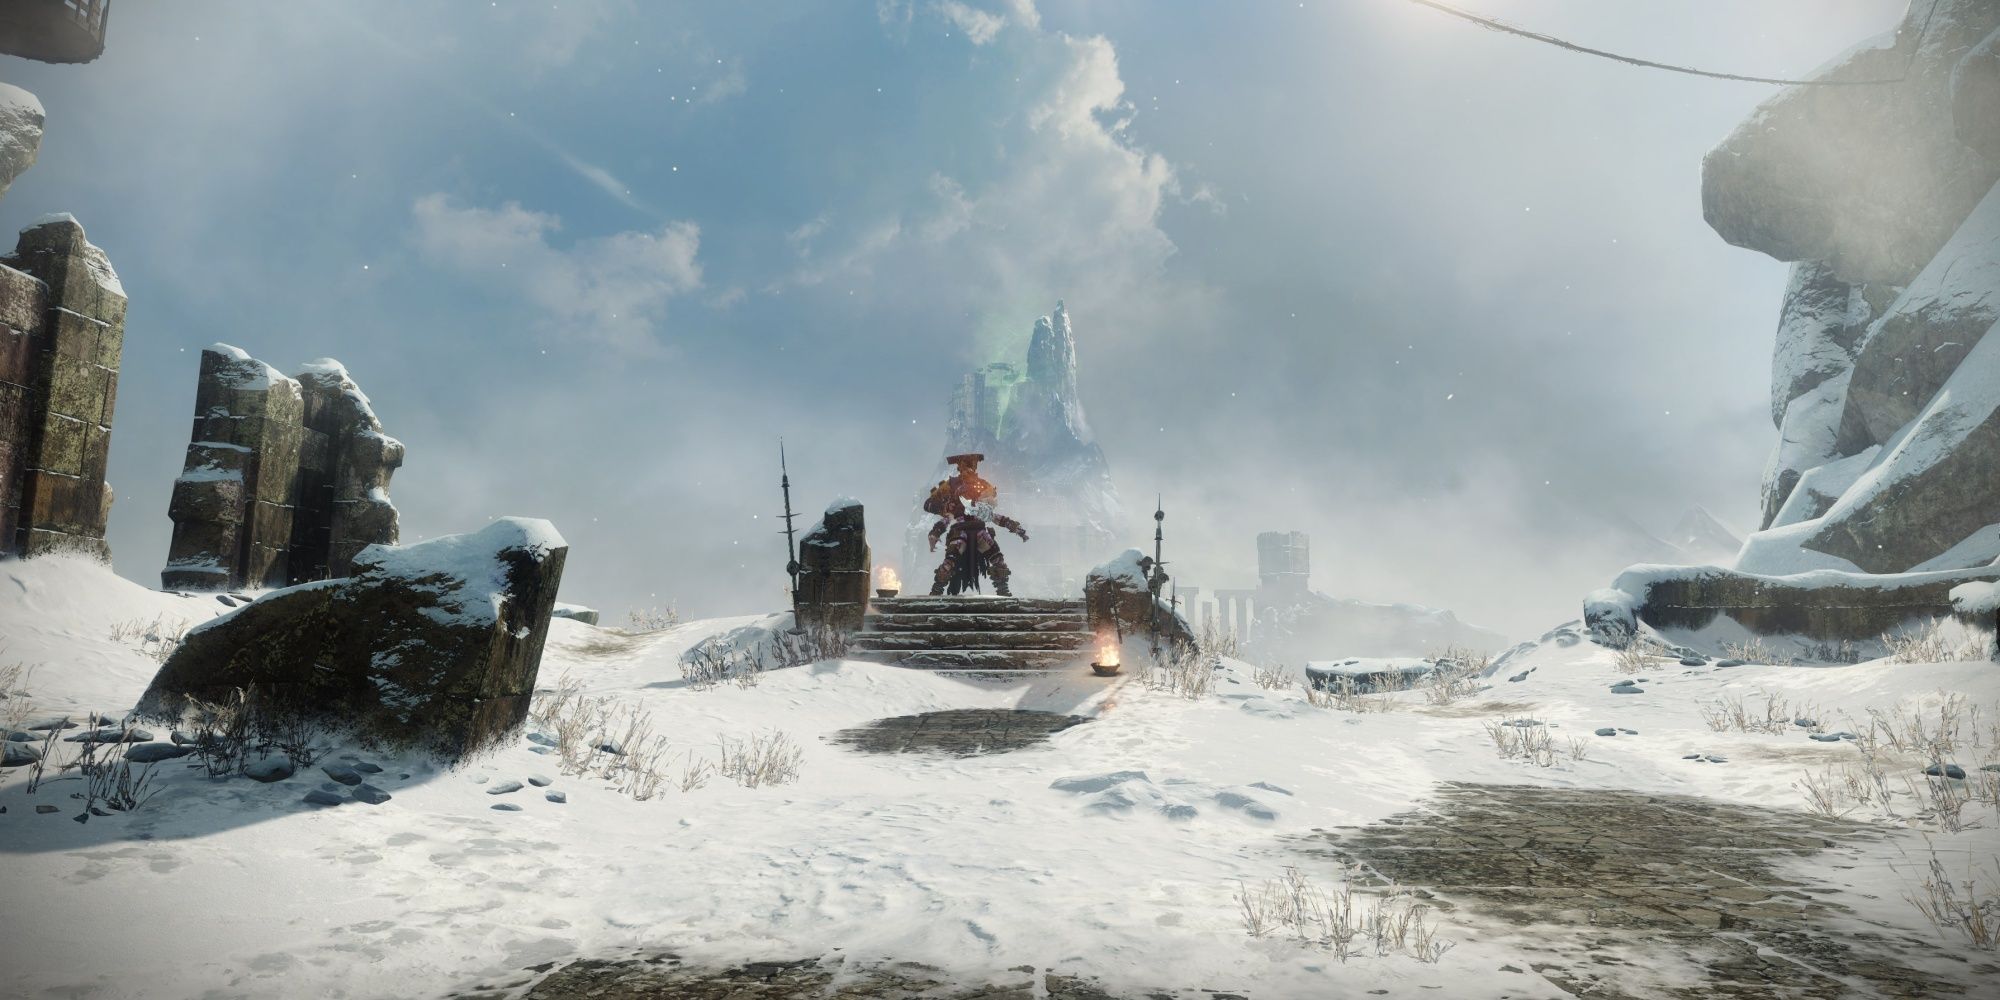
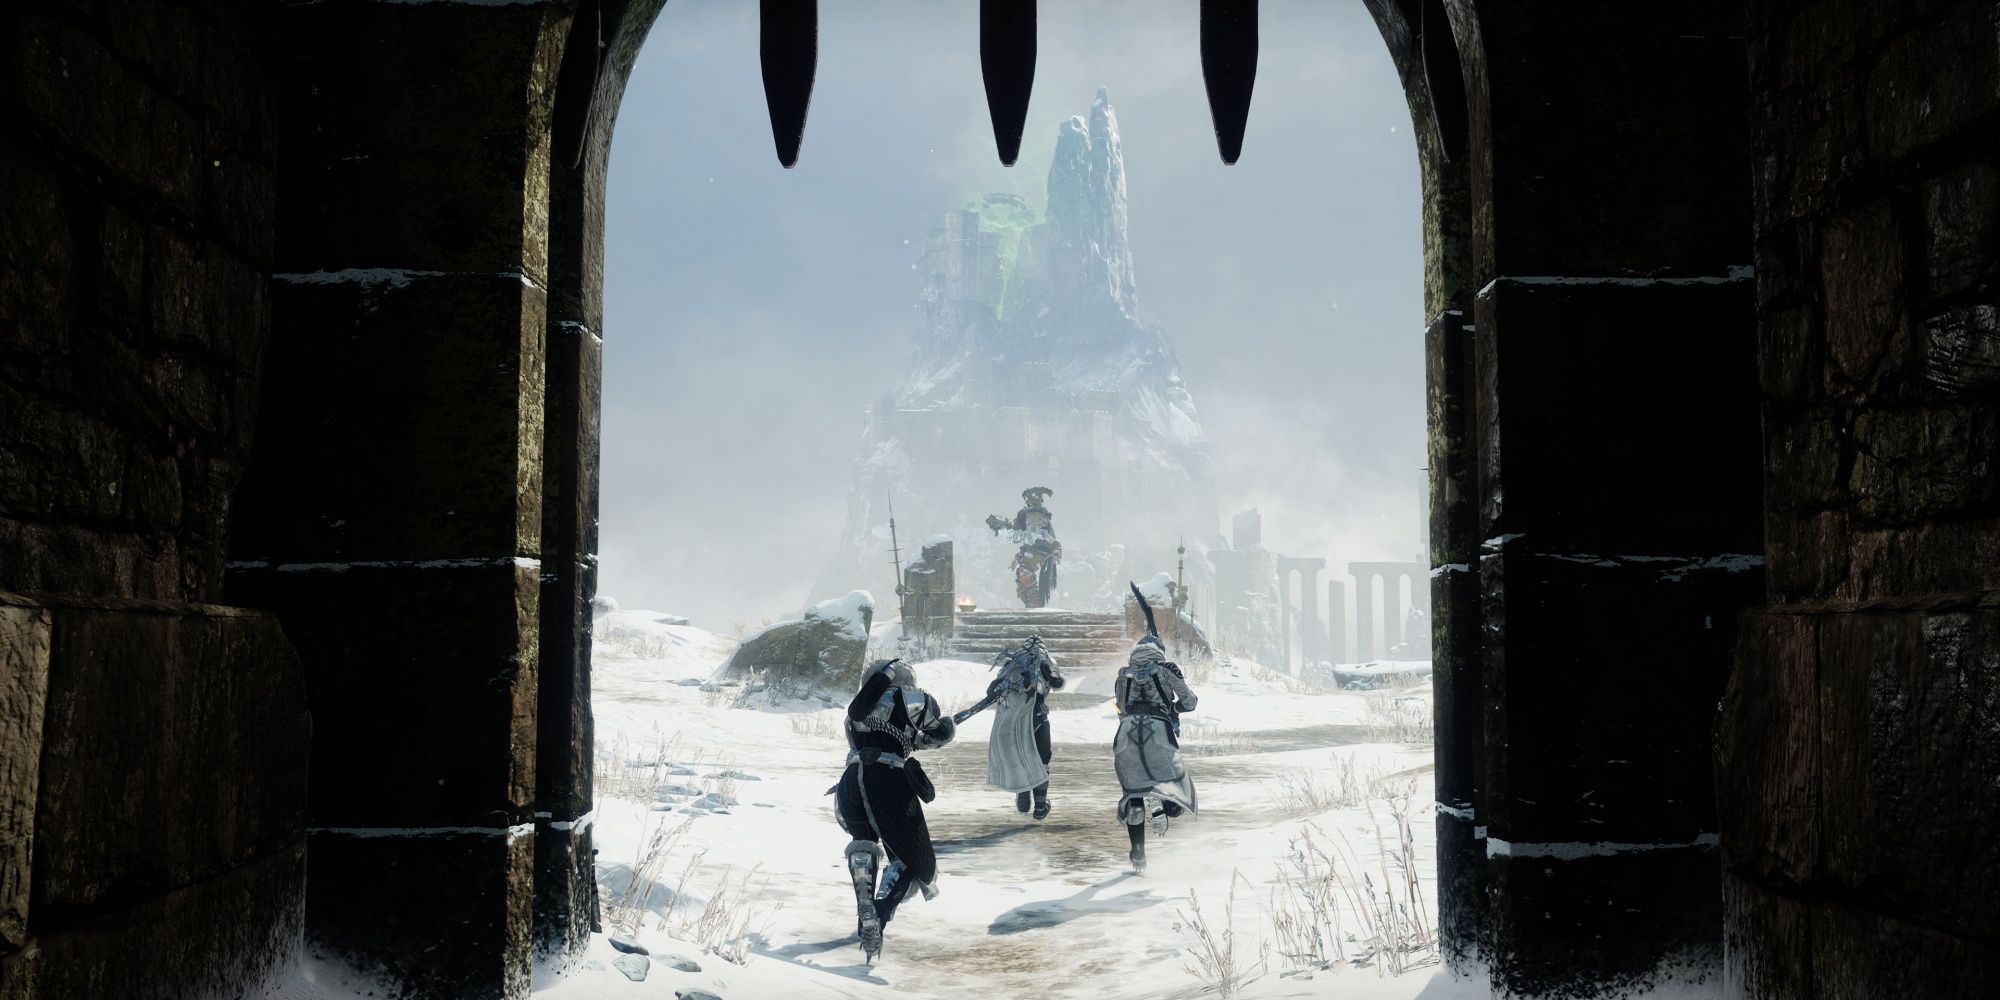
Just outside the tower is yet another Taken ambush. Clear out all the enemies to unlock the base of the tower, then climb up the stairs to reach the final boss arena. You’ll find a Toland Orb at the base of this tower. This is tied to the Catalyst for Buried Bloodline, this dungeon’s Exotic weapon. You can ignore it for now. Ascend the tower to reach the final encounter.
Return to Quick Links
Defeat Hefnd’s Vengeance, Blighted Chimera
We highly recommend switching to Sunshot and a Rocket Launcher for this encounter. Sunshot makes the Blighted Eyes much easier to deal with, and it will spawn more Heavy ammo for your Rocket Launcher through finder mods.
Hefnd’s Vengeance is the final boss of the Warlord’s Ruin dungeon, a heavily mutated Servitor that is using Ahamkara bones to empower itself. The good news is that this fight is structurally identical to the last encounter with no blizzard or Solar Orbs. Add clear is essential, however, so bring a good Primary or Trace Rifle.
Start the encounter by breaking the Taken Blight near the Ahamkara bones. Hefn’d Vengeance will spawn and release a wave of Taken Psions your way. Once the adds are dealt with, destroy the six Blighted Eyes beside the boss to spawn the Broken Knights. You’ll need to have the adds under control for this next part, so be sure you’re ready.
Once the eyes have been popped, a Broken Knight will spawn on each side of the arena. Shortly after the Knights spawn, you will be cursed with “Hex of Vengeful Corruption.” If this debuff expires, you will die. You must melee the immune Corrupted Hex Drinker enemy to purge this debuff.
If the Corrupted Hex Drinker hits you after swapping the Hex debuff, you’ll become cursed again with no added time. Be sure to keep your distance once the Hex is purged.
Beyond the Hex, most of this encounter plays as you’d expect. Purge the Taken Totems to extend your DPS window. Once “Imminent Wish” counts down to zero, you’ll get a short period where Hefnd’s Vengeance is vulnerable. Deal as much damage as you can. You must deal 10% of the boss’ HP to proceed. You won’t wipe if you fail to hit this number; the encounter will just reset.
Unlike the last encounter, DPS phases are broken up into stages, with each stage requiring you to ascend the castle ruins. Follow where Hefnd’s Vengeance is going, pop its Blighted Eyes, cleanse the totems, and deal as much damage during your short DPS window as possible. The true DPS phase begins once you’ve done this three times.
DPS Phase
The top of the ruins is where Hefnd’s Vengeance is at their most vulnerable. This area is divided into three floating platforms with two columns each. Each platform will grant “Naeem’s Wish Empowerment,” similar to the pillars in the Ogre encounter. Unlike the last two encounters, your DPS window lasts until Hefnd regrows a full set of Blighted Eyes, at which point you must relocate to a new platform.
Fireteams will want to direct one person to destroy these eyes as the other players damage Hefnd as much as possible. Solo players have it much harder here, needing to juggle DPS and Blighted Eyes. Solo players should focus on damaging the boss’ eyes whenever possible, preferably with Sunshot or some form of AoE damage.
Once Hefnd regrows a full set of eyes, you must relocate to an uncorrupted platform. This will grant “Naeem’s Wish Empowerment” again and reset the boss’ eyes. Repeat this process until all three platforms become unusable. Hefnd’s Vengeance will teleport you to the bottom floor once the DPS phase is over, resetting the encounter.
When Hefnd’s Vengeance reaches 10% HP, they will enter a final stand. Your fireteam will be teleported to the top of the ruins on a single platform. You must kill the boss before it becomes immune to damage. It is imperative that you prevent its eyes from regrowing during this part. Deal as much damage as possible when the eyes are under control. Land the killing blow on Hefnd’s Vengeance to clear the Warlord’s Ruin dungeon.
Return to Quick Links
Destiny 2: Season Of The Wish – How To Unlock All Vendor Upgrades
Complete these challenges to unlock focusing options, guaranteed red border drops, and more.

